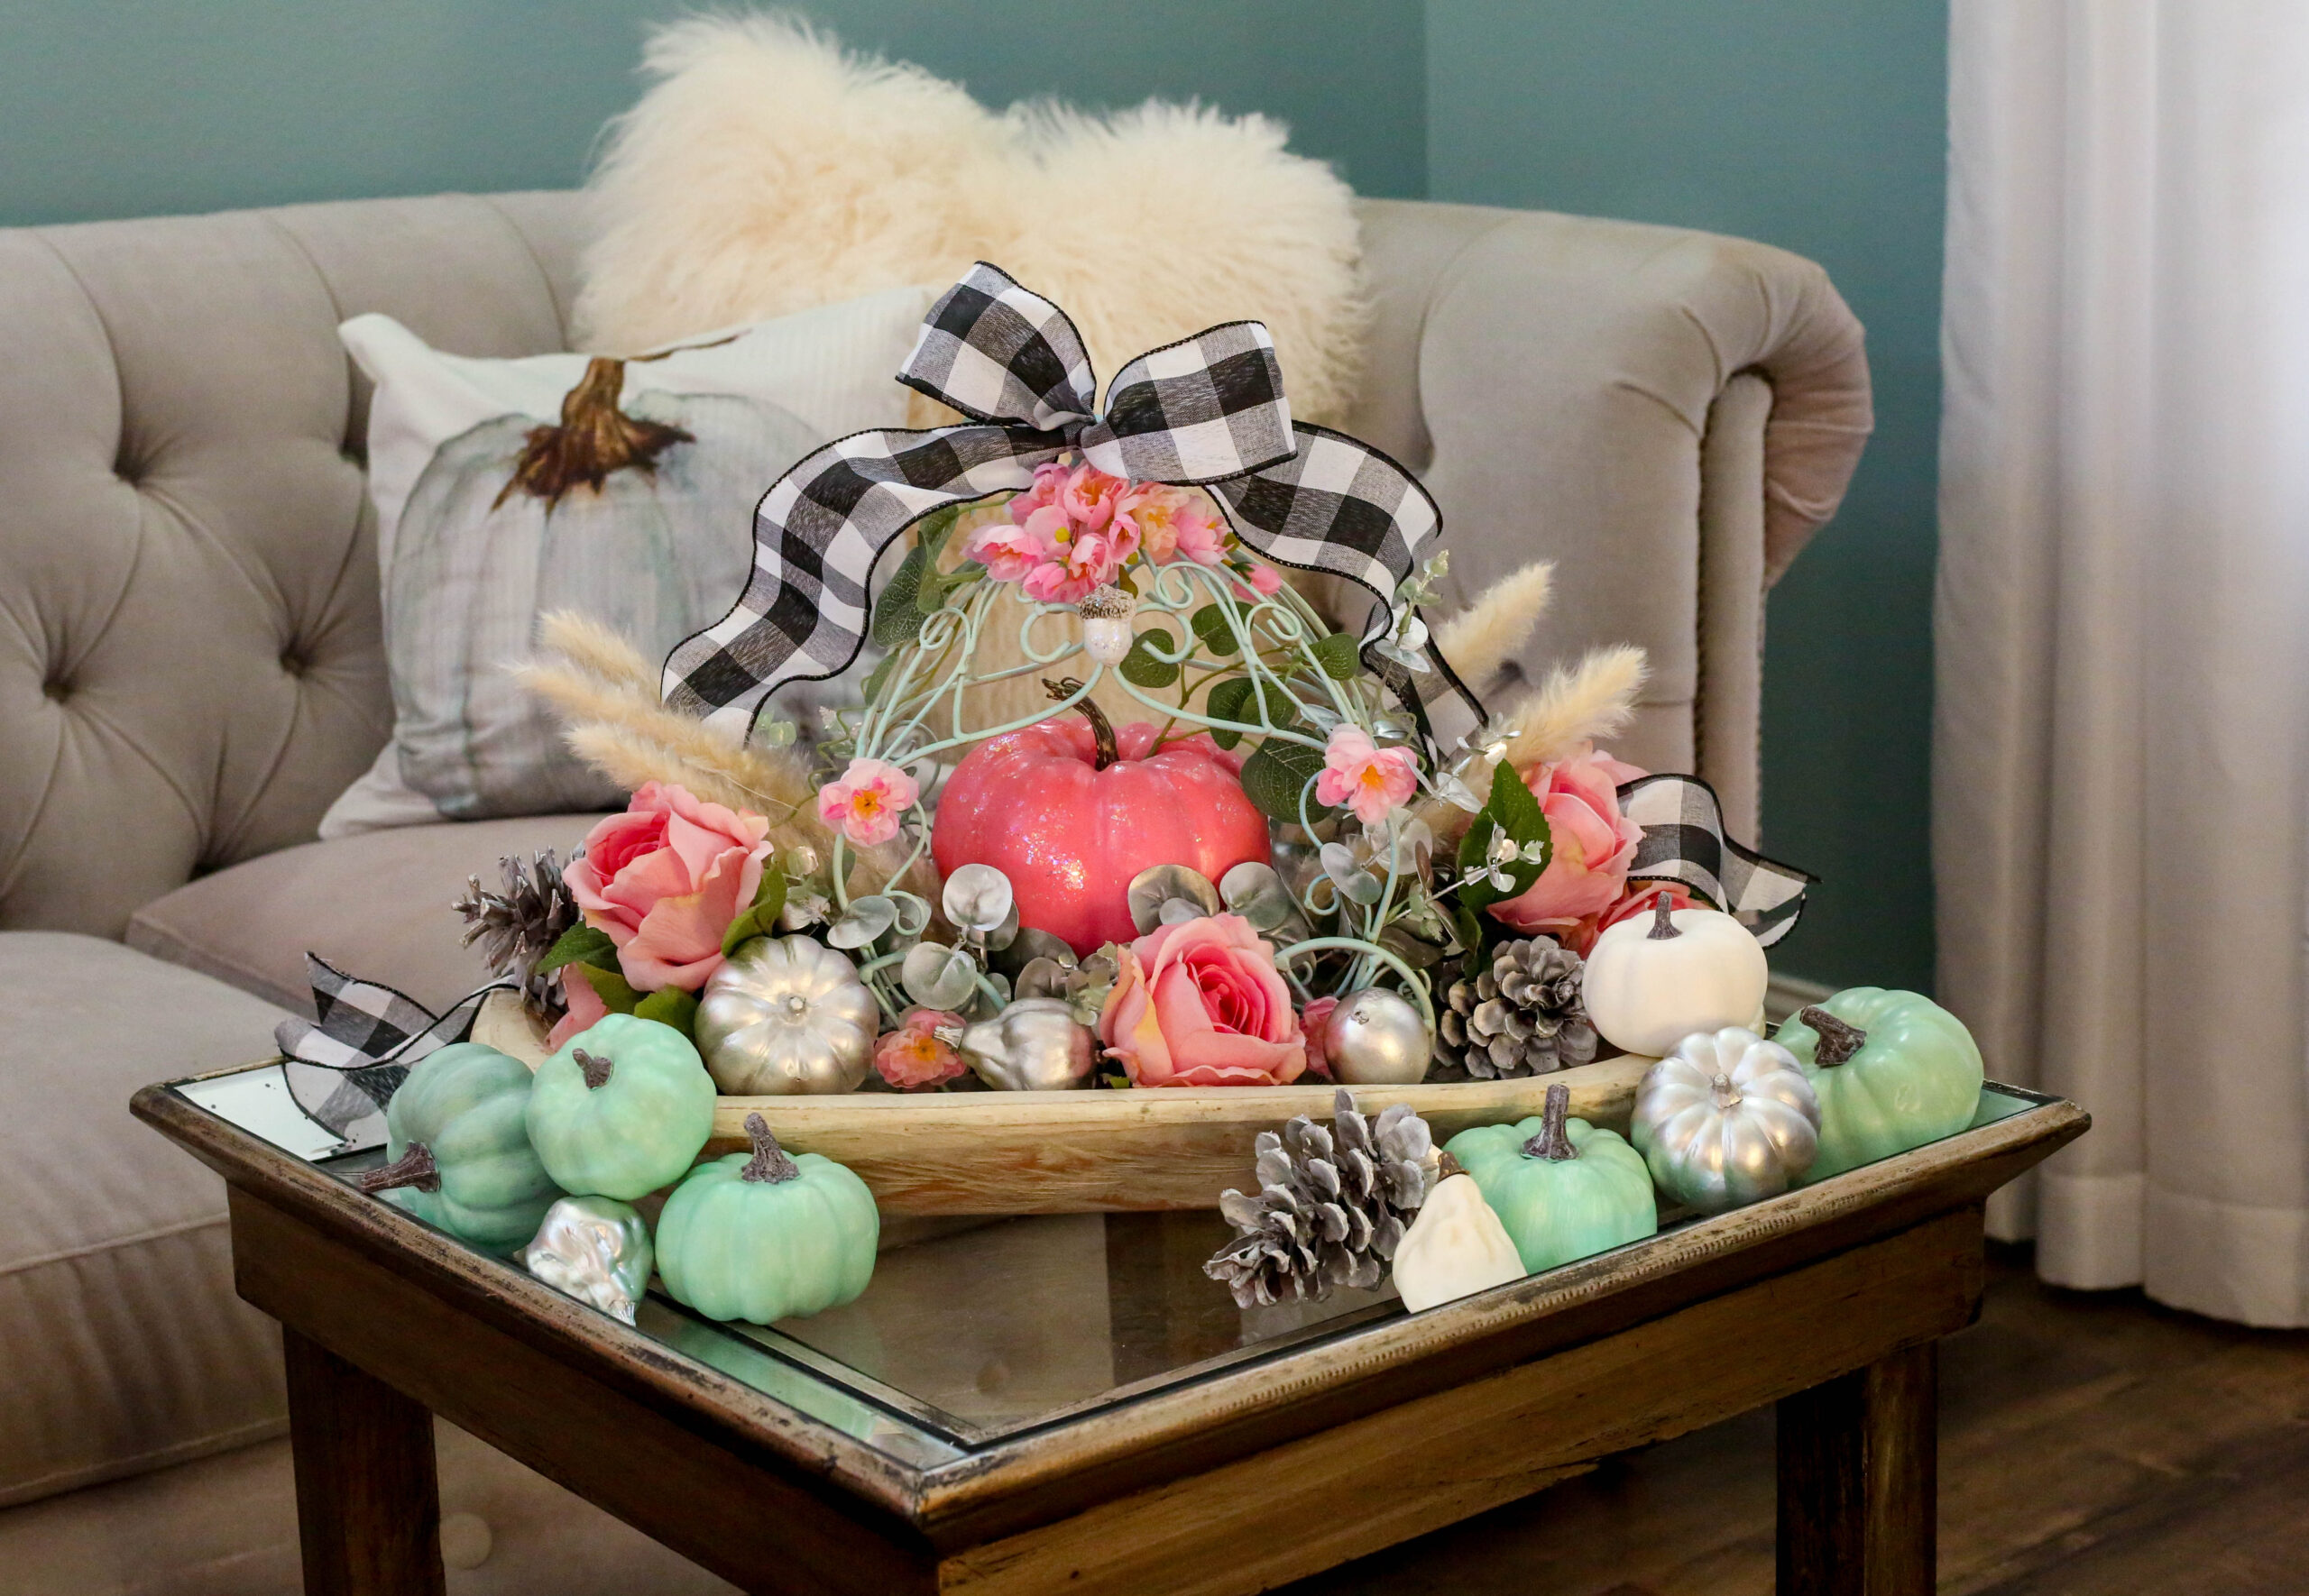
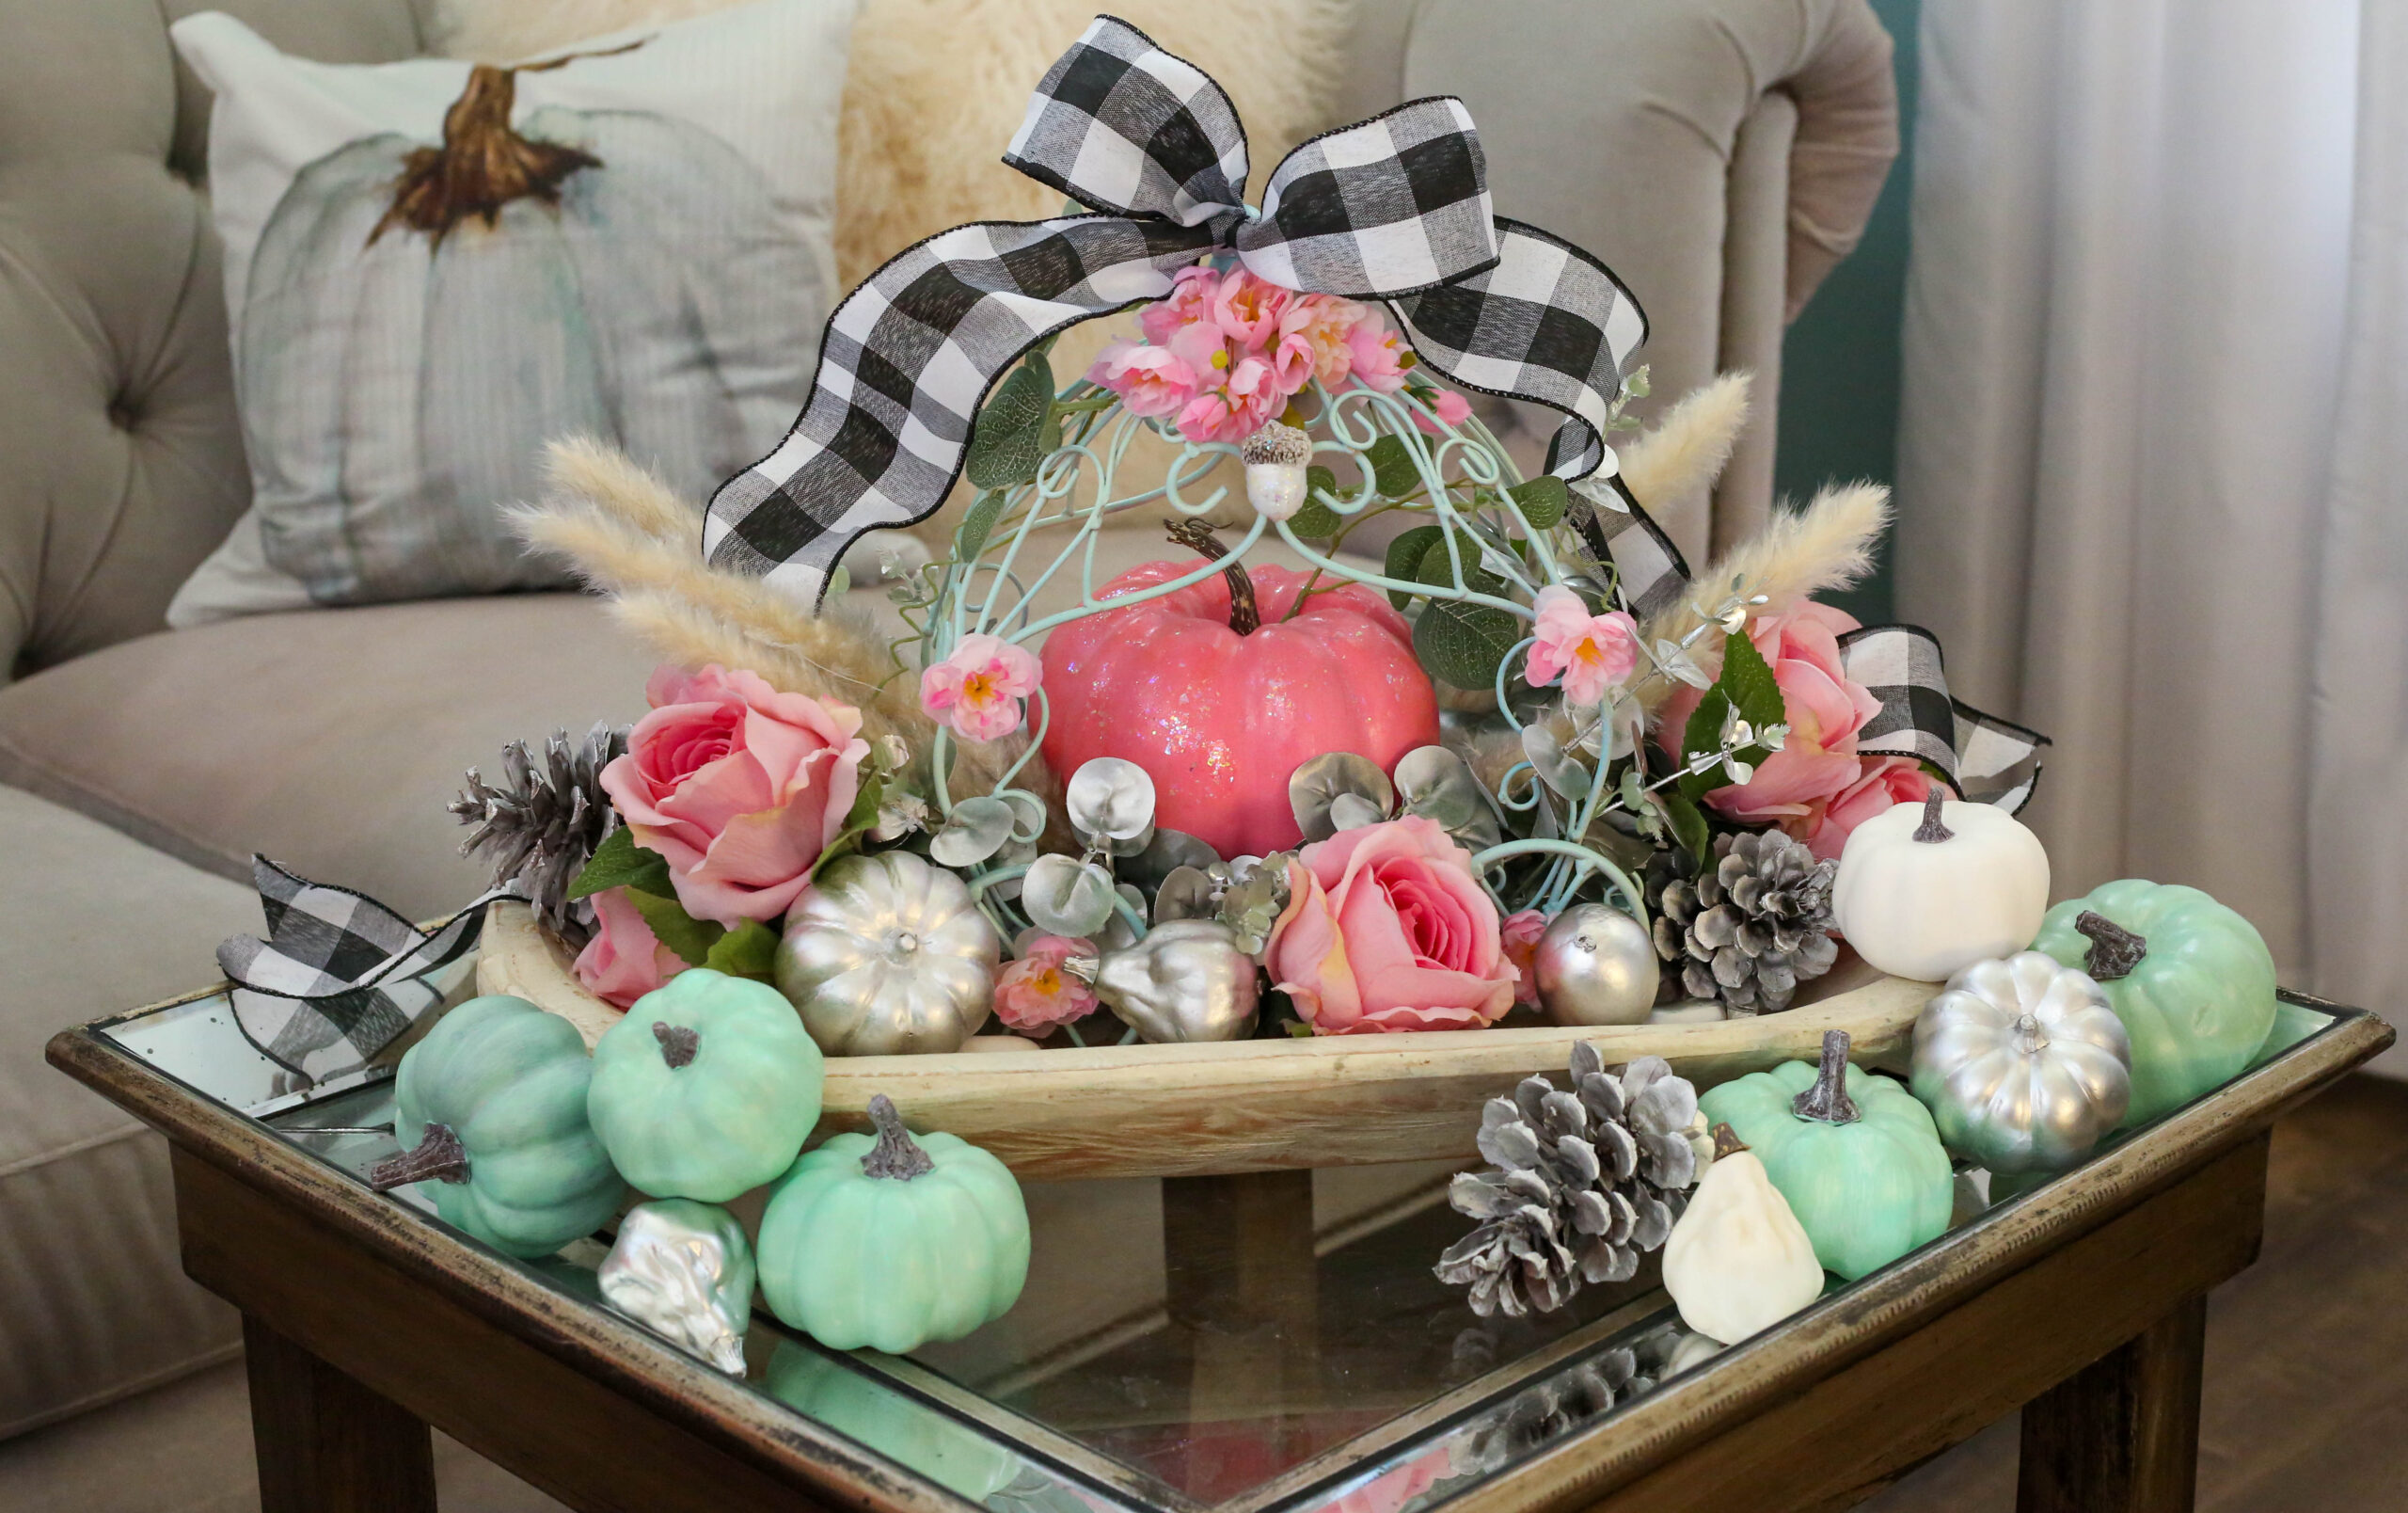
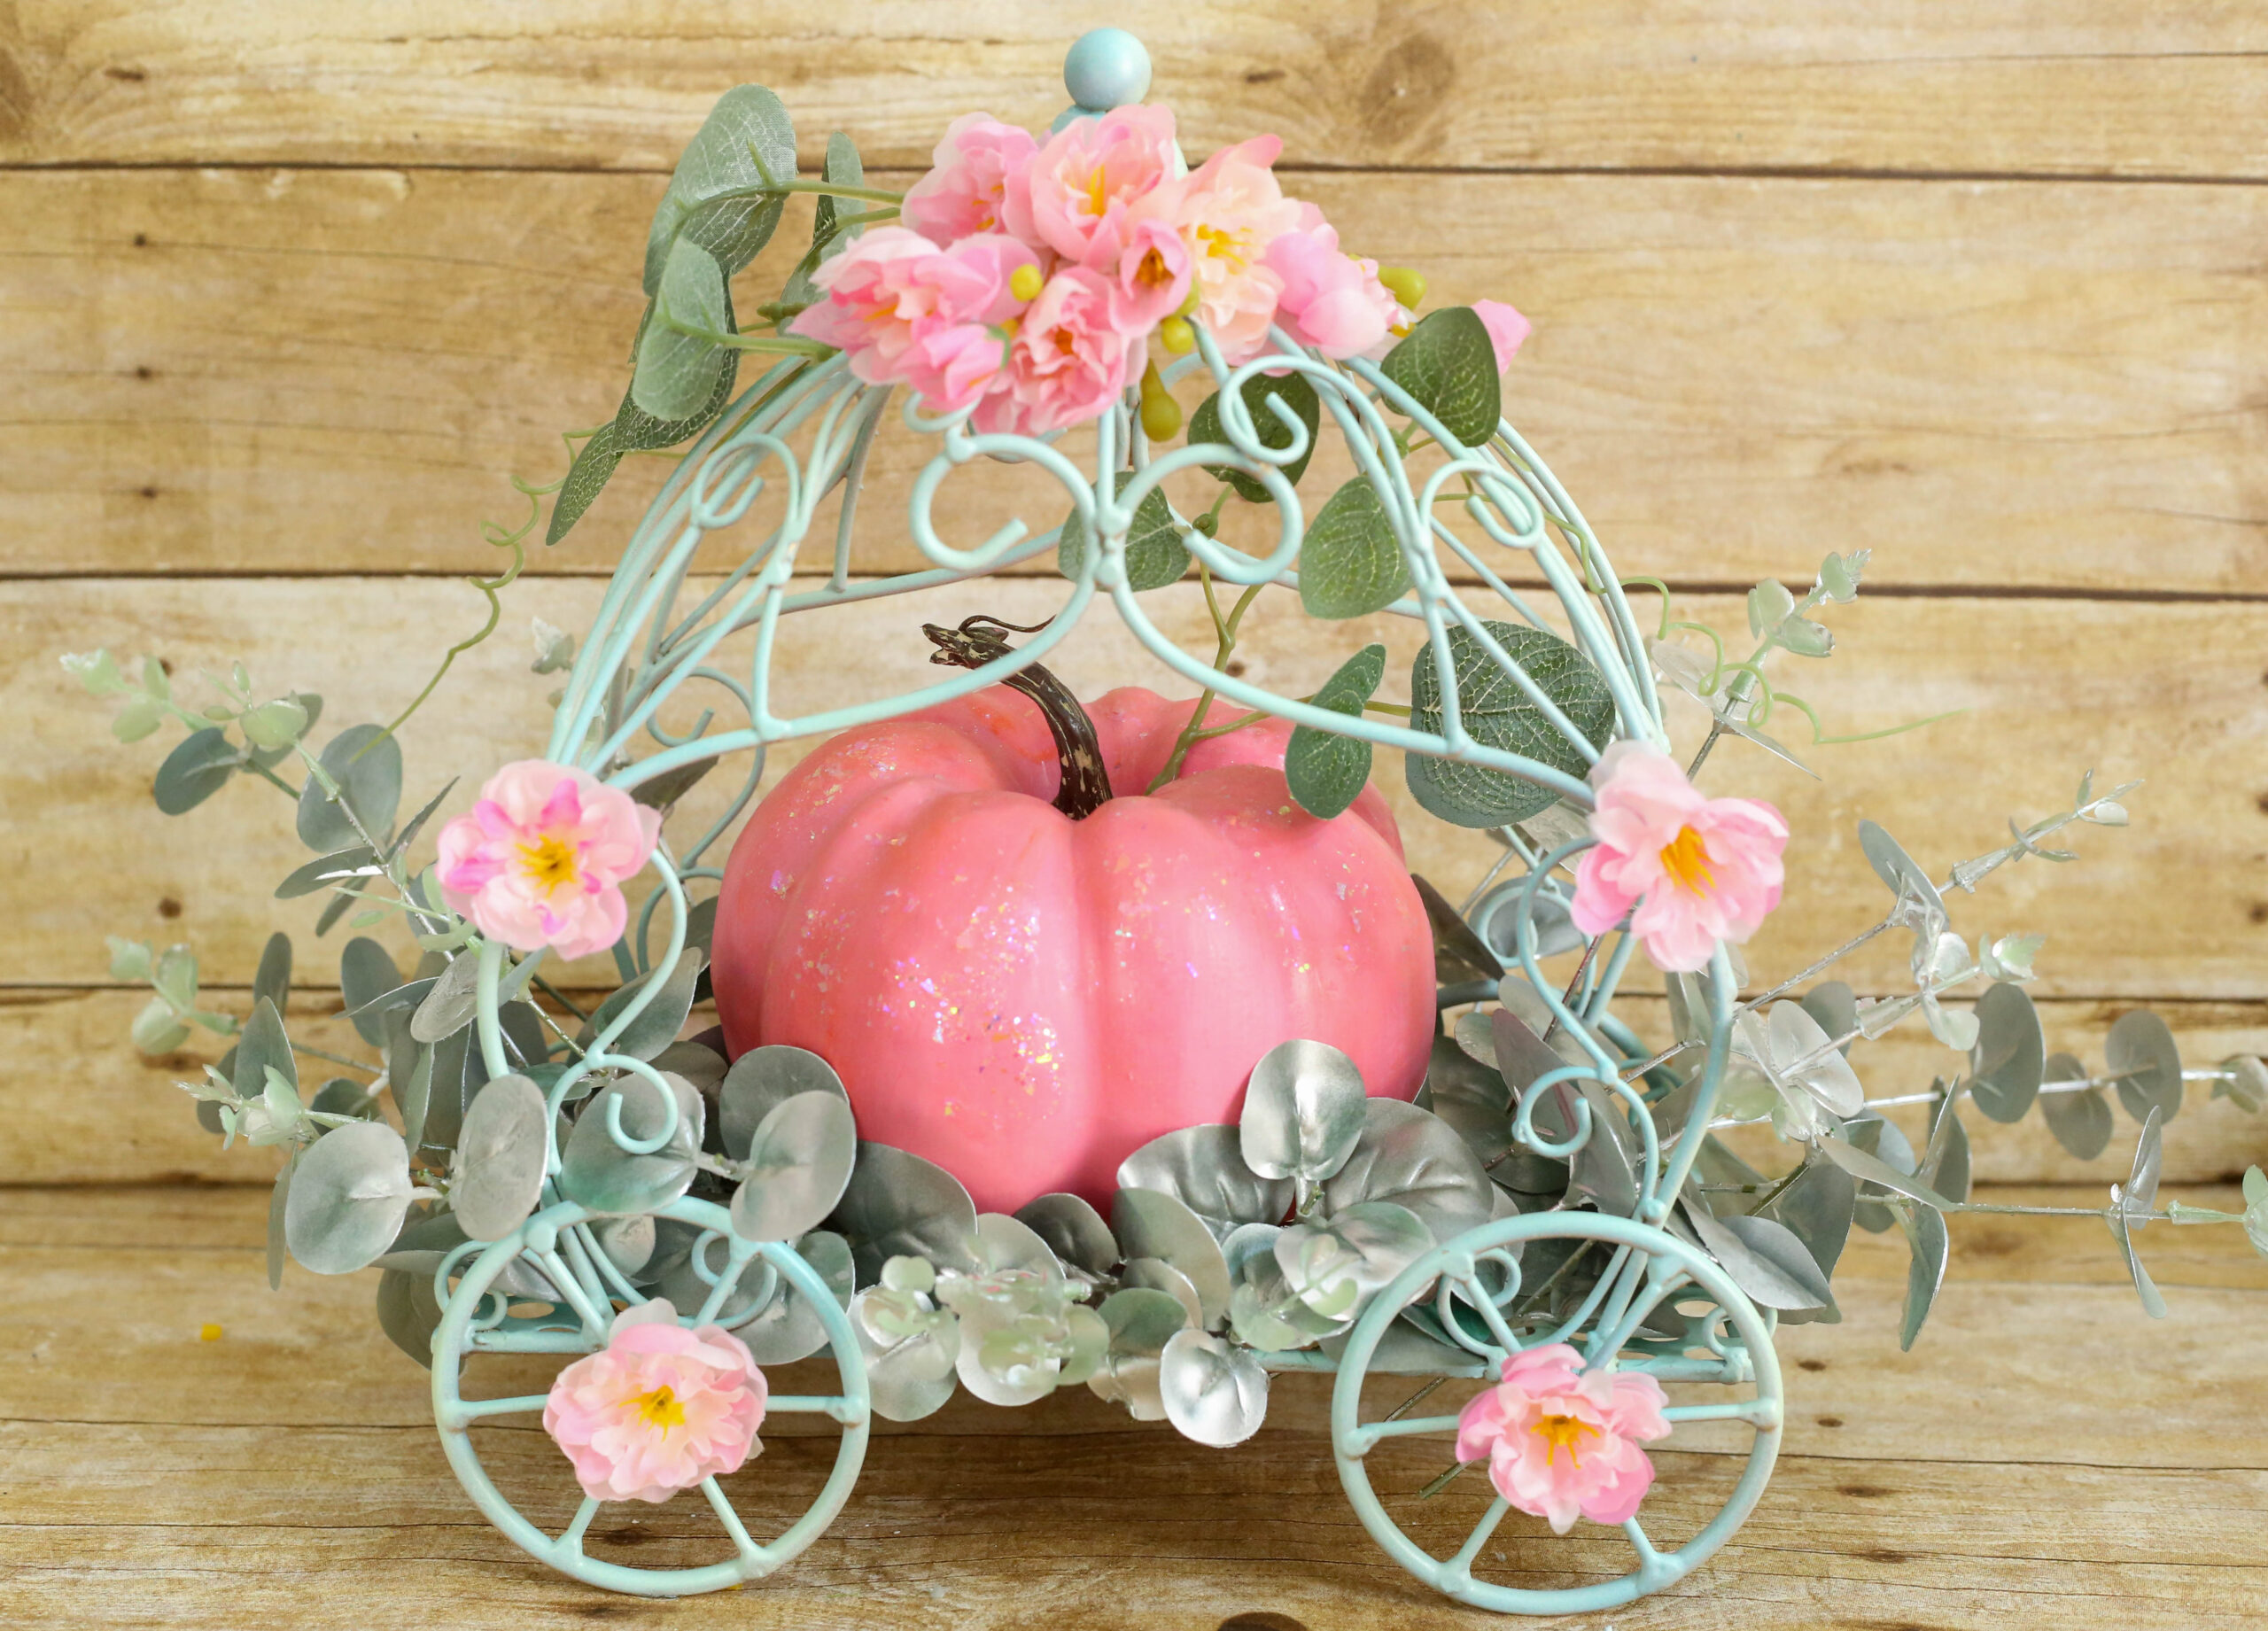
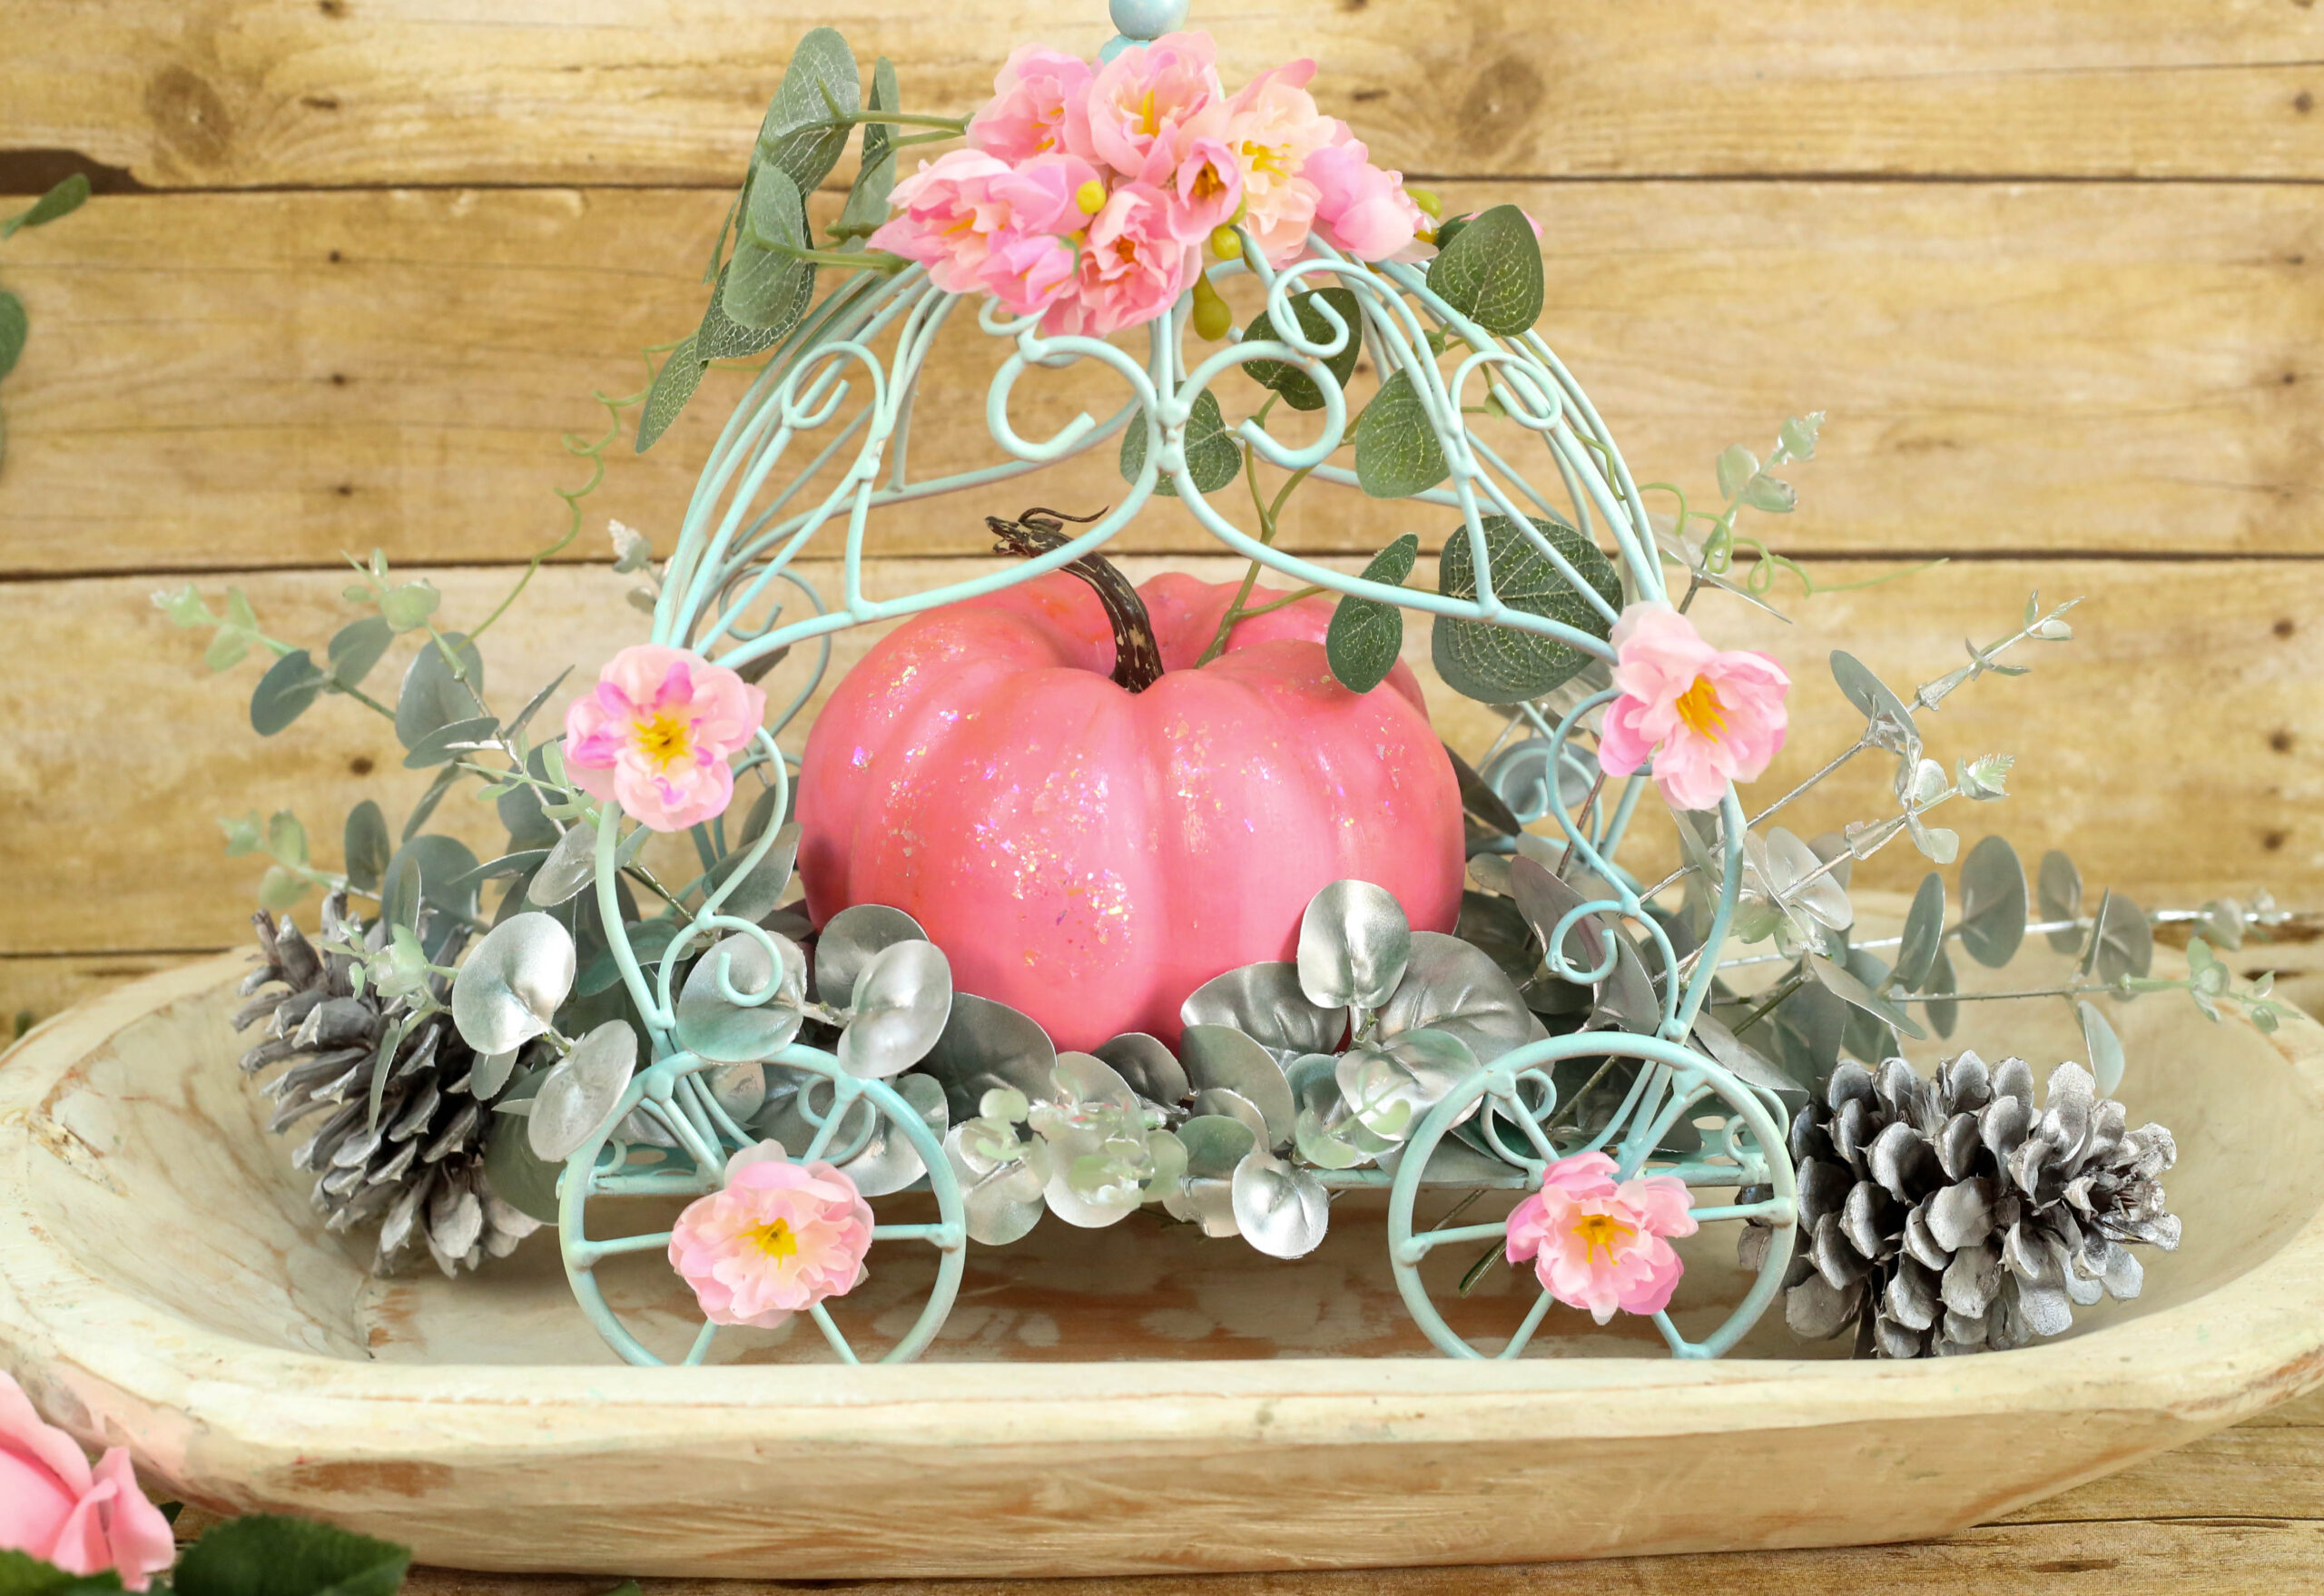
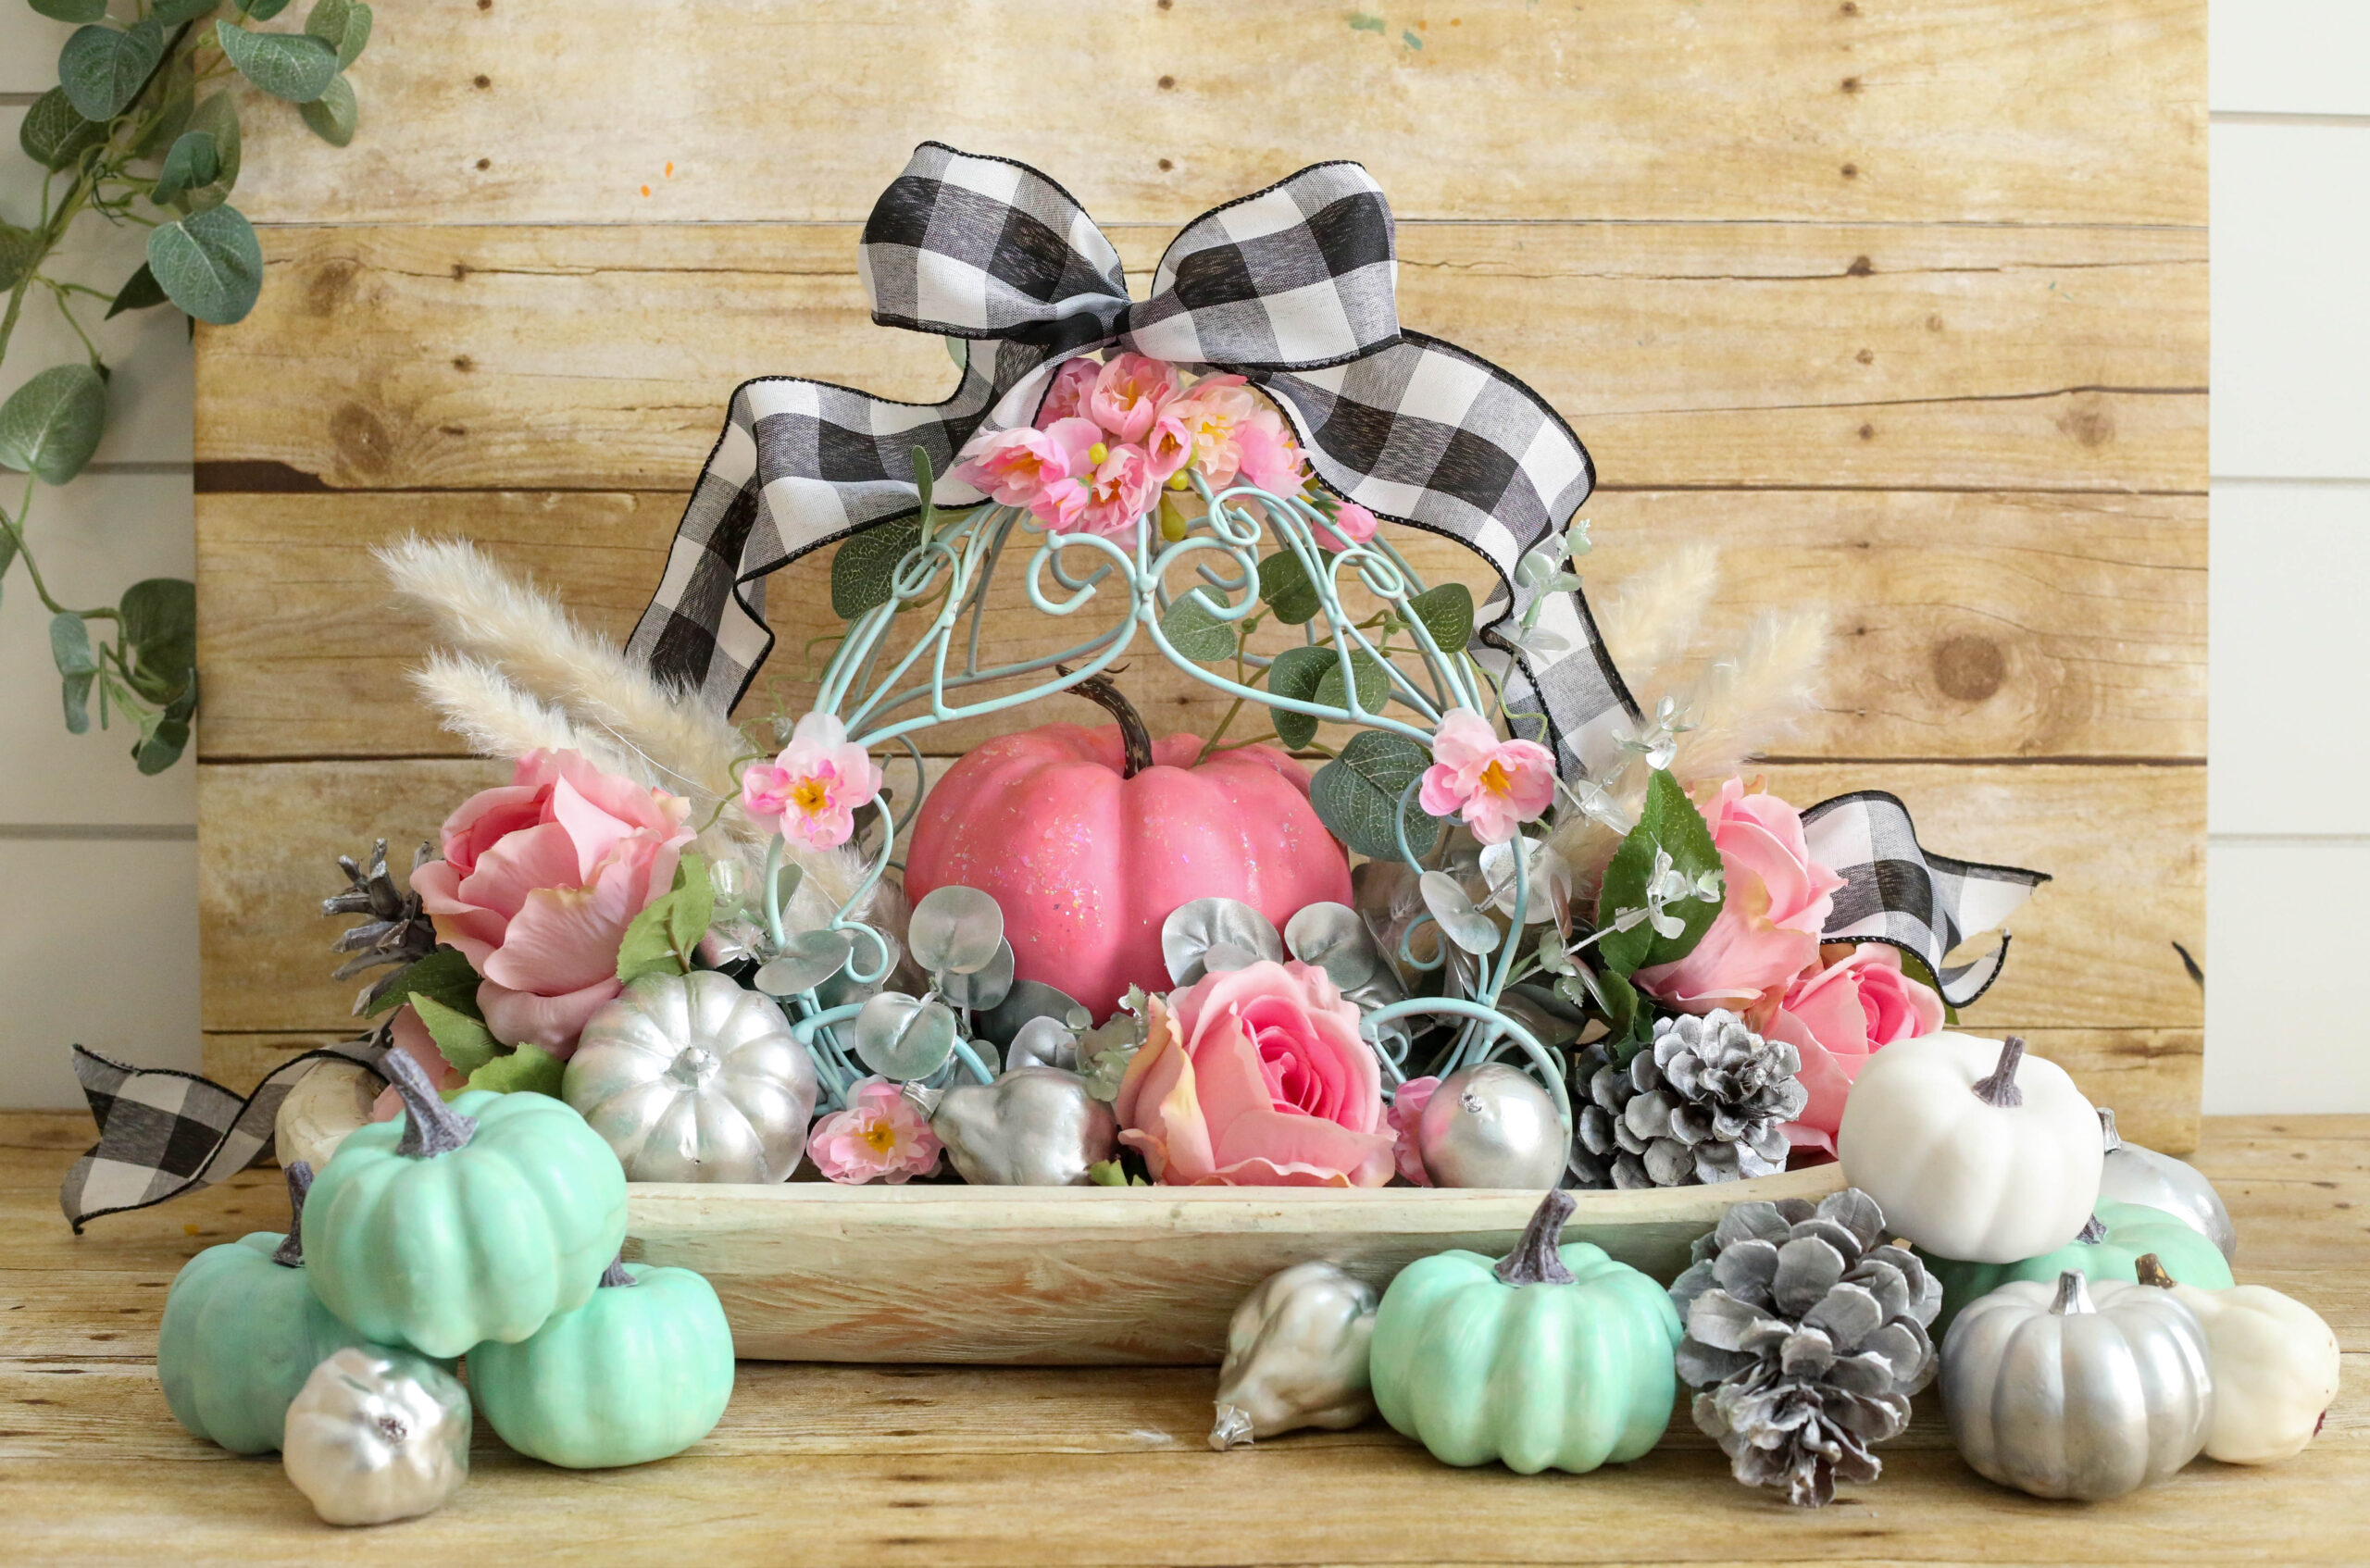
With a wave of your wand, you can create this stunning Cinderella pumpkin centerpiece! A painted carriage in a soft teal shade is embellished with flowers and ribbon. Inside, on a bed of silver eucalyptus leaves, is perched a glittering coral pumpkin. The decadent carriage is displayed in an ivory colored wood dough bowl, and surrounded by silver pine cones and fall gourds, pampas grass misted in silver, and glorious, large pink rose blooms. This glittering creation is surely how Cinderella herself would decorate, and is the perfect addition to your home decor or special celebration this season.
Wish you had a fairy godmother to whip this up for you? Never fear, it’s not hard to follow along and create this for your royal palace. Gather your items, and prepare for the magic!
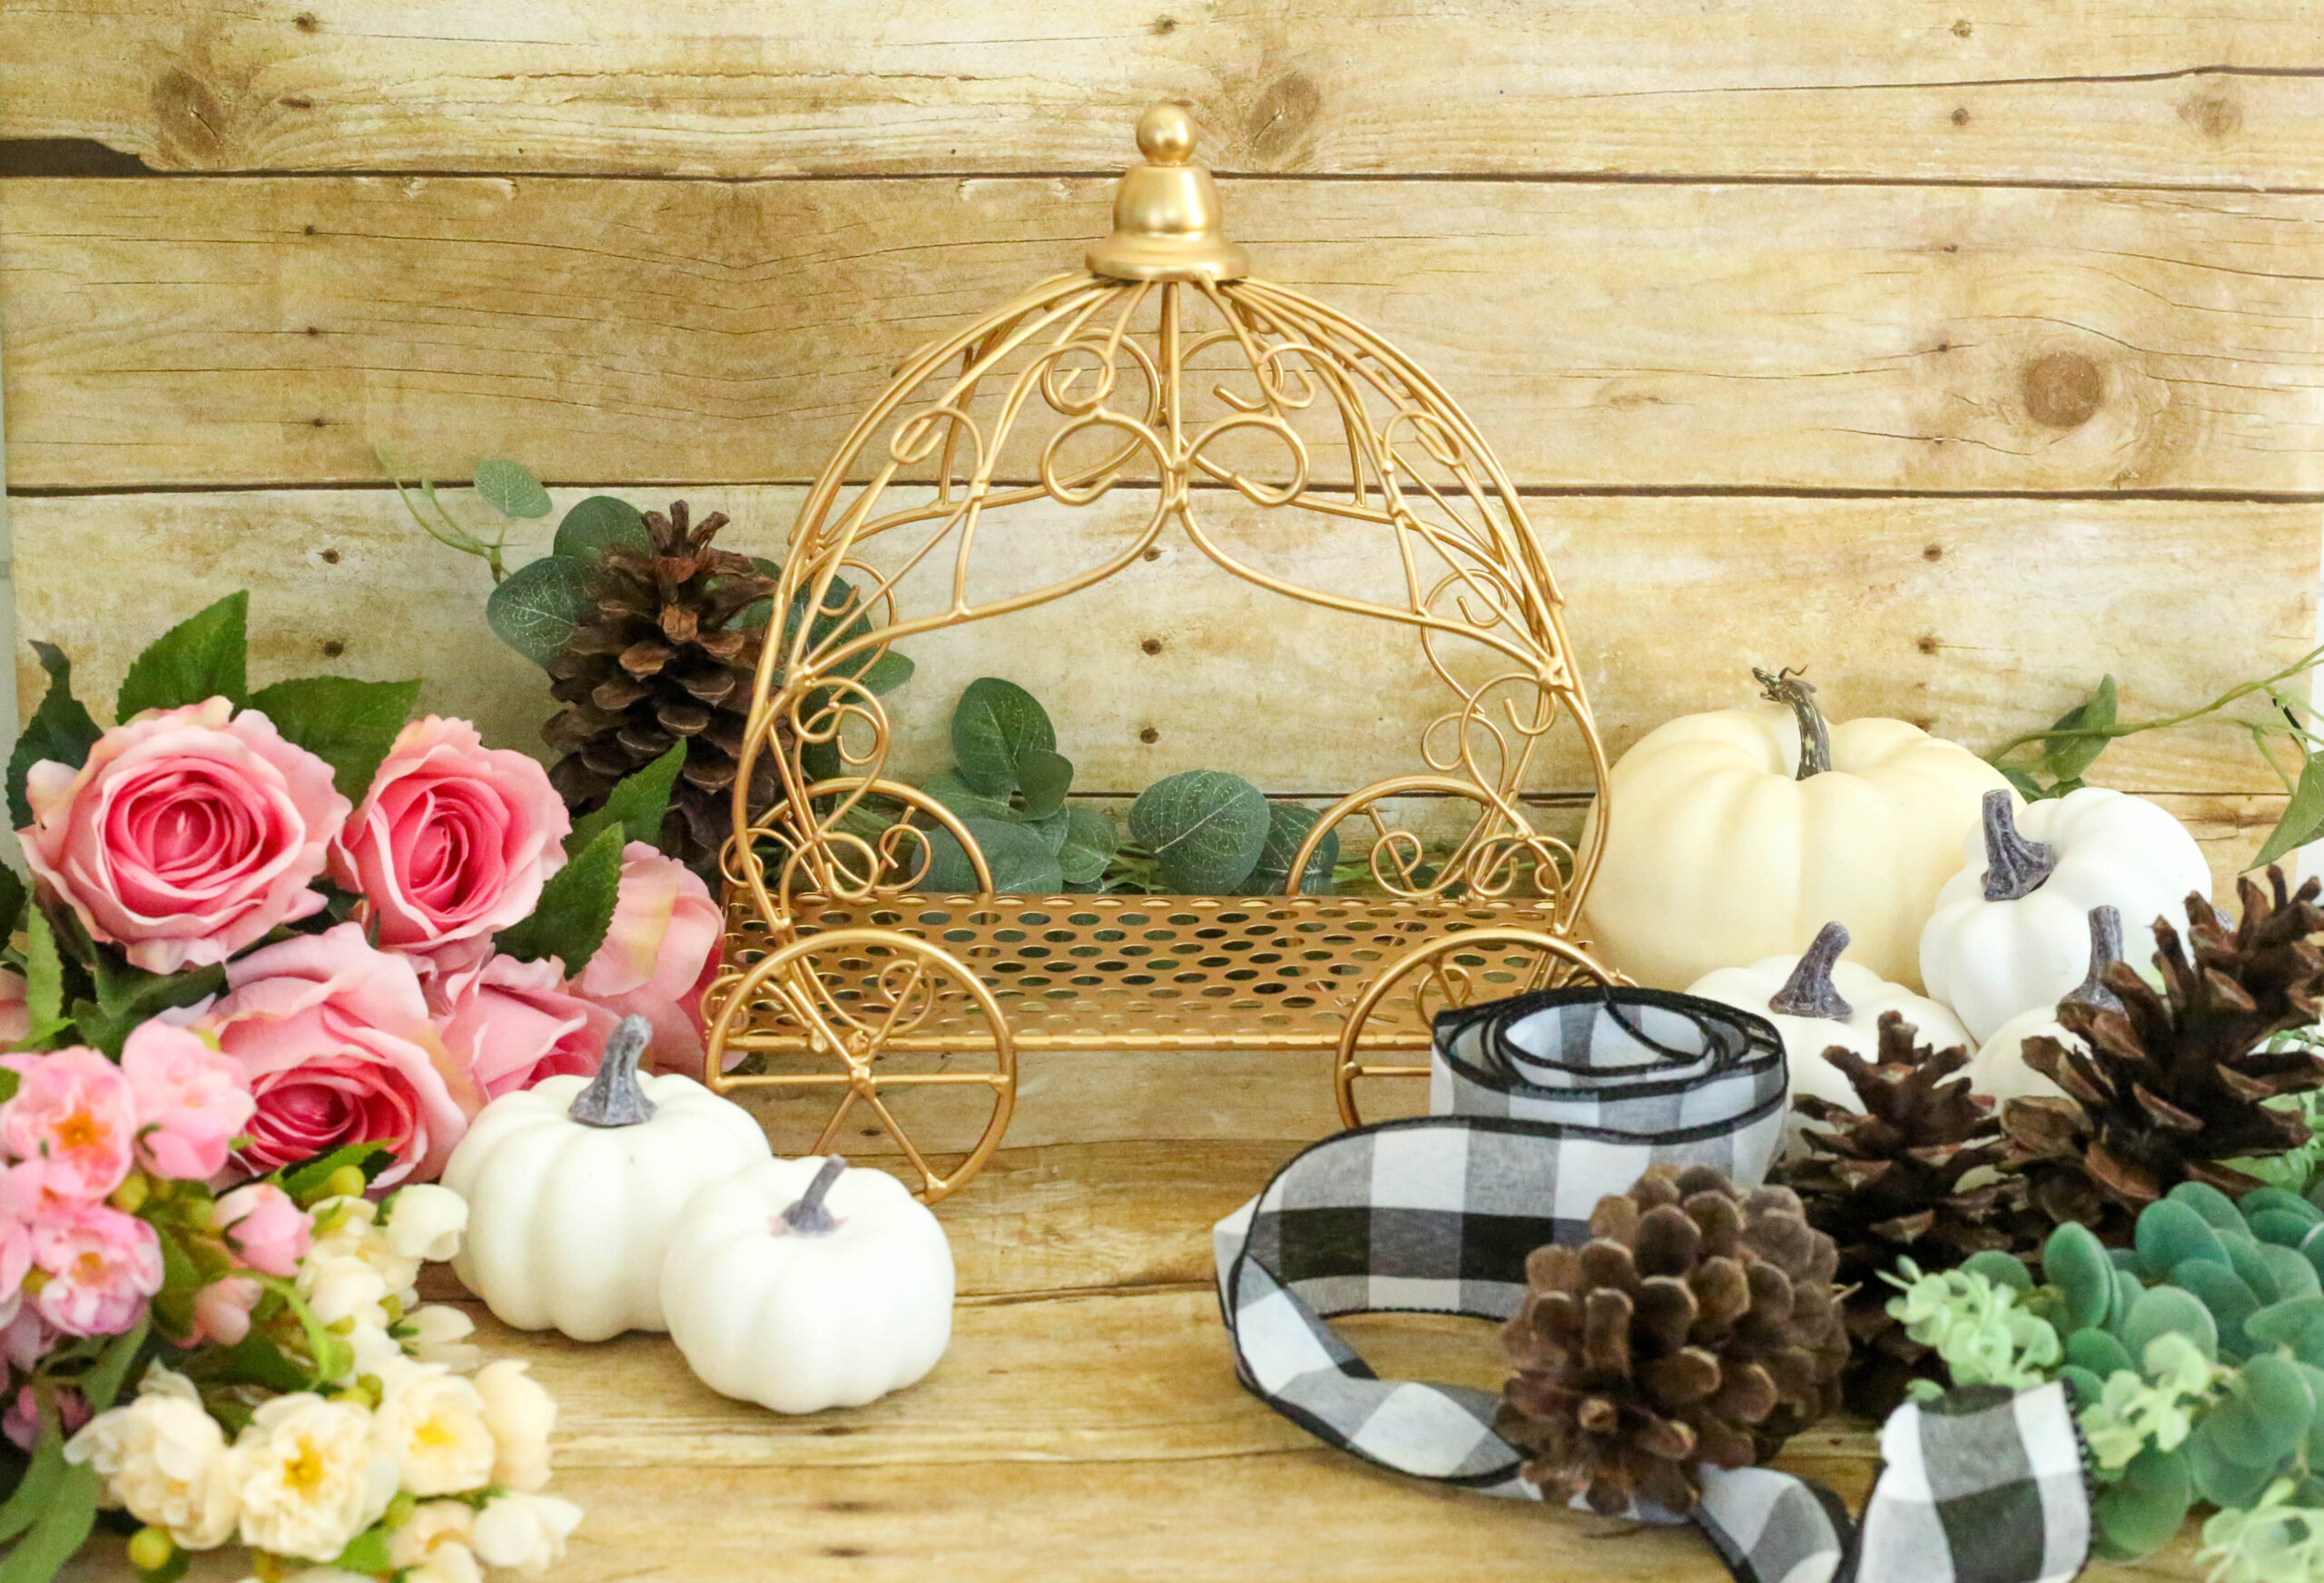
Here’s What You’ll Need:
- 1 Pumpkin Carriage Centerpiece
- 1 Craft Pumpkin to fit inside Carriage
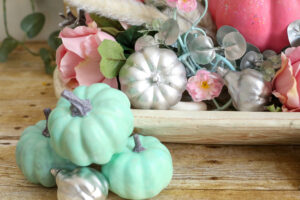
- Approximately 1 Dozen assorted fall gourds and mini pumpkins, in white
- 3-5 Pine Cones
- Two branches of Eucalyptus Greenery
- One bunch of Large Pink Roses
- Two branches of Pink Garden Roses
- Six stems of 24″ Pampas Grass
- Wired Ribbon in a Buffalo Plaid Pattern
- Spray Paints in Aqua, Mint, and Silver
- Acrylic Craft Paint in Coral and White
- Glitterific Glitter Paint in Iridescent Hologram
- One Decorative Acorn
- Hot Glue Gun and Glue Sticks
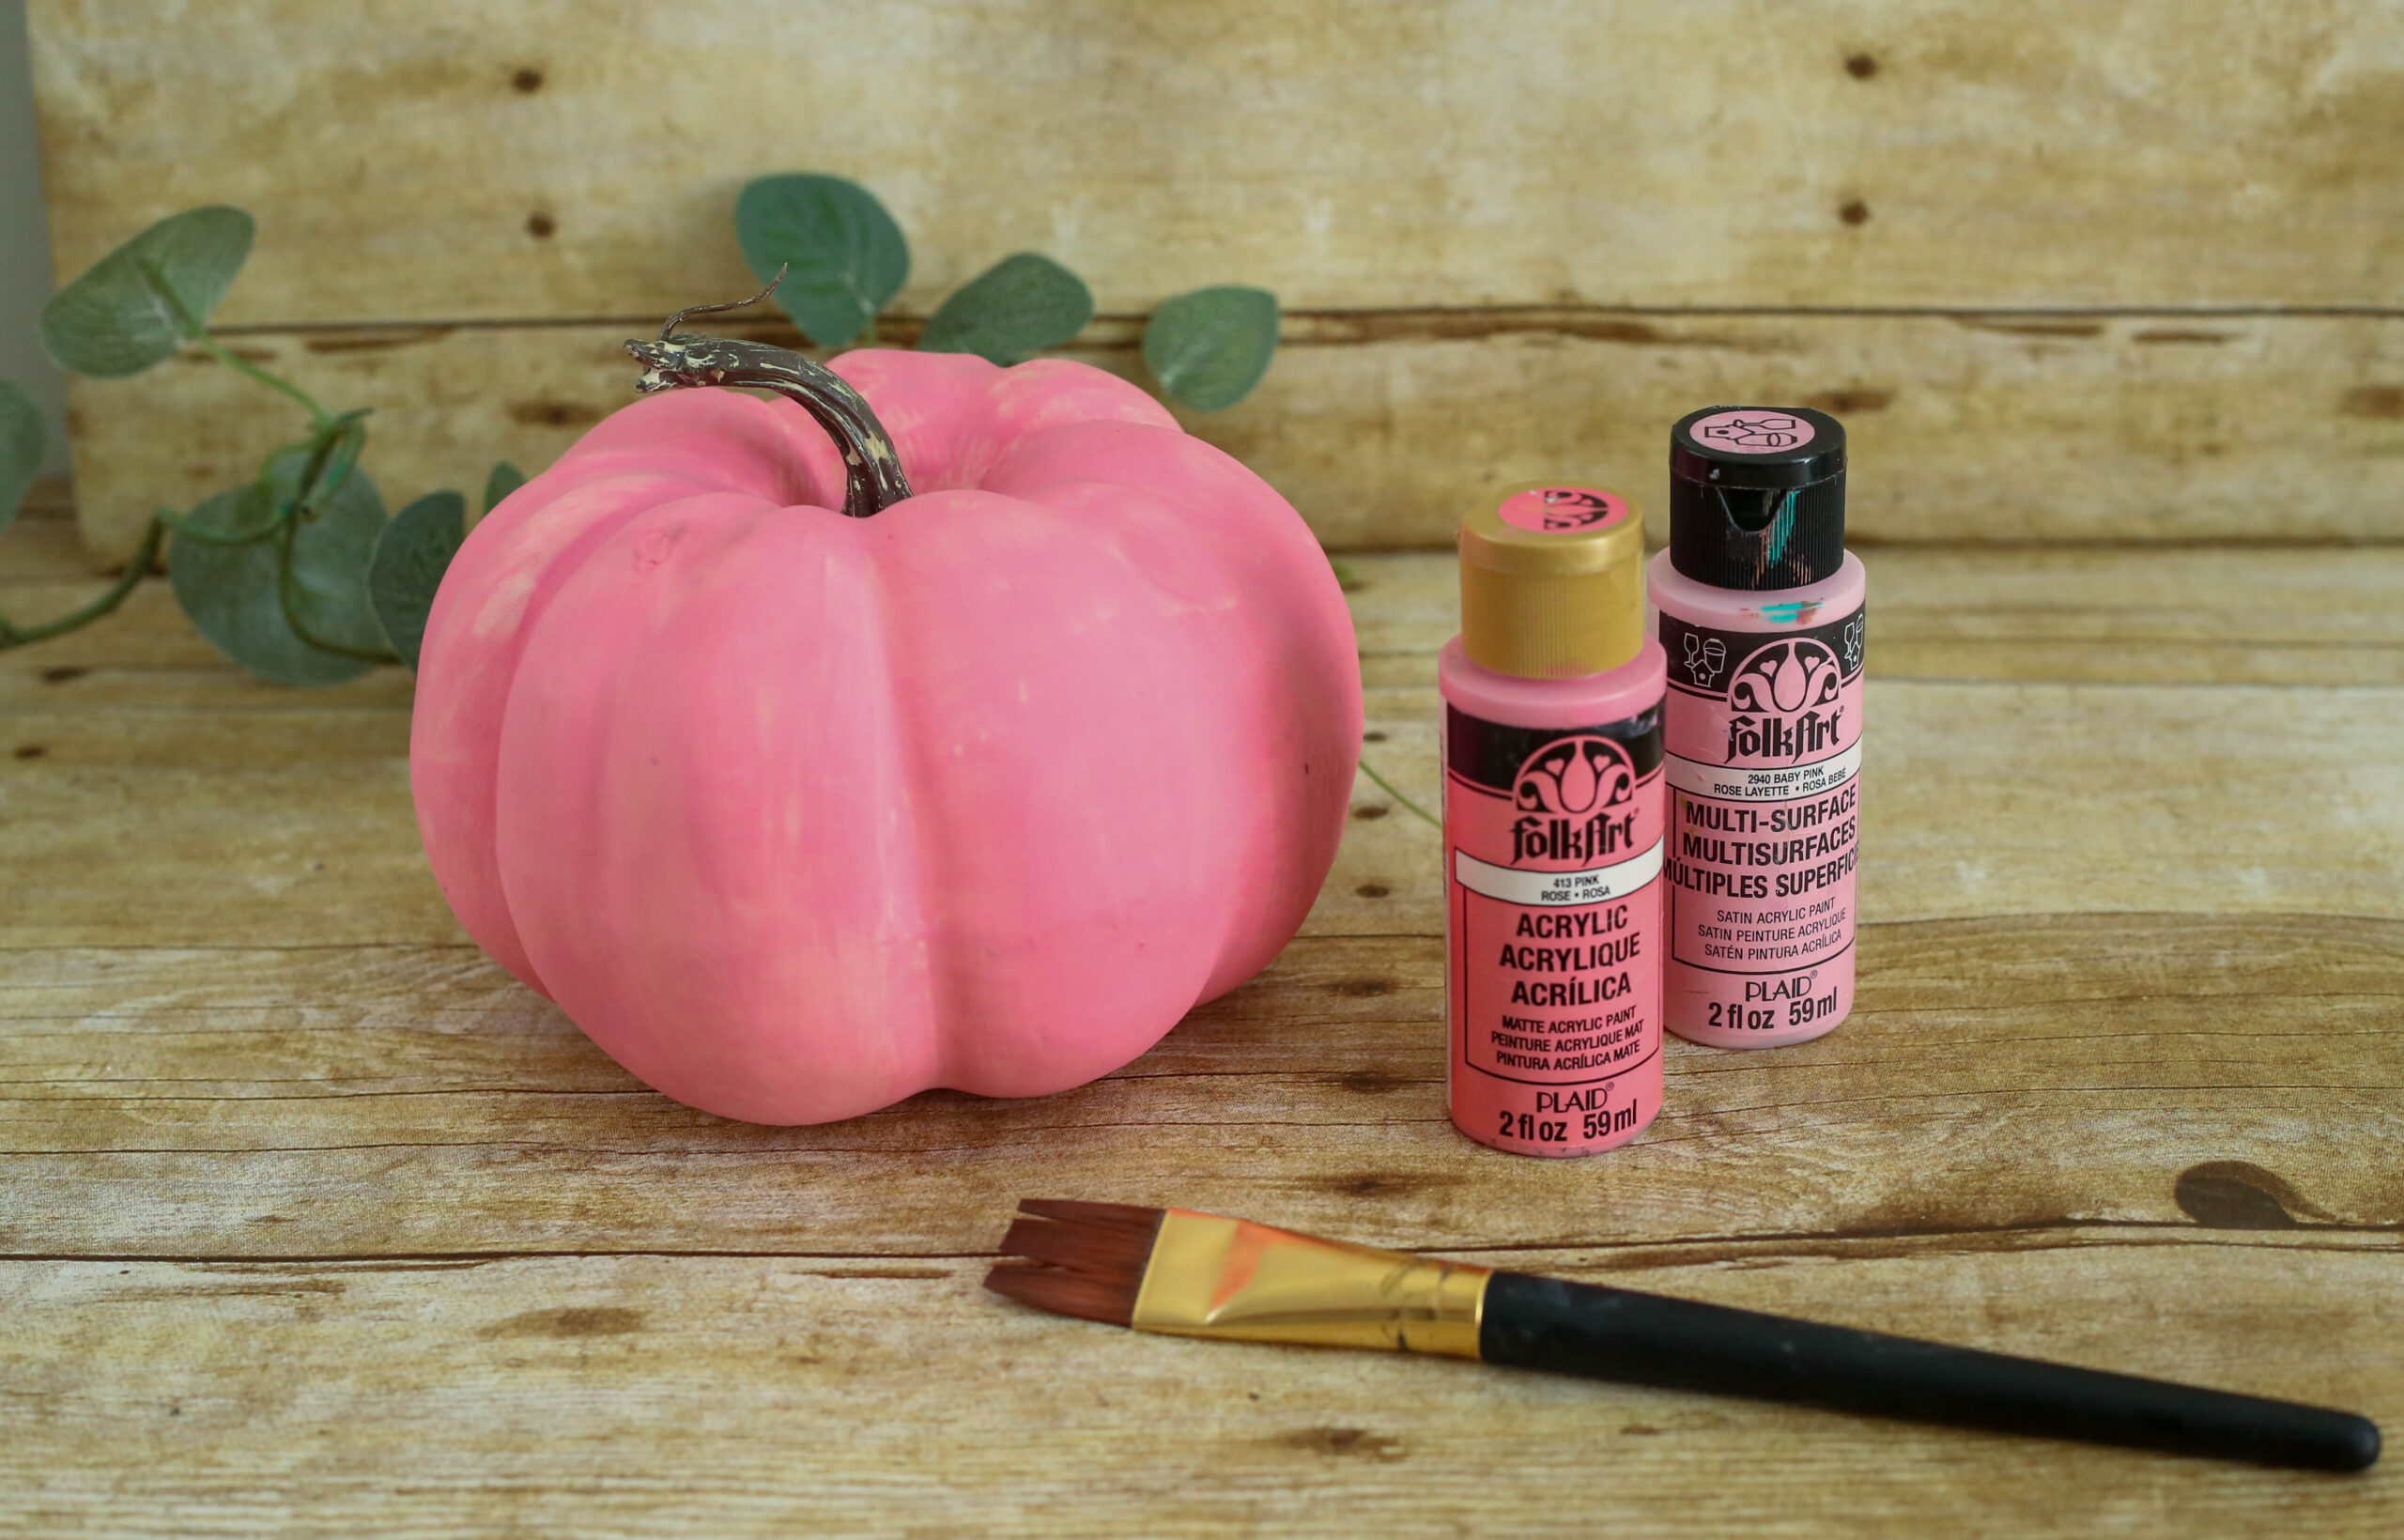
Step One
Paint the carriage in your favorite shade of light teal, and set aside to dry. Paint the craft pumpkin with a paintbrush using coral and light pink acrylic paints. You’ll need to do two coats to be sure none of the white base color shows through.
Step Two
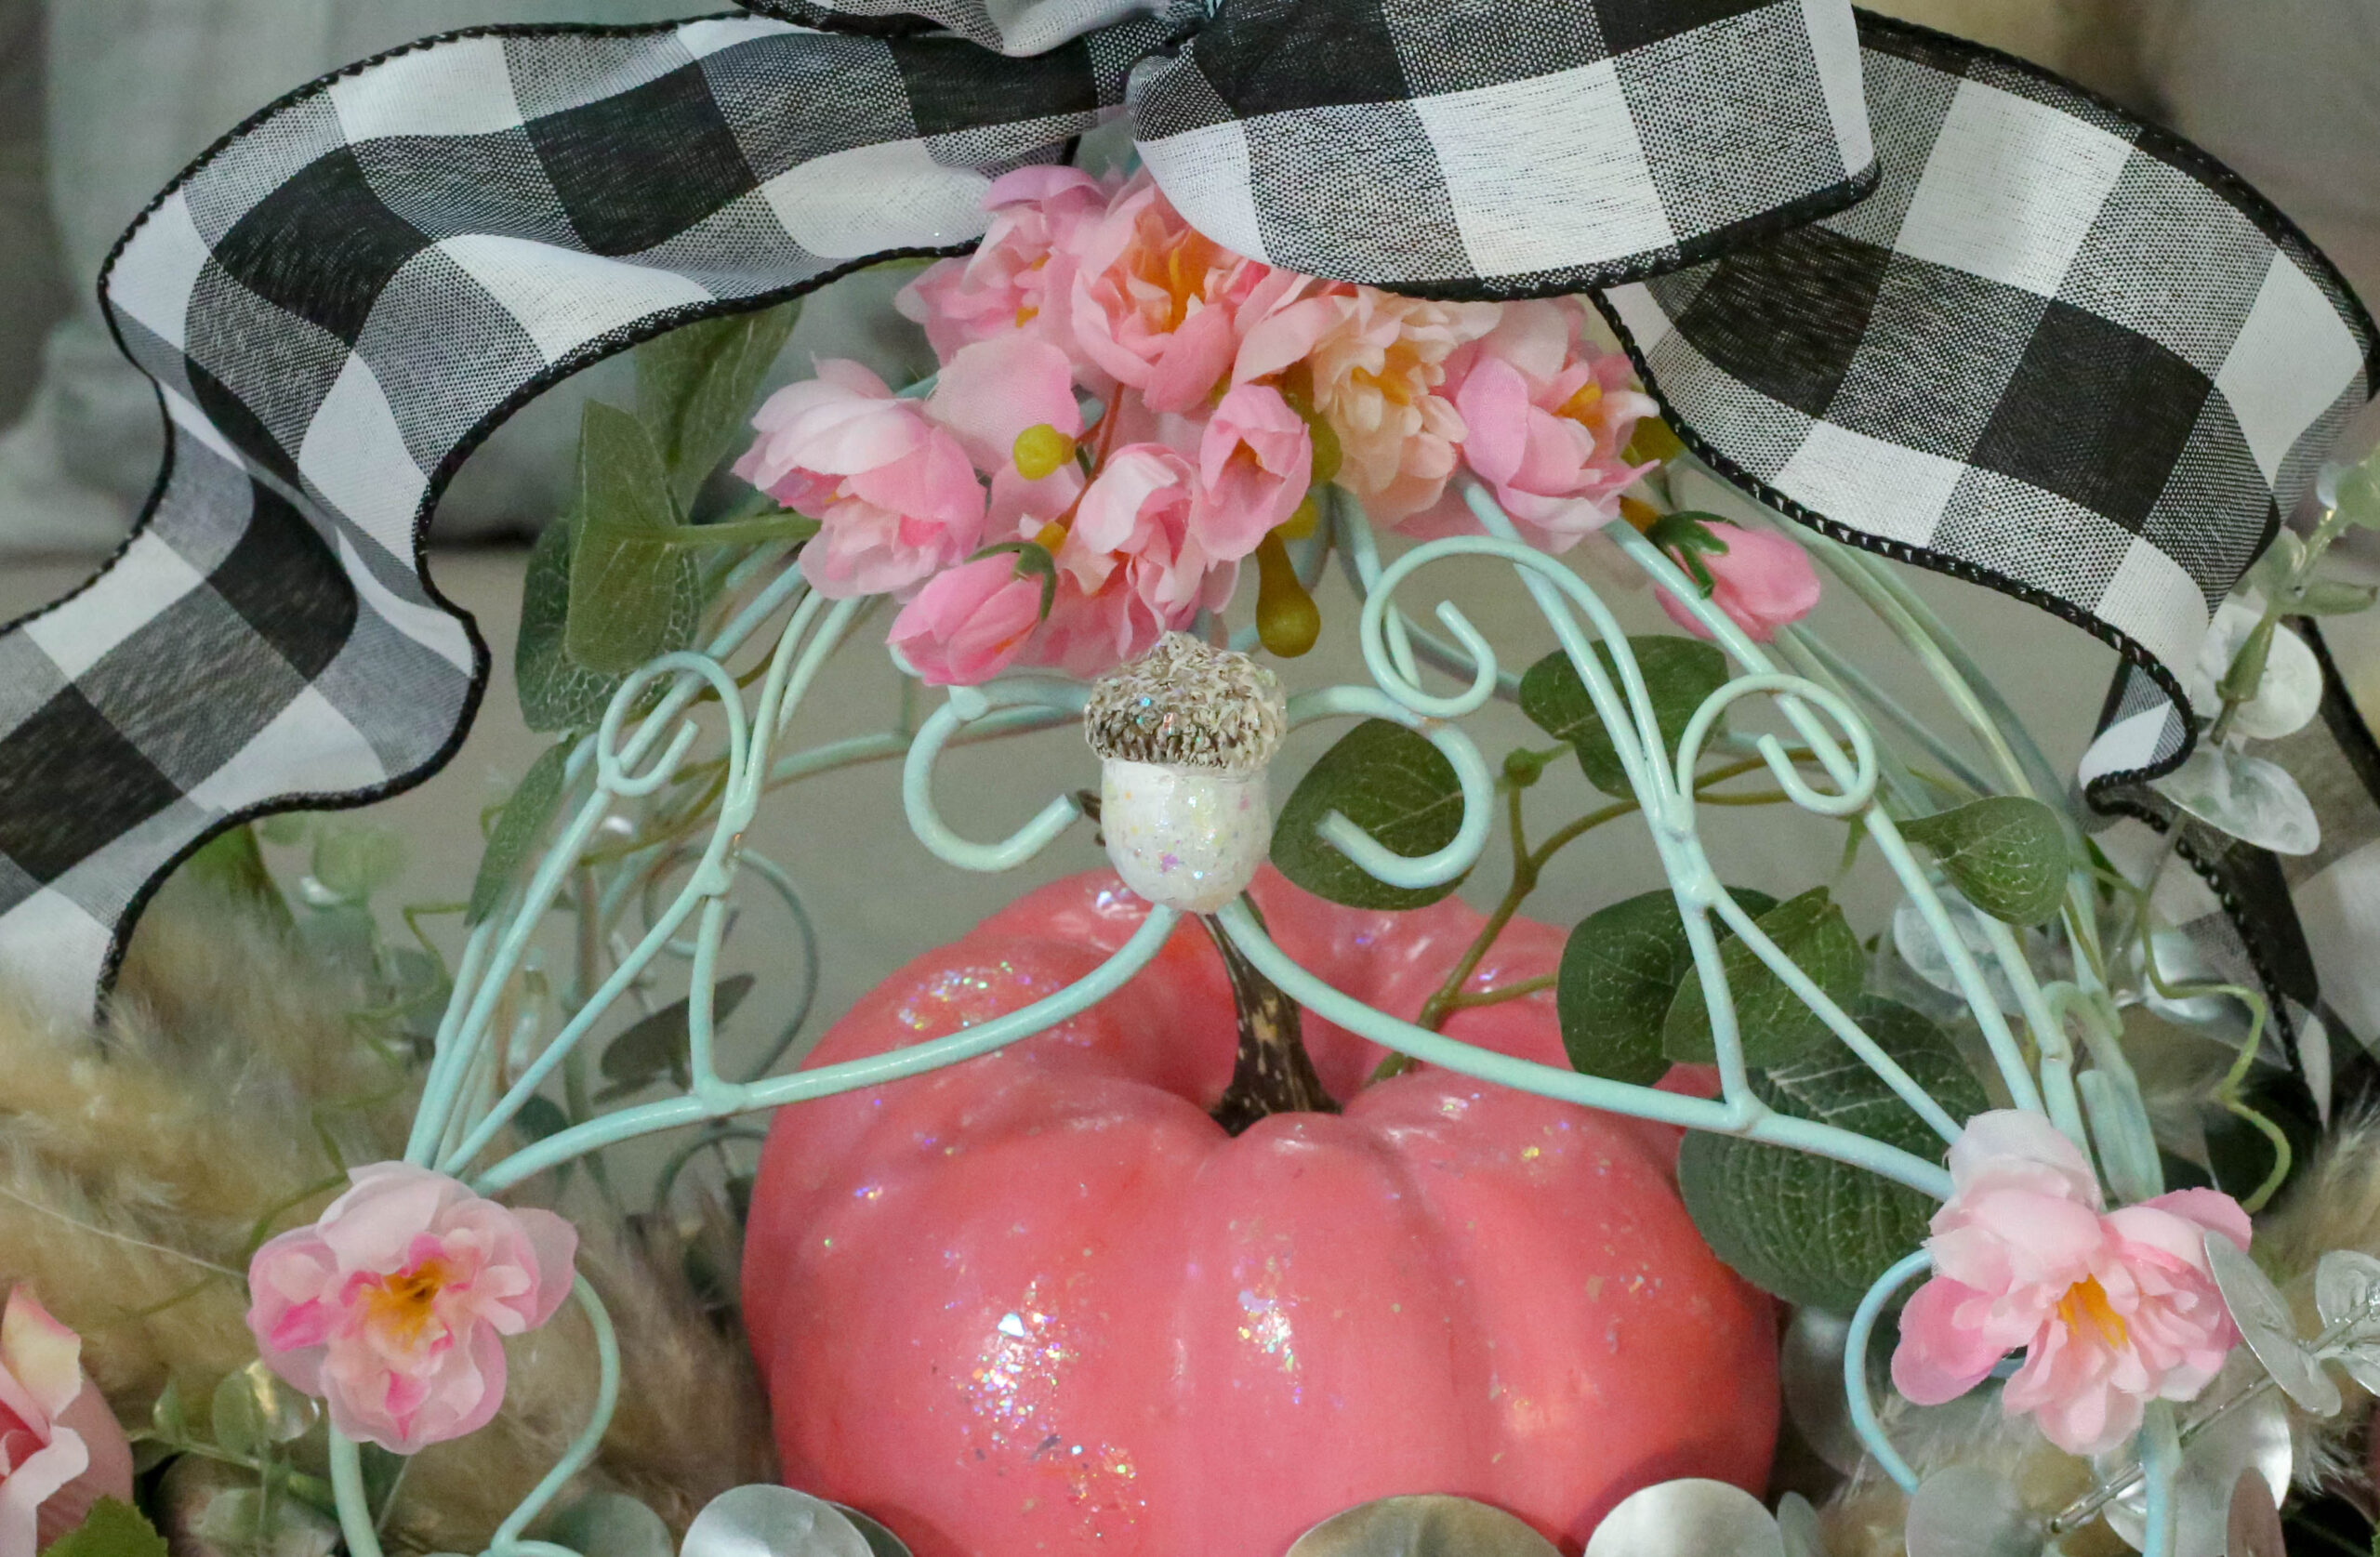
Brush on the Glitterific paint,concentrating more paint toward the top of the pumpkin, and letting it fade as you move down the sides.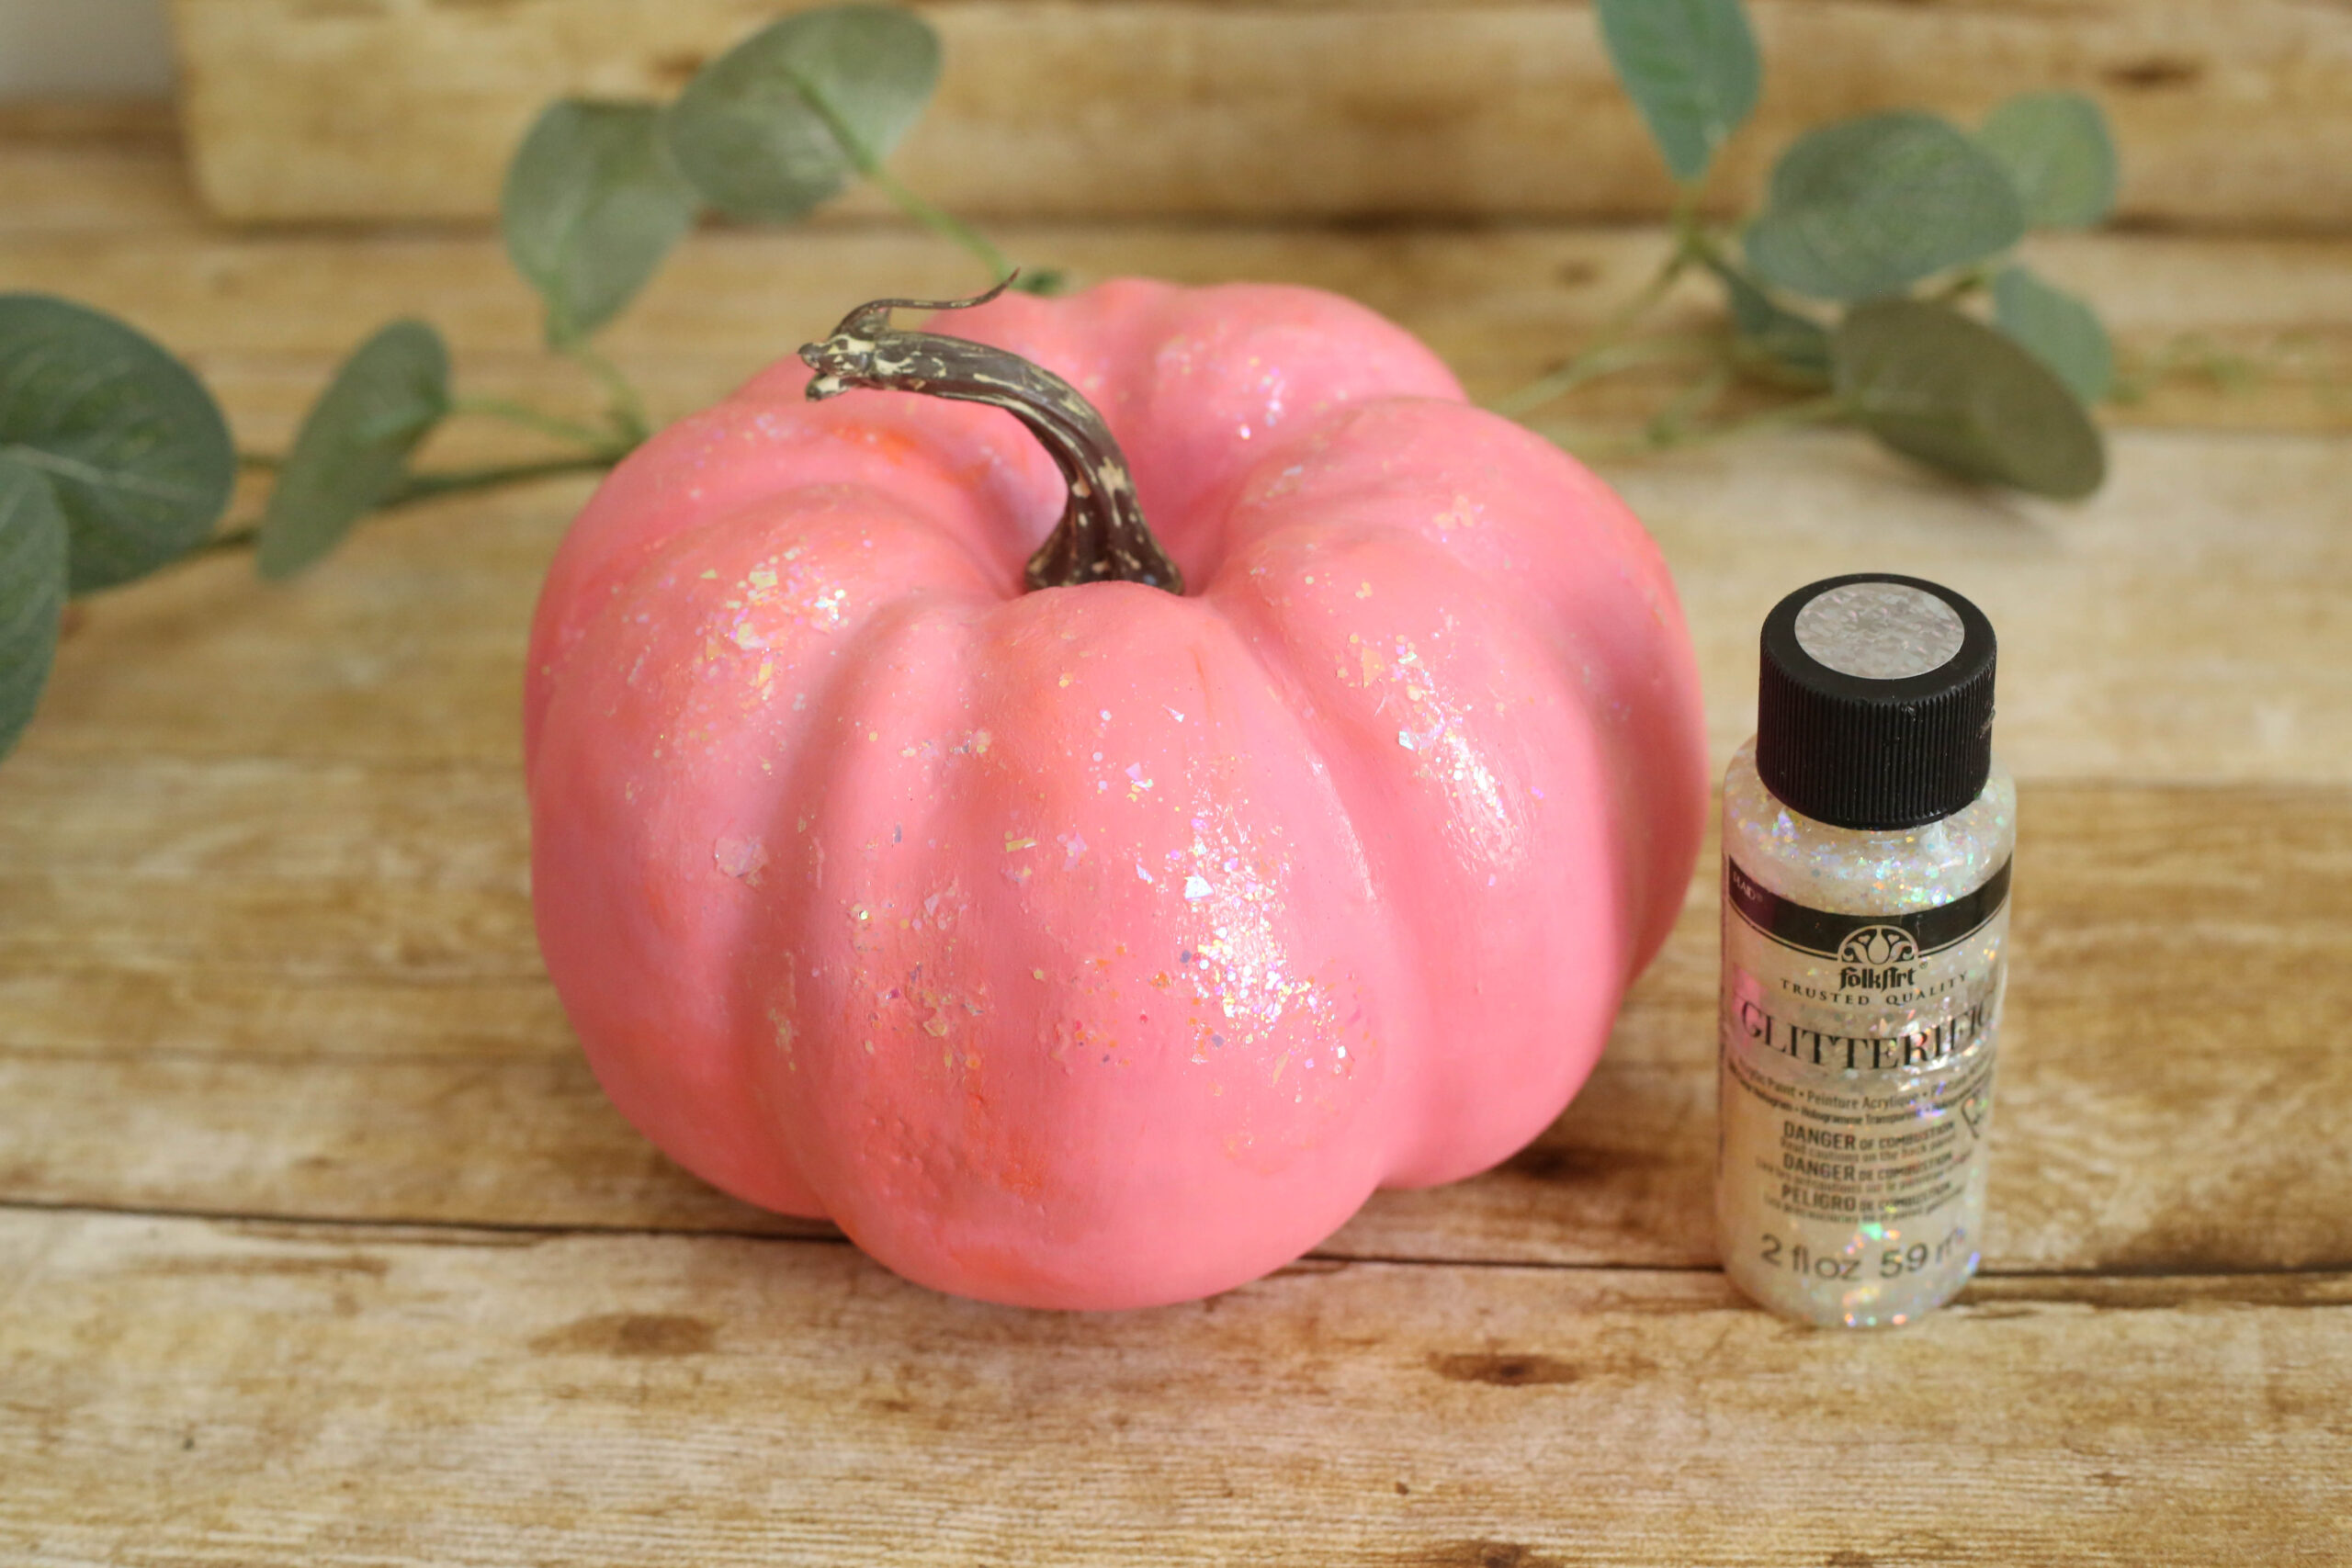
Step Three
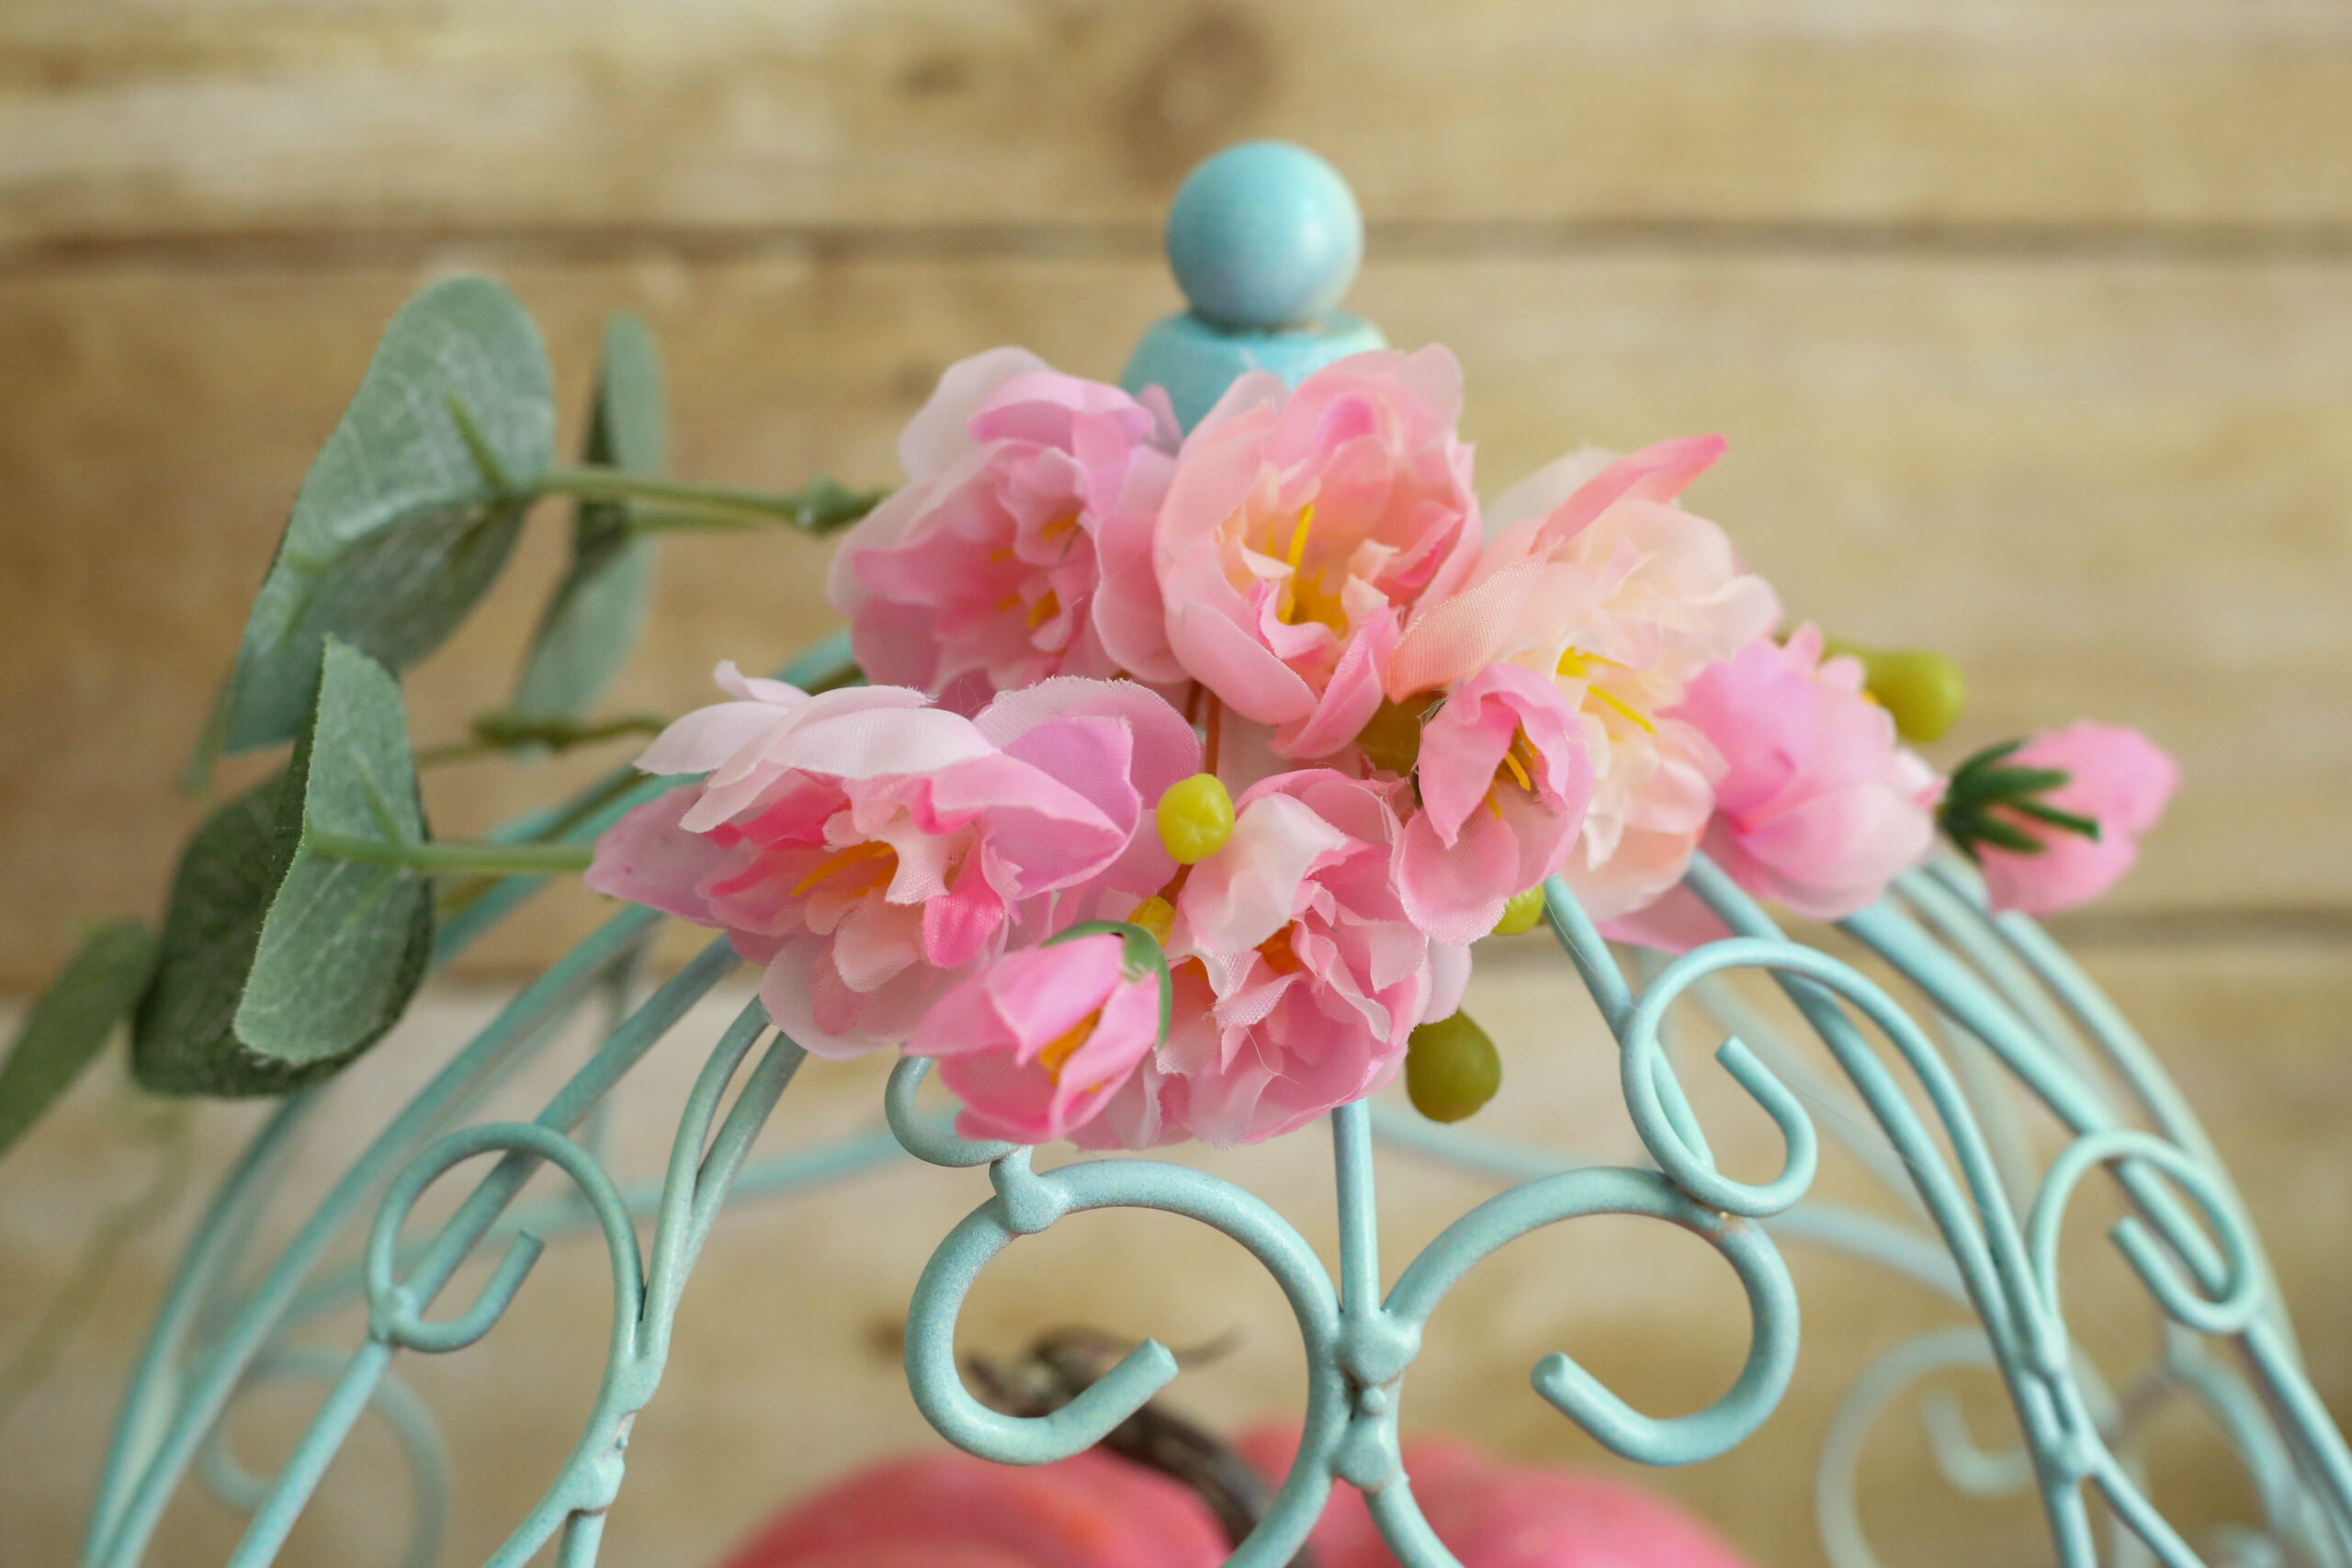
Using hot glue, adhere pink garden roses and a sprig of eucalyptus garland to the top of the carriage.
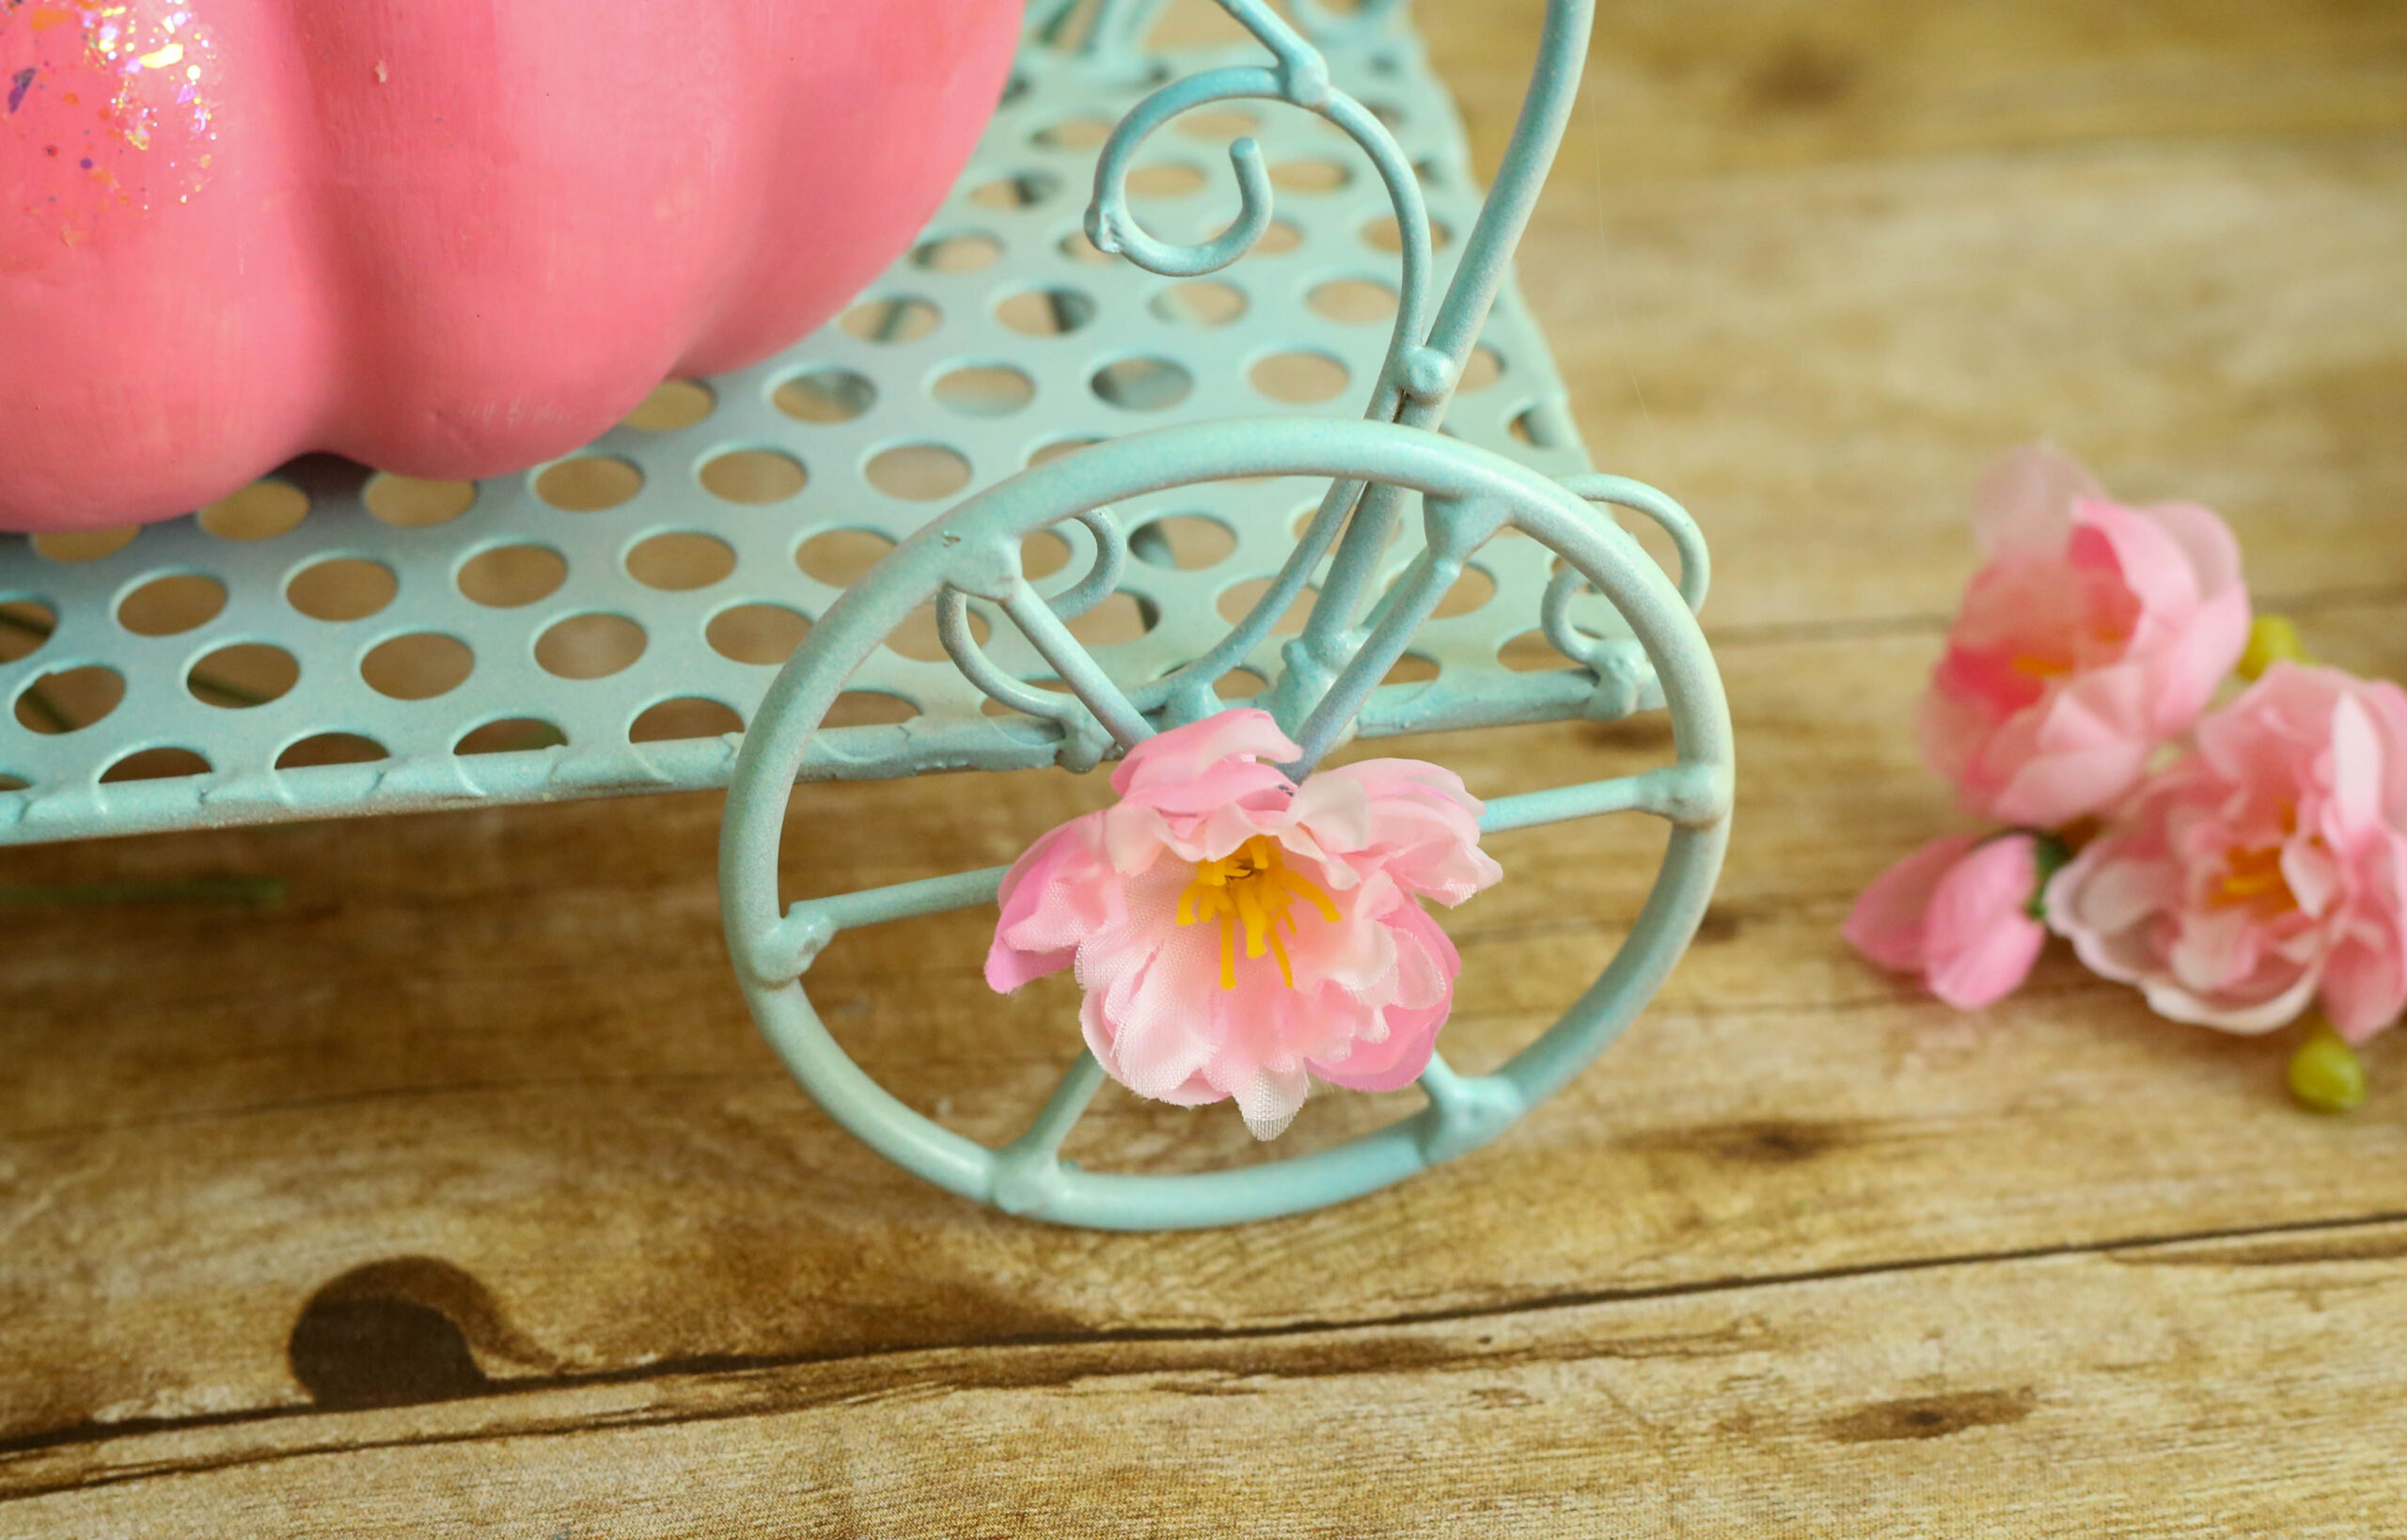
Add a flower to the center of each wheel, if you like.
Step Four
Trim apart the silver painted eucalyptus stems, and use the grid at the bottom of the Cinderella carriage centerpiece to position them so that they come out from each side, like a spray. Cut very short pieces for the front center portion of the carriage, so that you don’t obstruct the pumpkin. Place a few in the back, as well, if you’d like your creation to be viewed from all sides.
Step Five
The centerpiece is lovely so far, but let’s go for a bigger look, shall we? I placed the embellished carriage into an ivory dough bowl from my own collection of decorative pieces. You might have such a bowl, but a long platter, low basket or dish would also work well for this step. You can also arrange the next items directly on a table, atop a runner, a mantle or other long flat surface.
Step Six
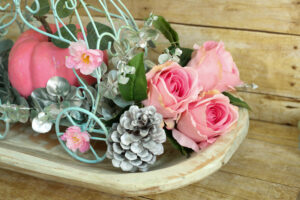
Trim the pink roses to a length of six to seven inches, and arrange three on either side of the Cinderella centerpiece. Tuck in silver painted pine cones, gourds and mini pumpkins to fill in the extra space. You could also use more eucalyptus if you prefer that look. I also add piles of mini pumpkins and gourds outside the bowl, in small clusters on the left and right sides. (Hint: In winter, you can change the greenery out for pine sprigs, switch the pumpkins to small present boxes and ornaments, and this design will carry through the Christmas season.)
Step Seven
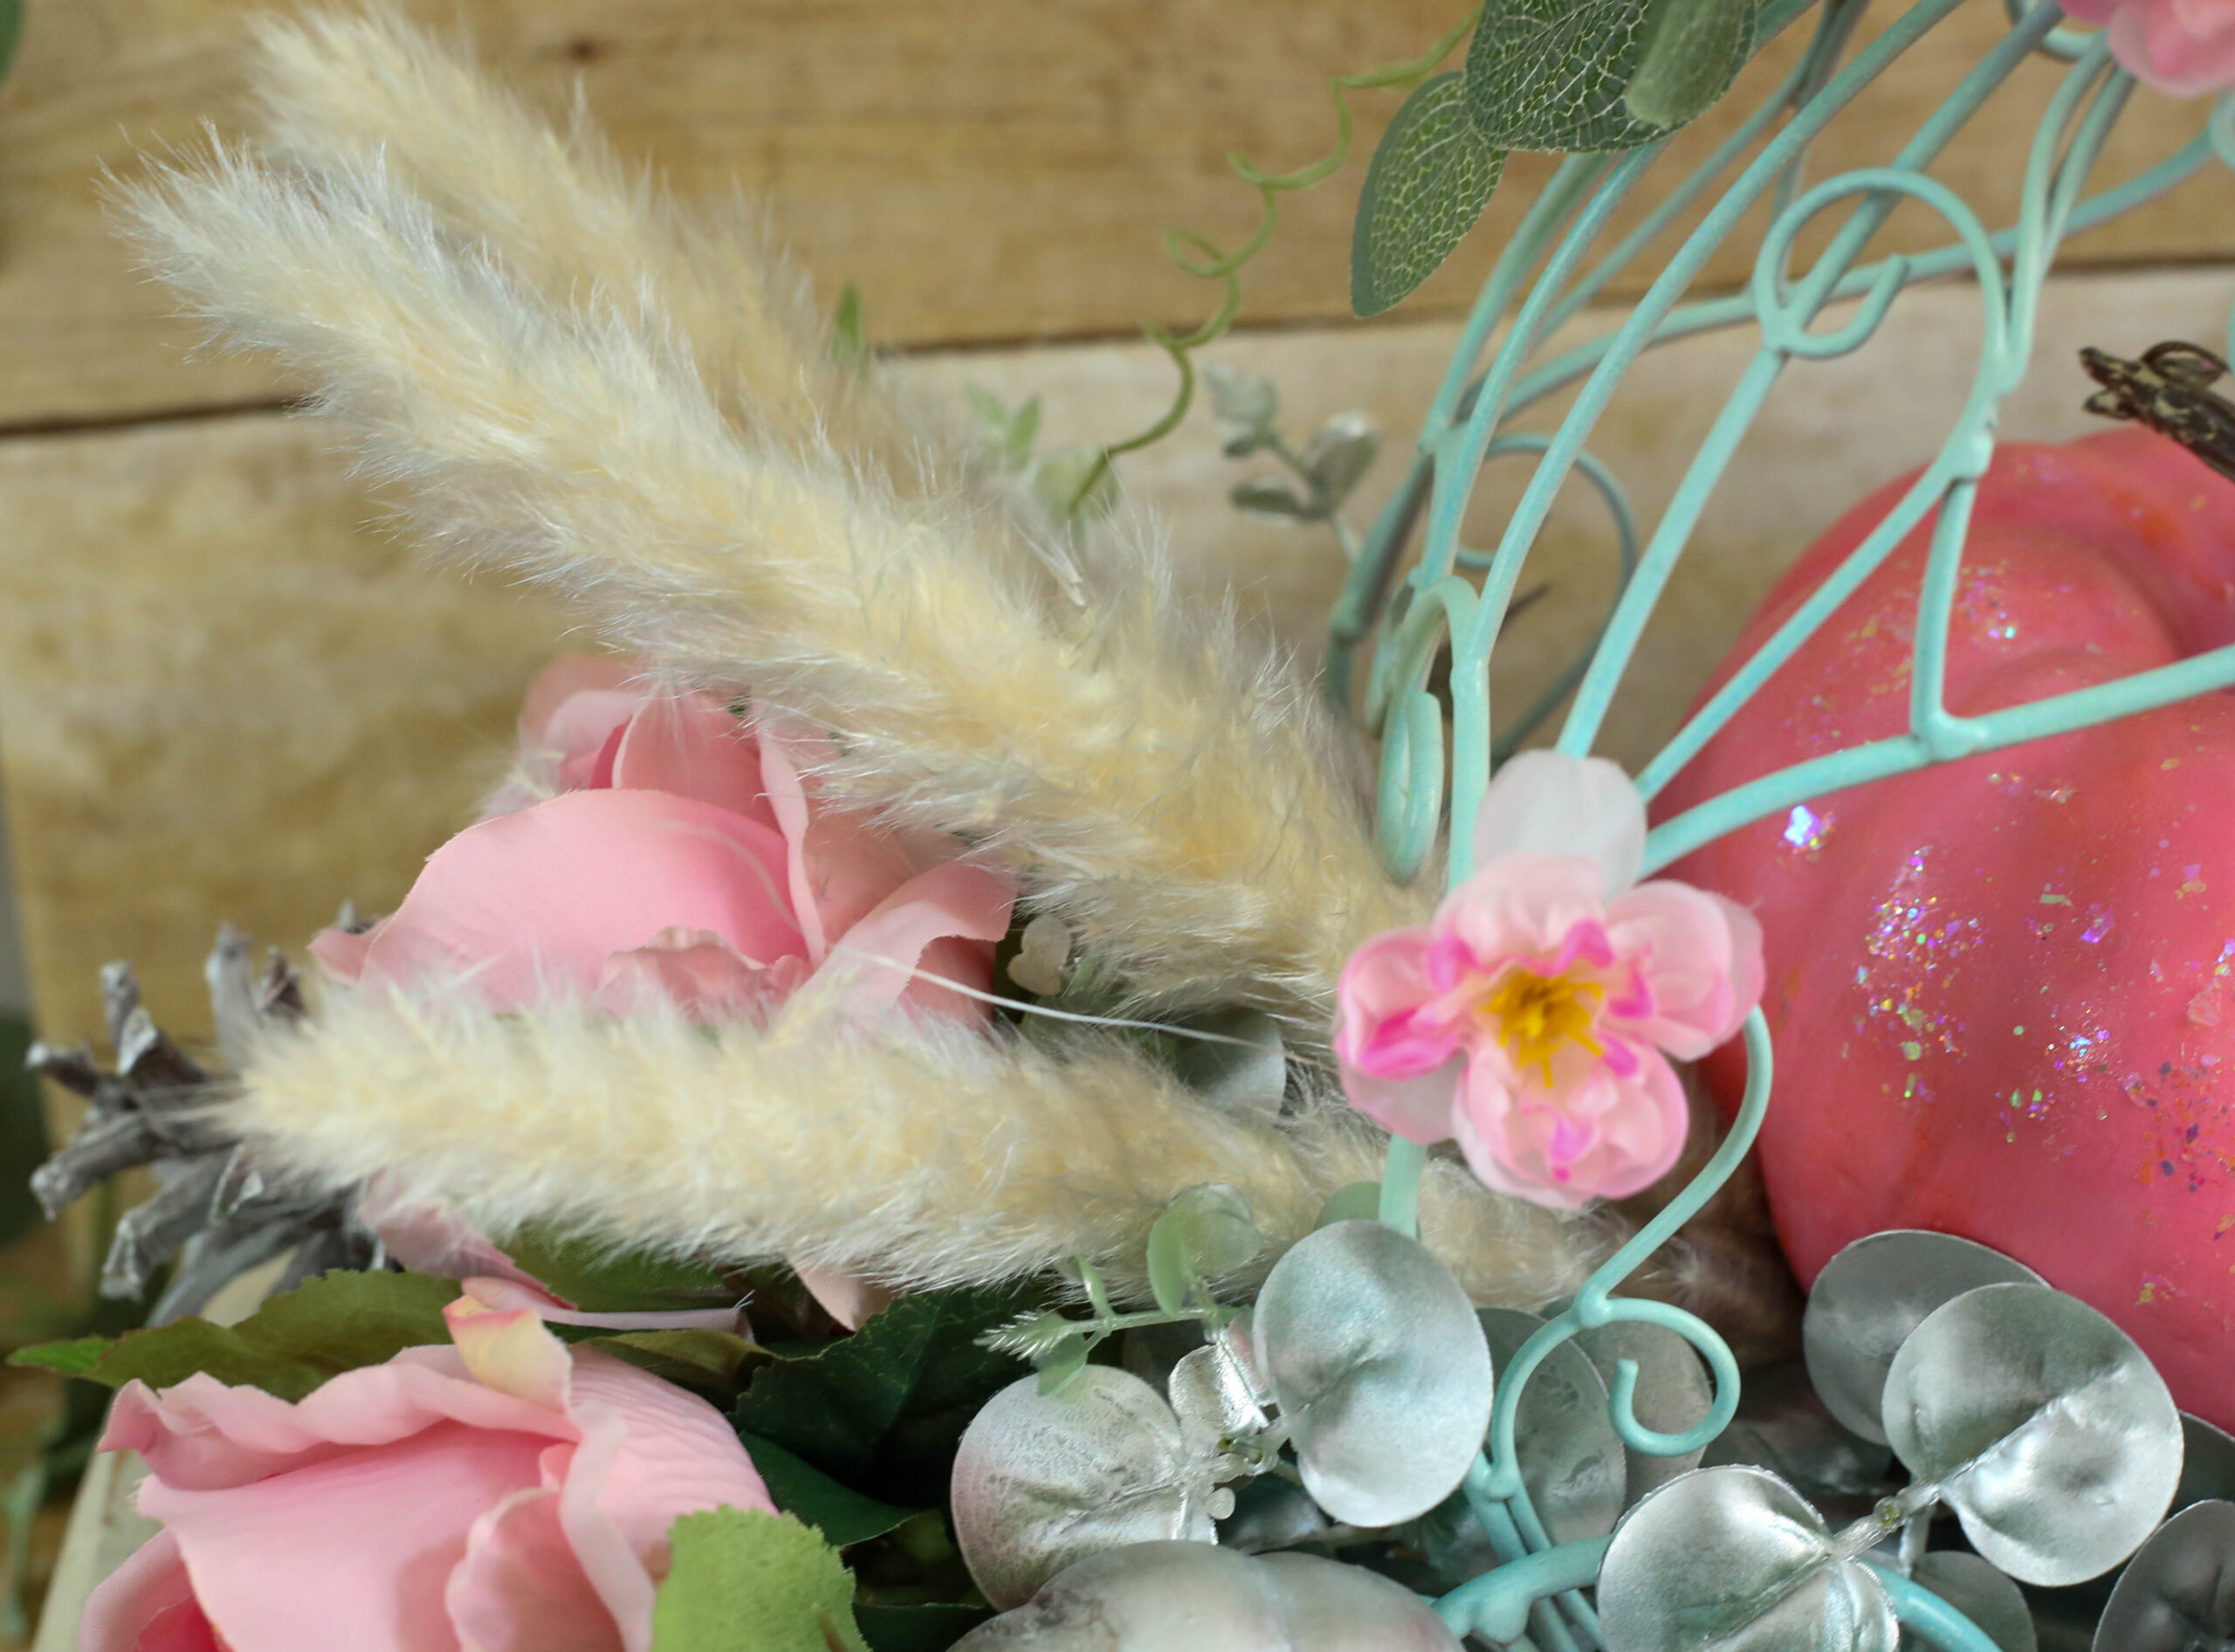
Mist pampas grass stems lightly with the silver spray paint to get this ethereal, light and feathery look. Tuck three stems into each side of the arrangement so that they are symmetrical.
Step Eight
Tie a full bow to the top of the Cinderella carriage using wide ribbon in a black and white buffalo pattern. This pattern is so popular and works well with nearly all colors. Buffalo check really delivers the fall message in this design.
As an added detail, a small acorn was painted white and glittered with Glitterific paint. I used hot glue to attach it to the center of the carriage, another fall touch.
I just love how this turned out. I placed it on a mirrored table I have and added a coordinating pillow cover to my silver velvet Chesterfield sofa. The finished look is fit for royalty! This would be a beautiful teen party theme, and would also be lovely on a dining room table or mantle.