
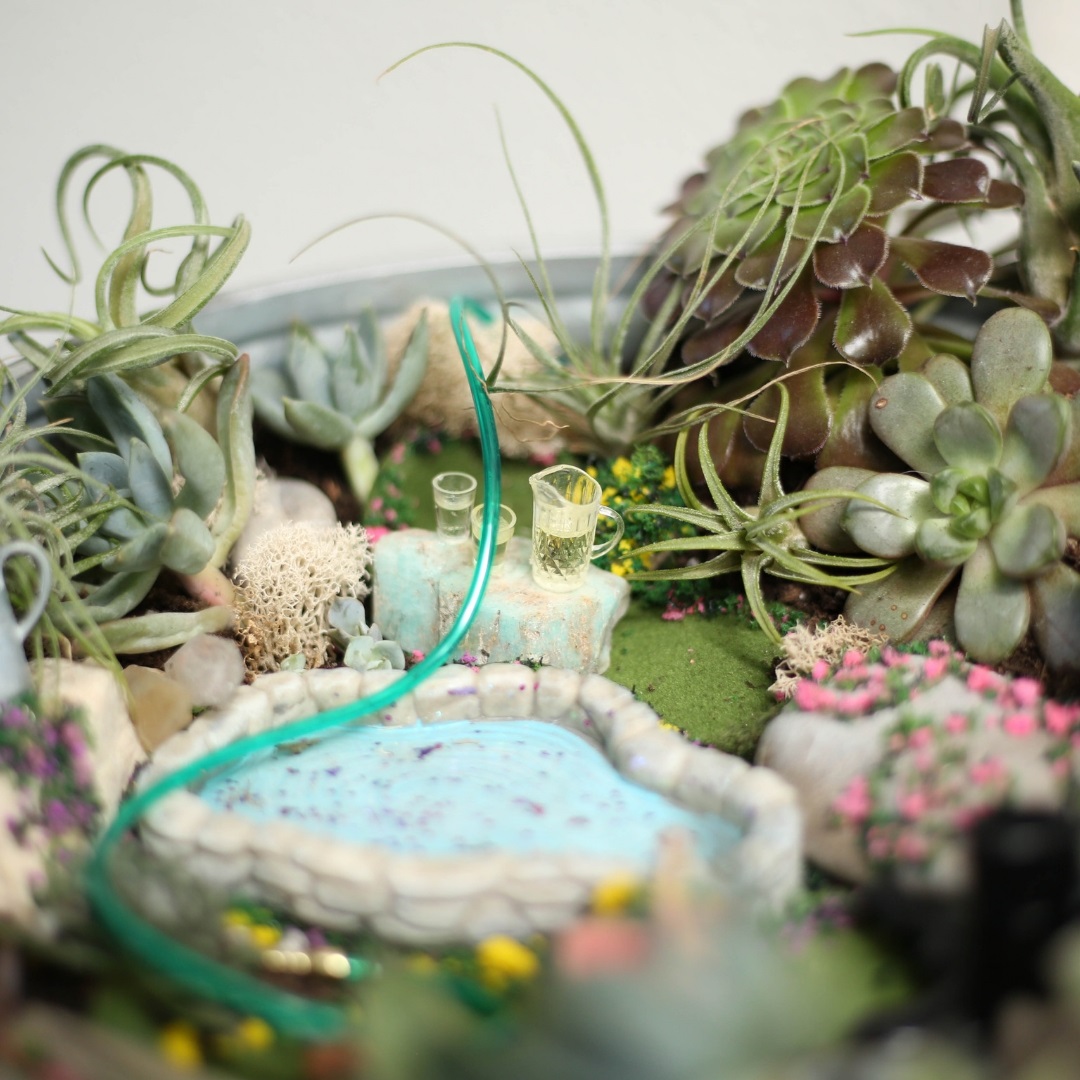
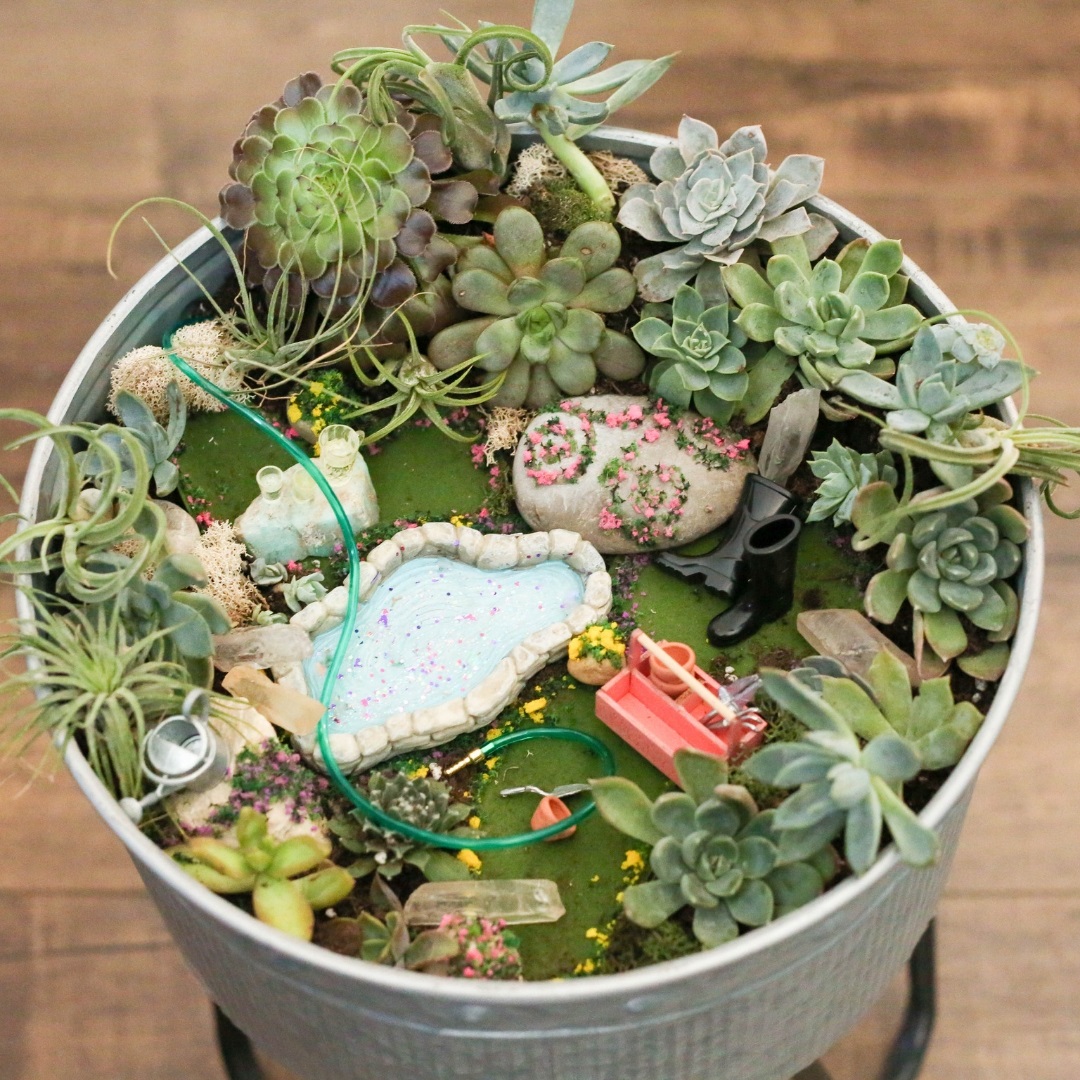
Spring has sprung, and this Miniature Spring Garden Scene with Succulents and Air Plants is a precious way to share your love of gardening to celebrate the season of renewal and growth. This adorable garden was created with intricately detailed miniature garden items from miniatures.com; special thanks to them for providing the products featured here, so that I could bring you this adorable design inspiration!
This project is such fun to put together and will take about an hour from start to finish, including clean up. This would be a great activity to do with kids, especially the planting. It’s so great for little ones to see a live plant grow and flourish under their care. The small fairy garden like touches just add extra magic and enchantment to delight children and adults of all ages.
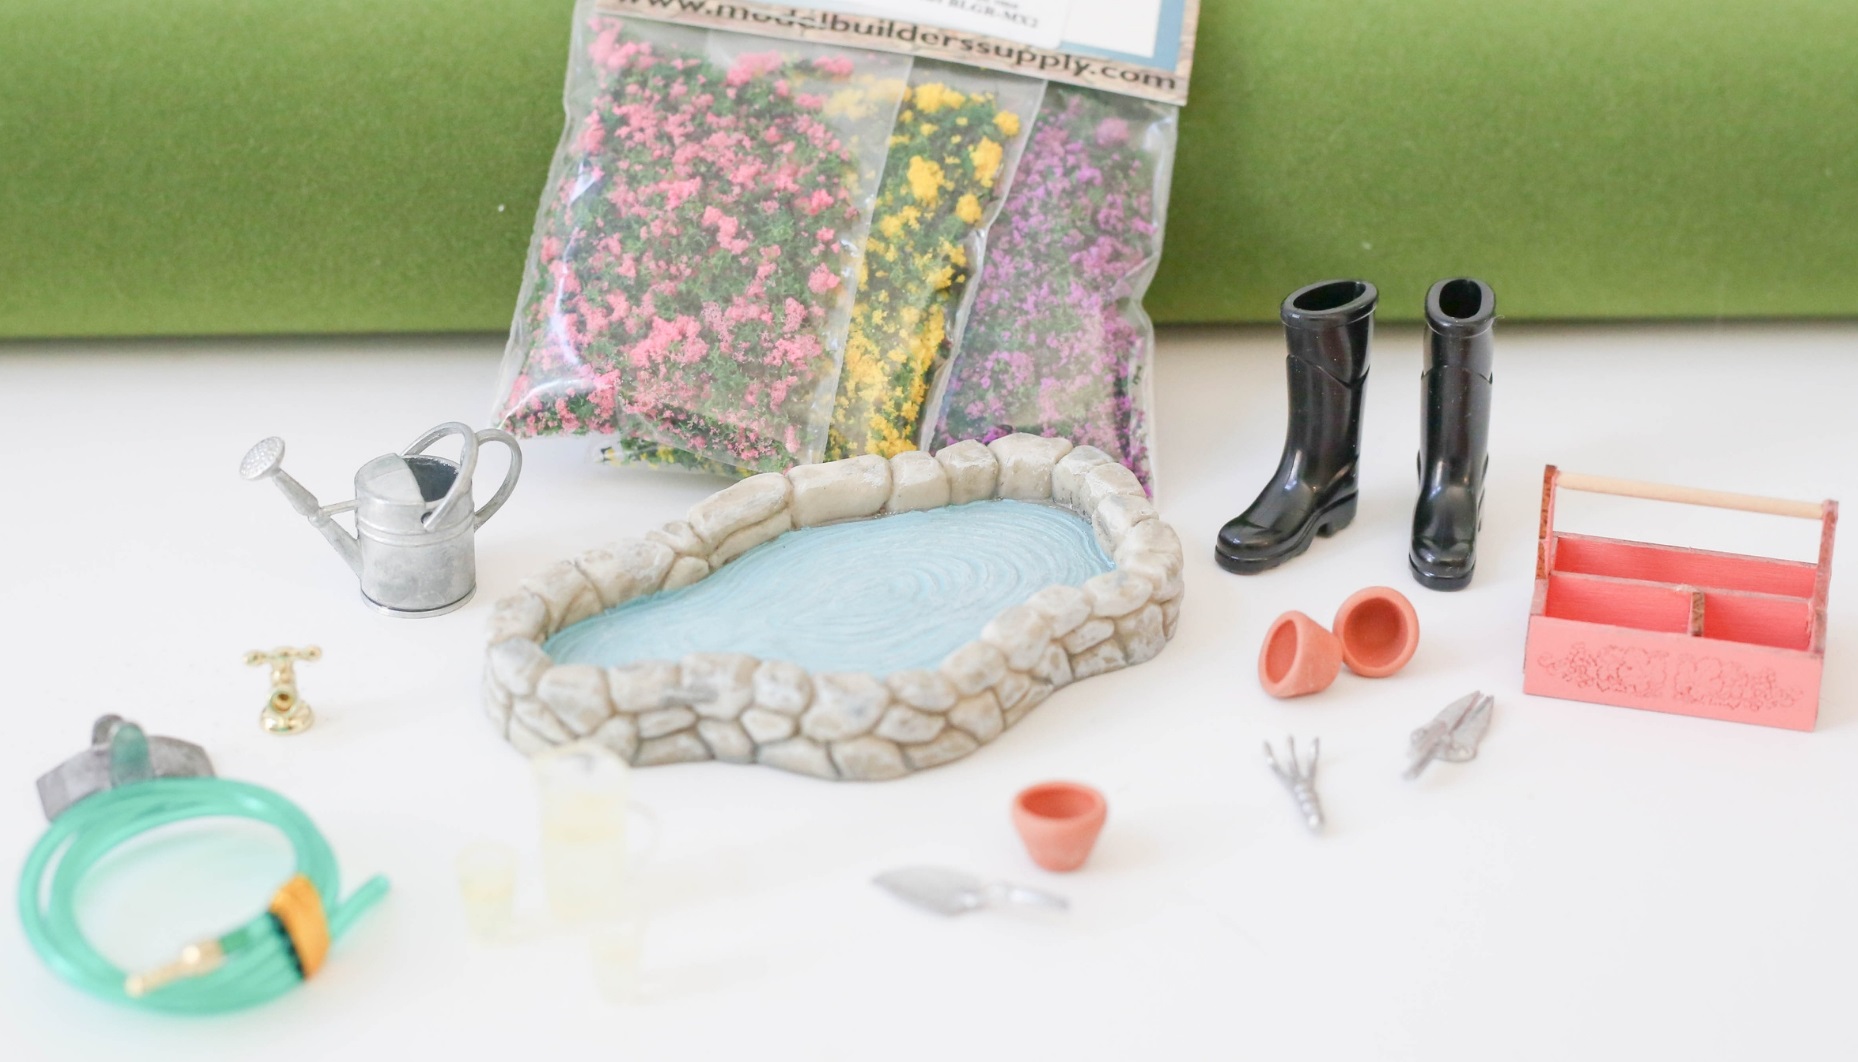
What You’ll Need:
- 4 piece Garden Hose Set
- Garden Pond
- Pink, Yellow and Purple Garden Growies
- Black Gardening Boots
- Silver Watering Can
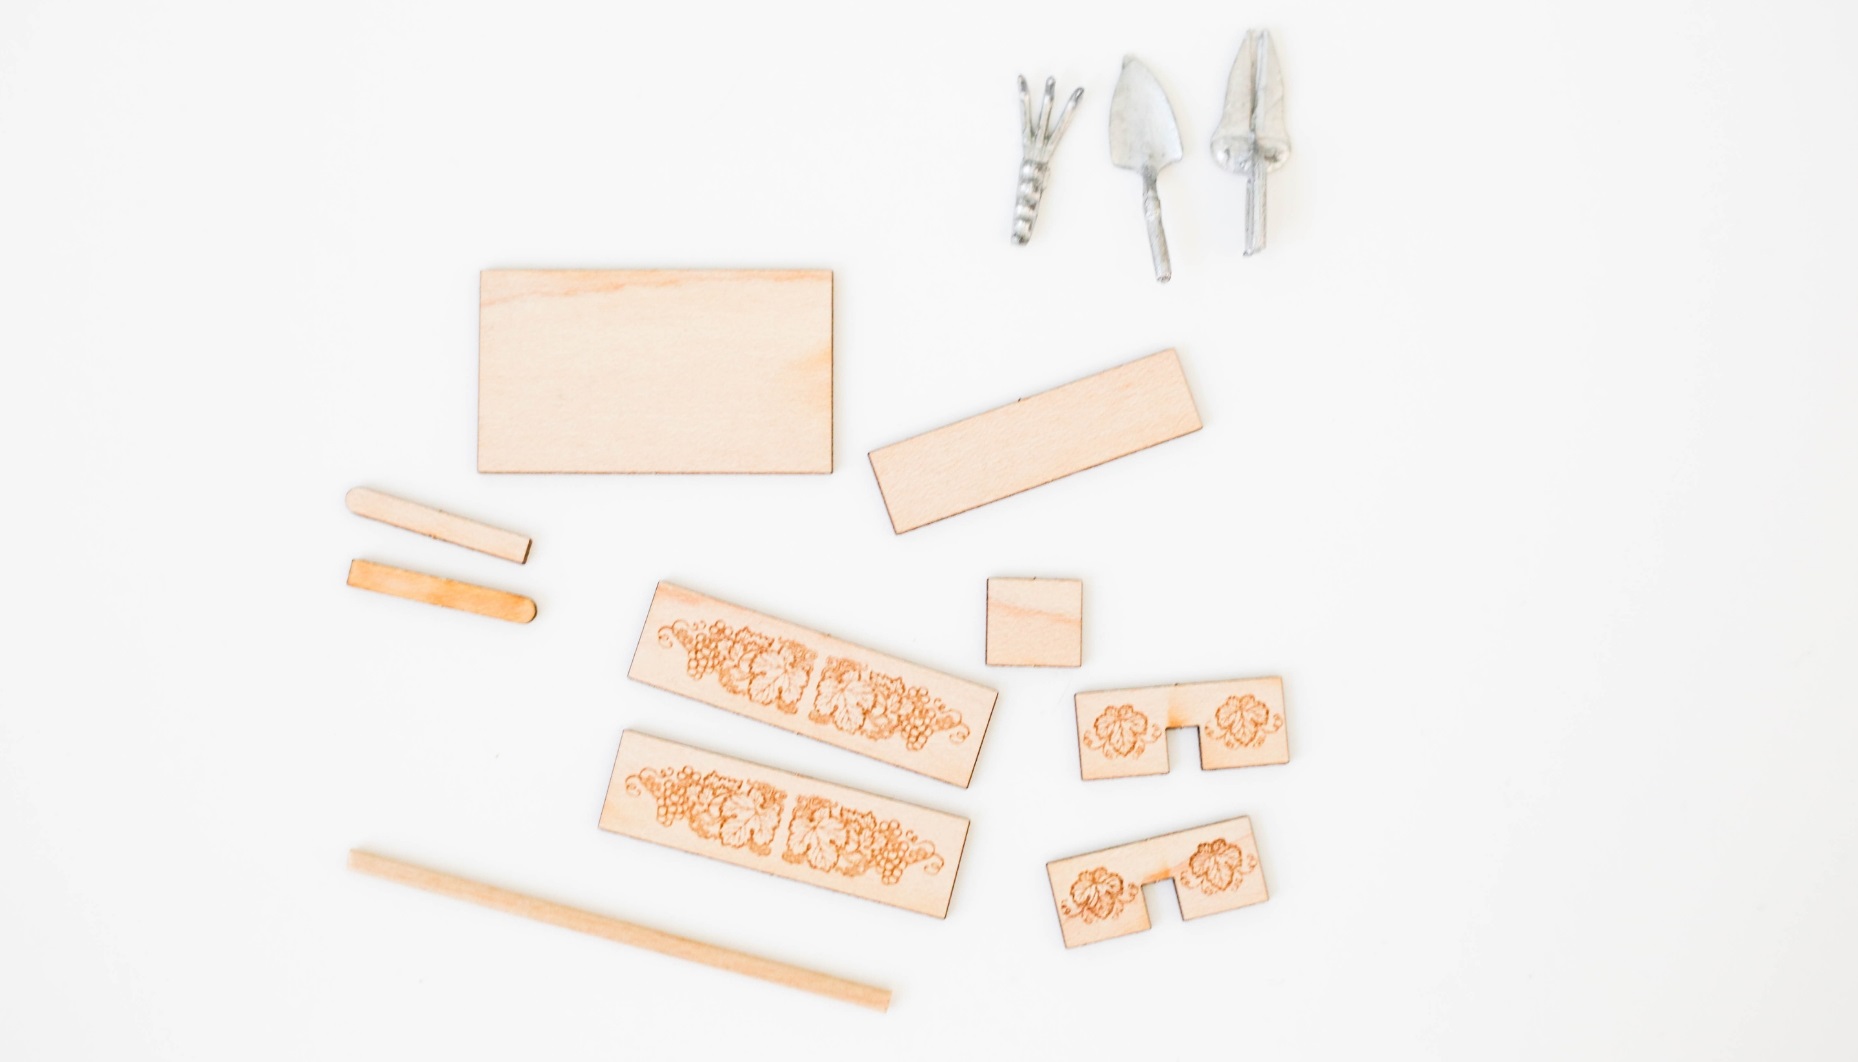
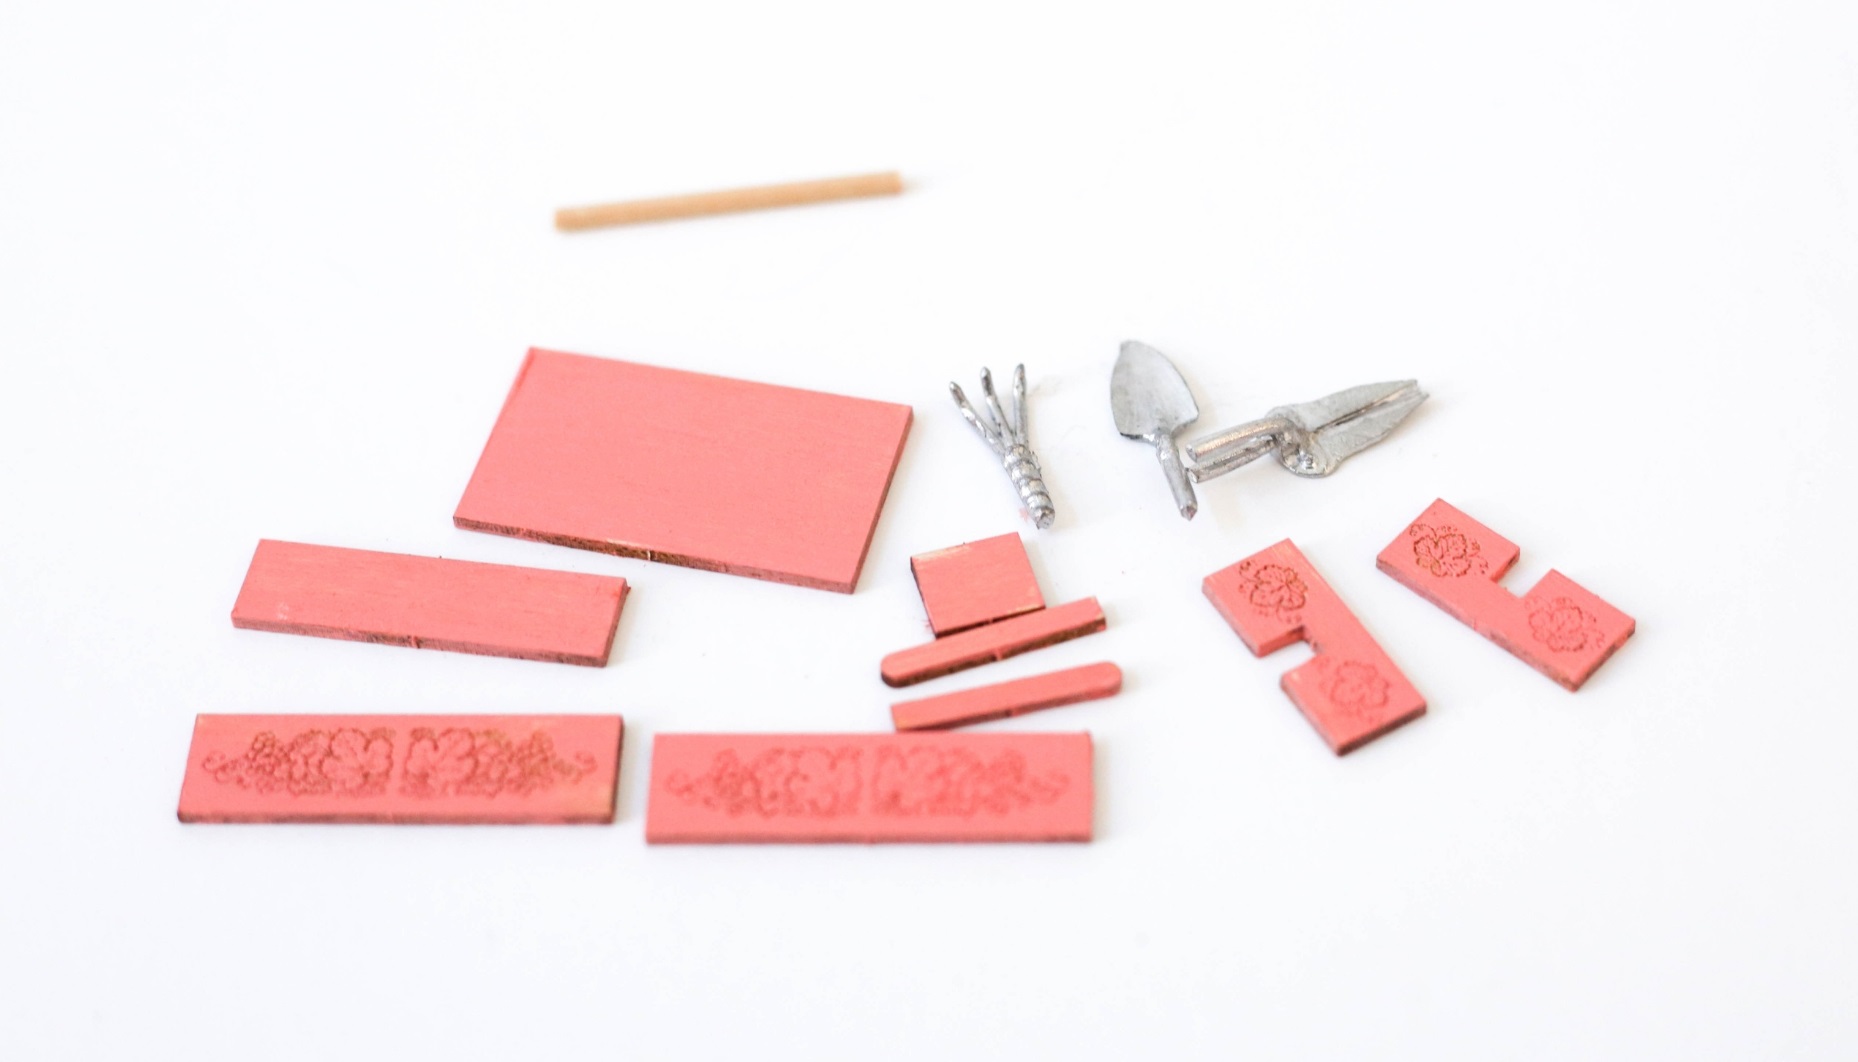
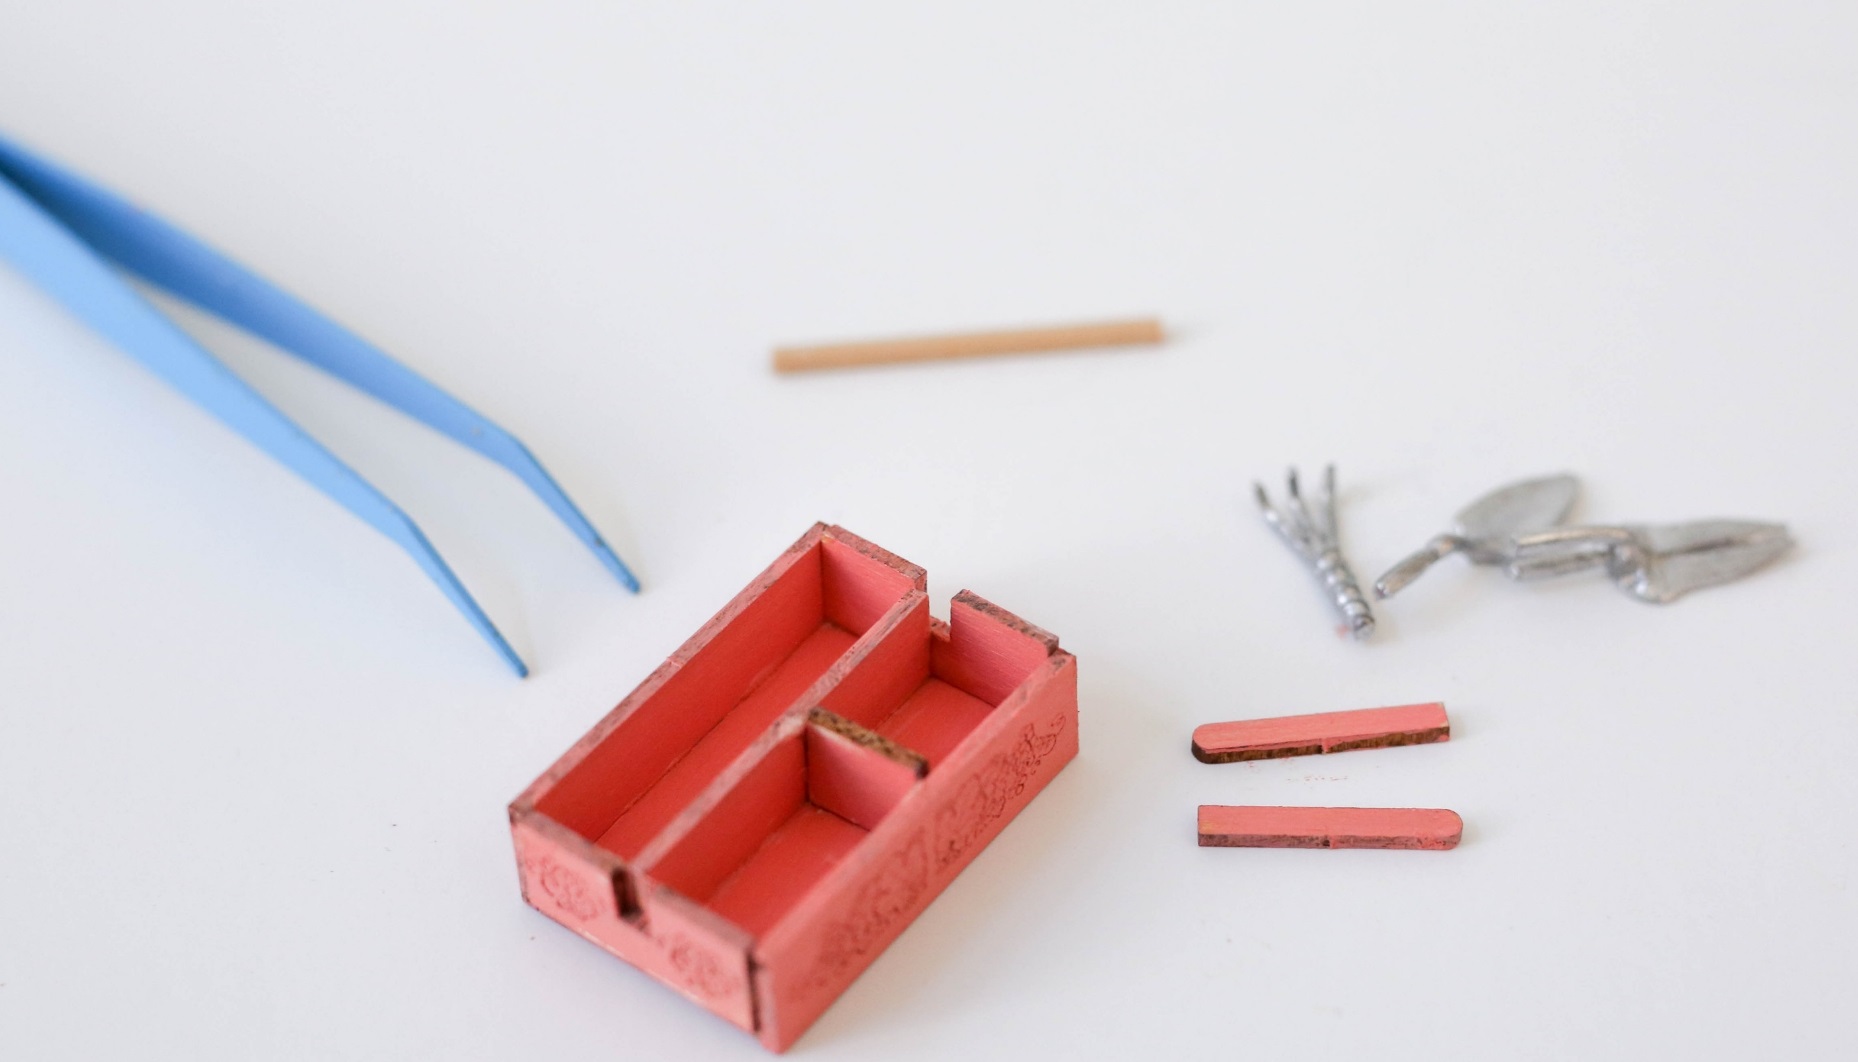
- Gardener’s Tote Kit (assembled and painted to your liking)
- Astro turf Grass Sheet
- Filled Water Pitcher and 2 glasses
Other items:
- Unique container to pot your plant, (I used a metal container with legs)
- Small succulents and air plants, about 12-16 plants
- Rocks and crystals
- Plaid Glitterific Paint in Princess
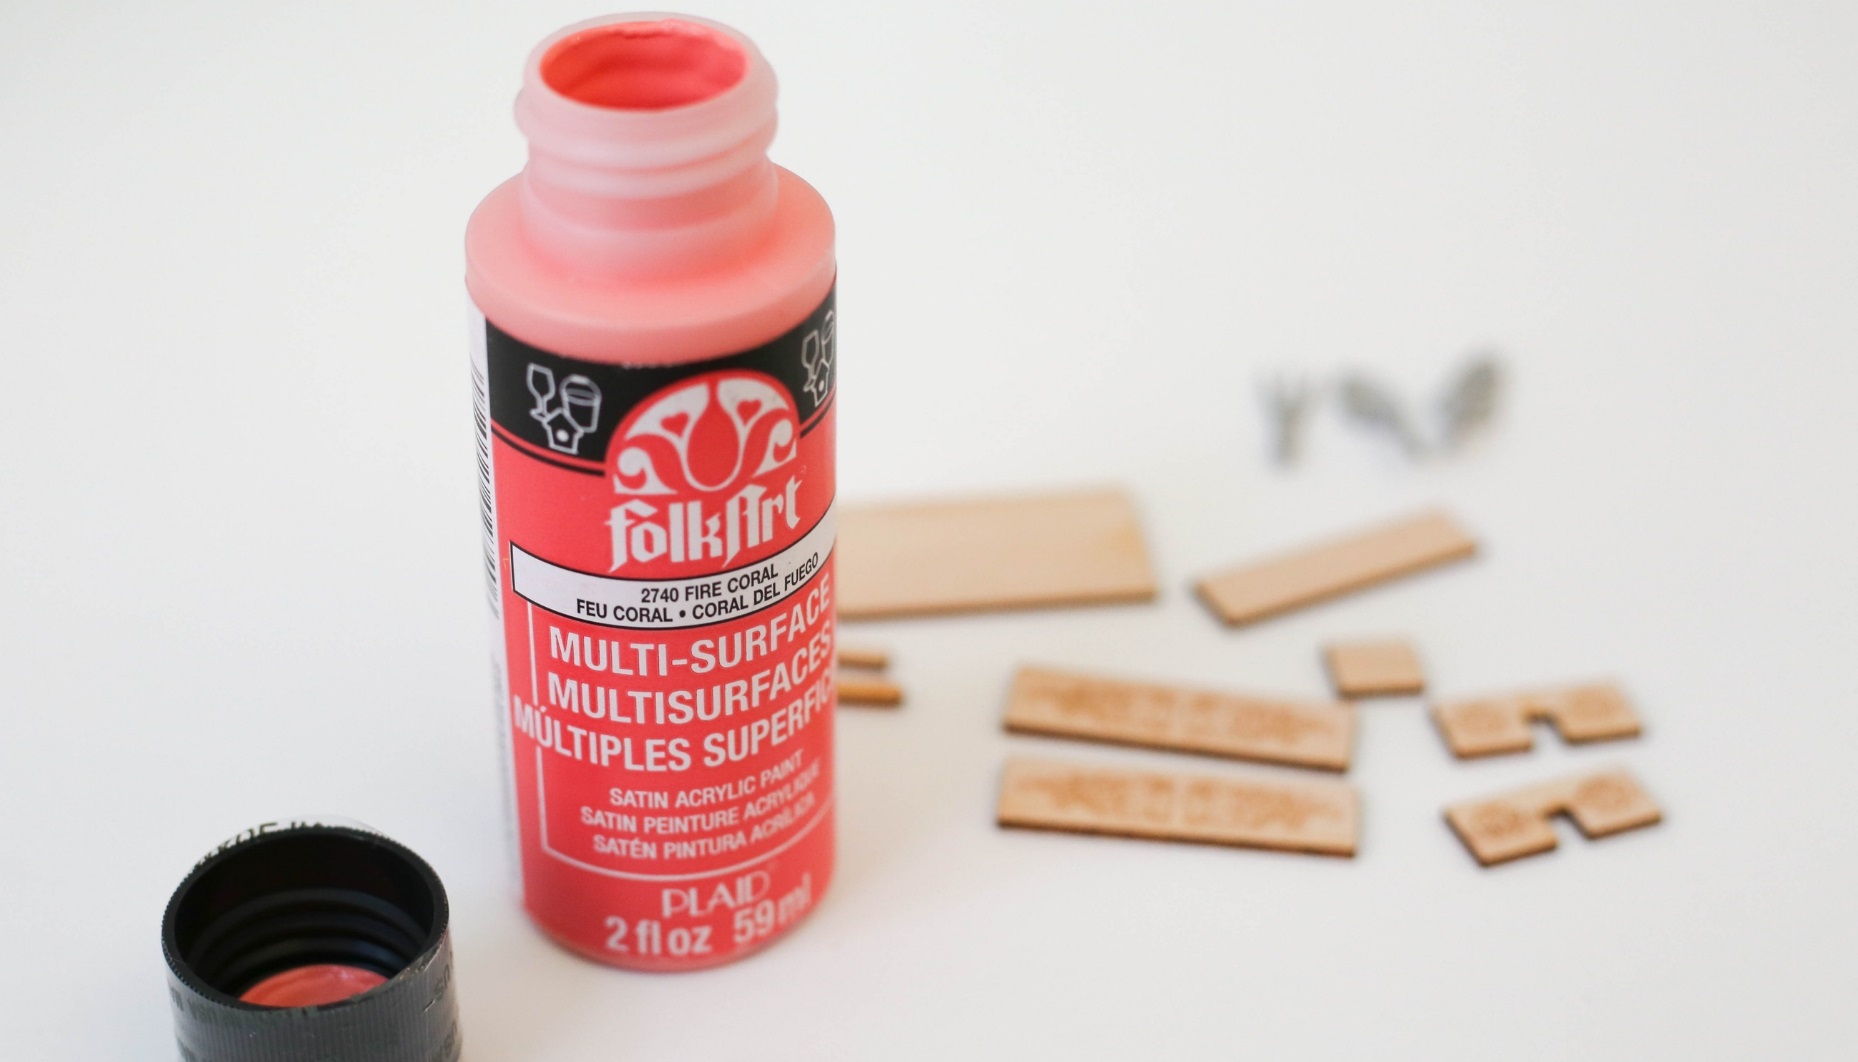
- FolkArt Paint in Fire Coral
- Tweezers, Spray Bottle and Small Fluffy Brush for plant tending
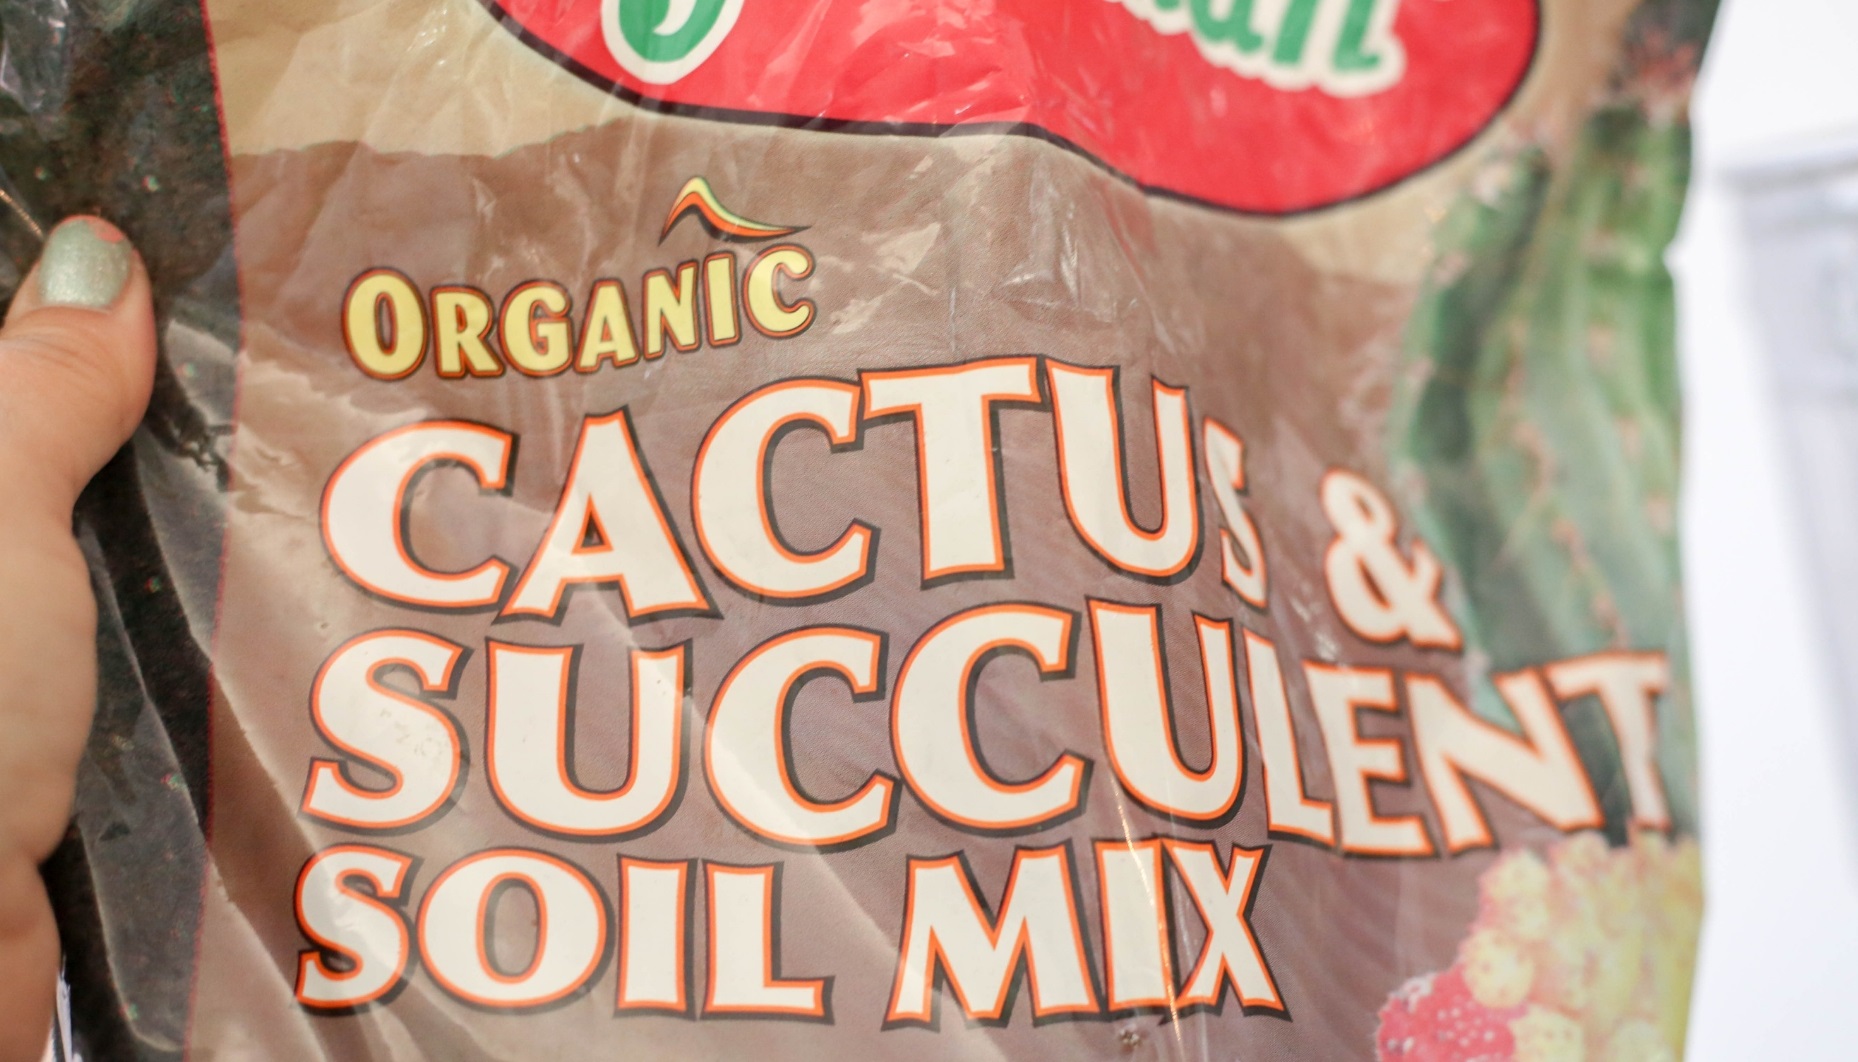
- Succulent and Cacti Potting Soil
- Water
Tip: You may wish to line your container for your miniature spring garden scene. I opted to skip this step because I tend to redo my decorative plants each spring. The plan is to reuse some of these miniatures later using a new container, when the succulents outgrow the space and get transplanted into a fresh plant or flower arrangement.
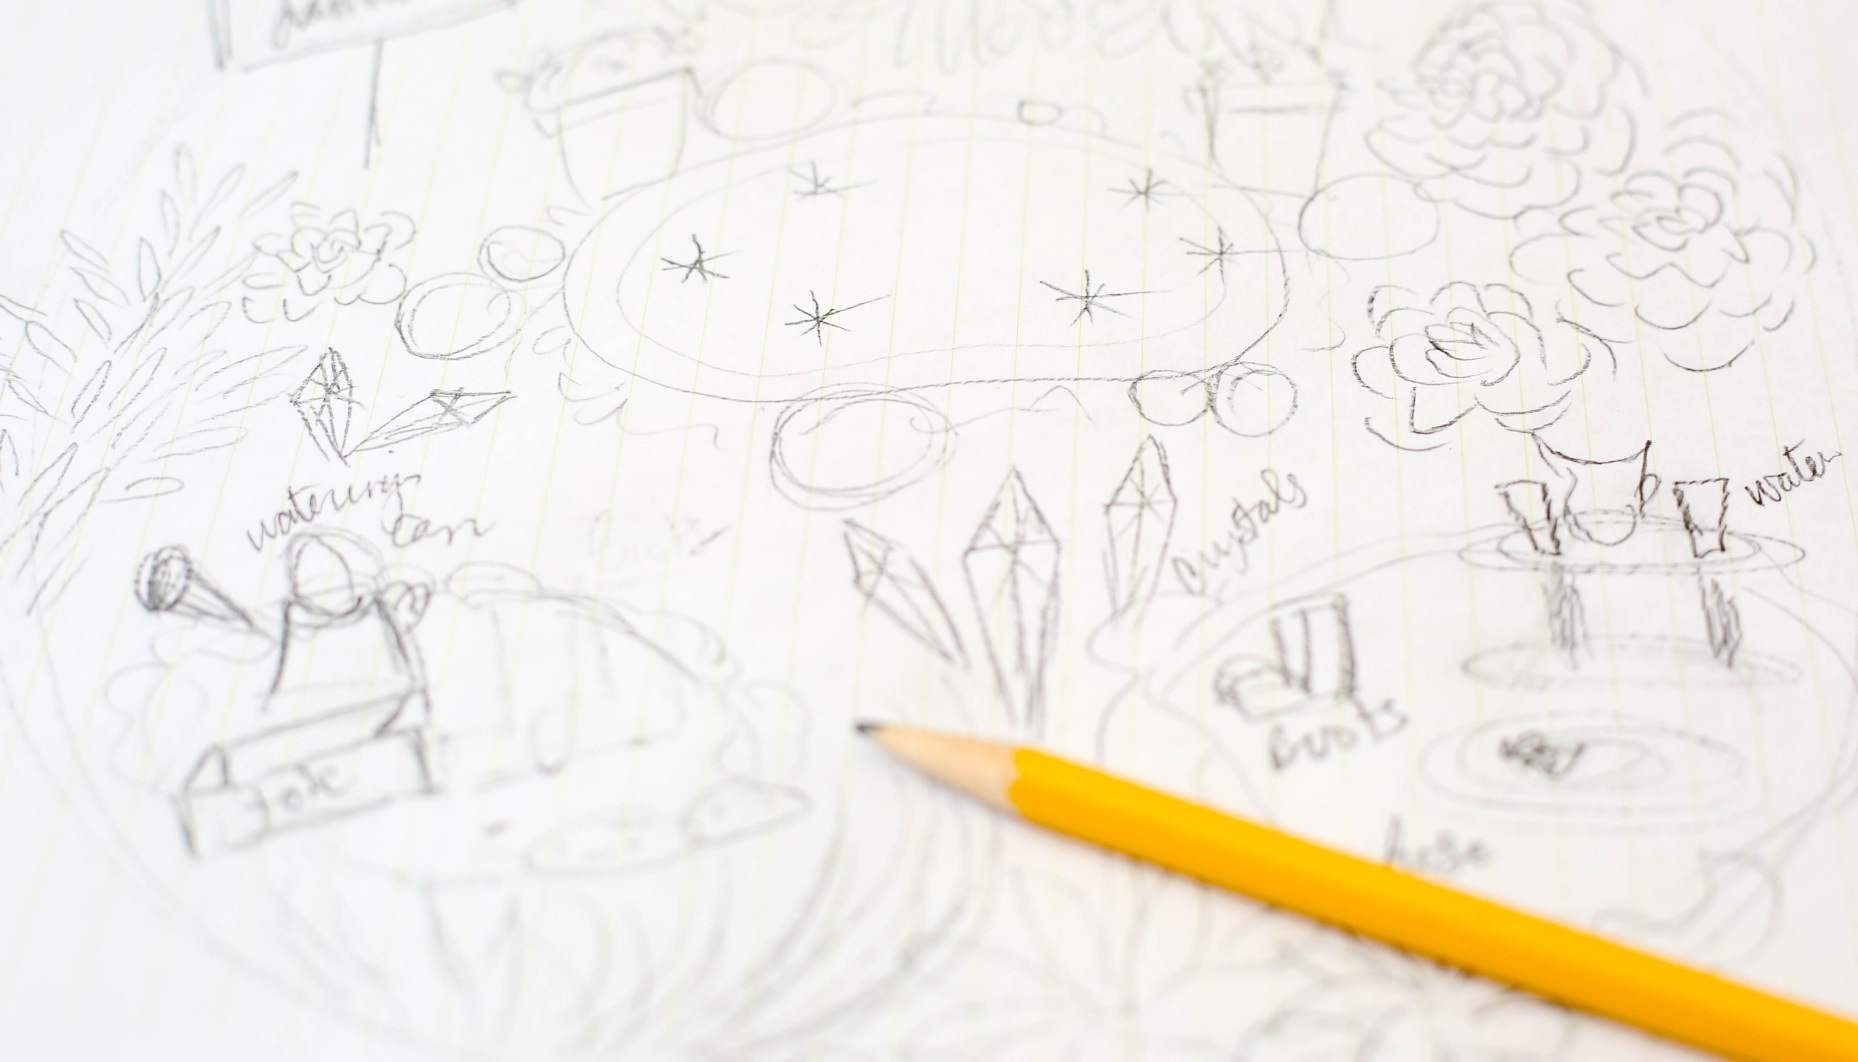
Step 1
Create a basic layout for your miniature garden by drawing it out, or even placing items in a formation. Start with your plants, then your largest to smallest items.
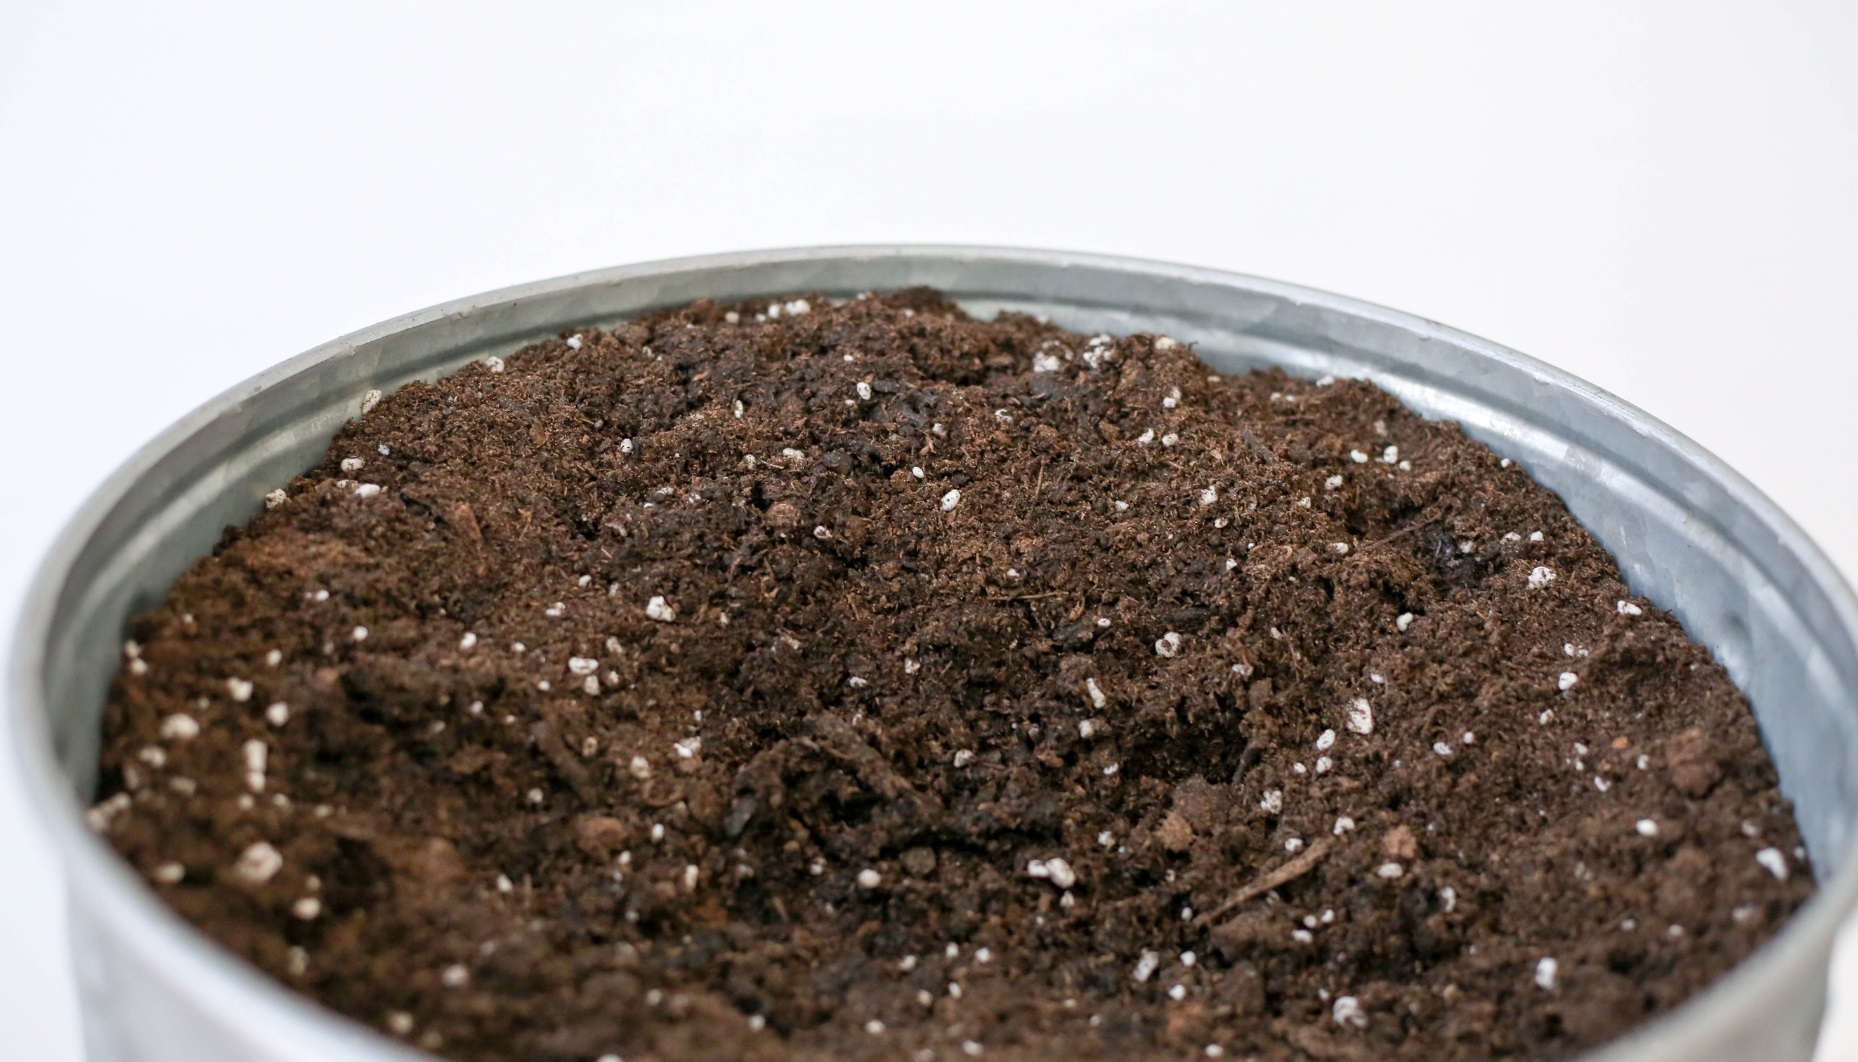
Step 2
I started by adding potting soil to the planter container. Don’t fill it all the way, as you’ll need room to add the plants! Add a little more to the “back” portion of the container, adding small amounts of water to moisten the dirt as you work.
Step 3
To begin the arrangement, I added a small cluster of three succulents to the back center portion of the container. They are planted atop the extra soil at the back of the container. This is to raise these plants higher, creating a sort of backdrop for the items that will be added in front. If you like, a small section of chicken wire, shaped to create a mini hillside is a great way to create dimension and keep plants in place.

Step 4
More succulents were added along the sides and toward the front of the container, leaving room to place the miniature items and keep them nice and clearly visible.

Step 5
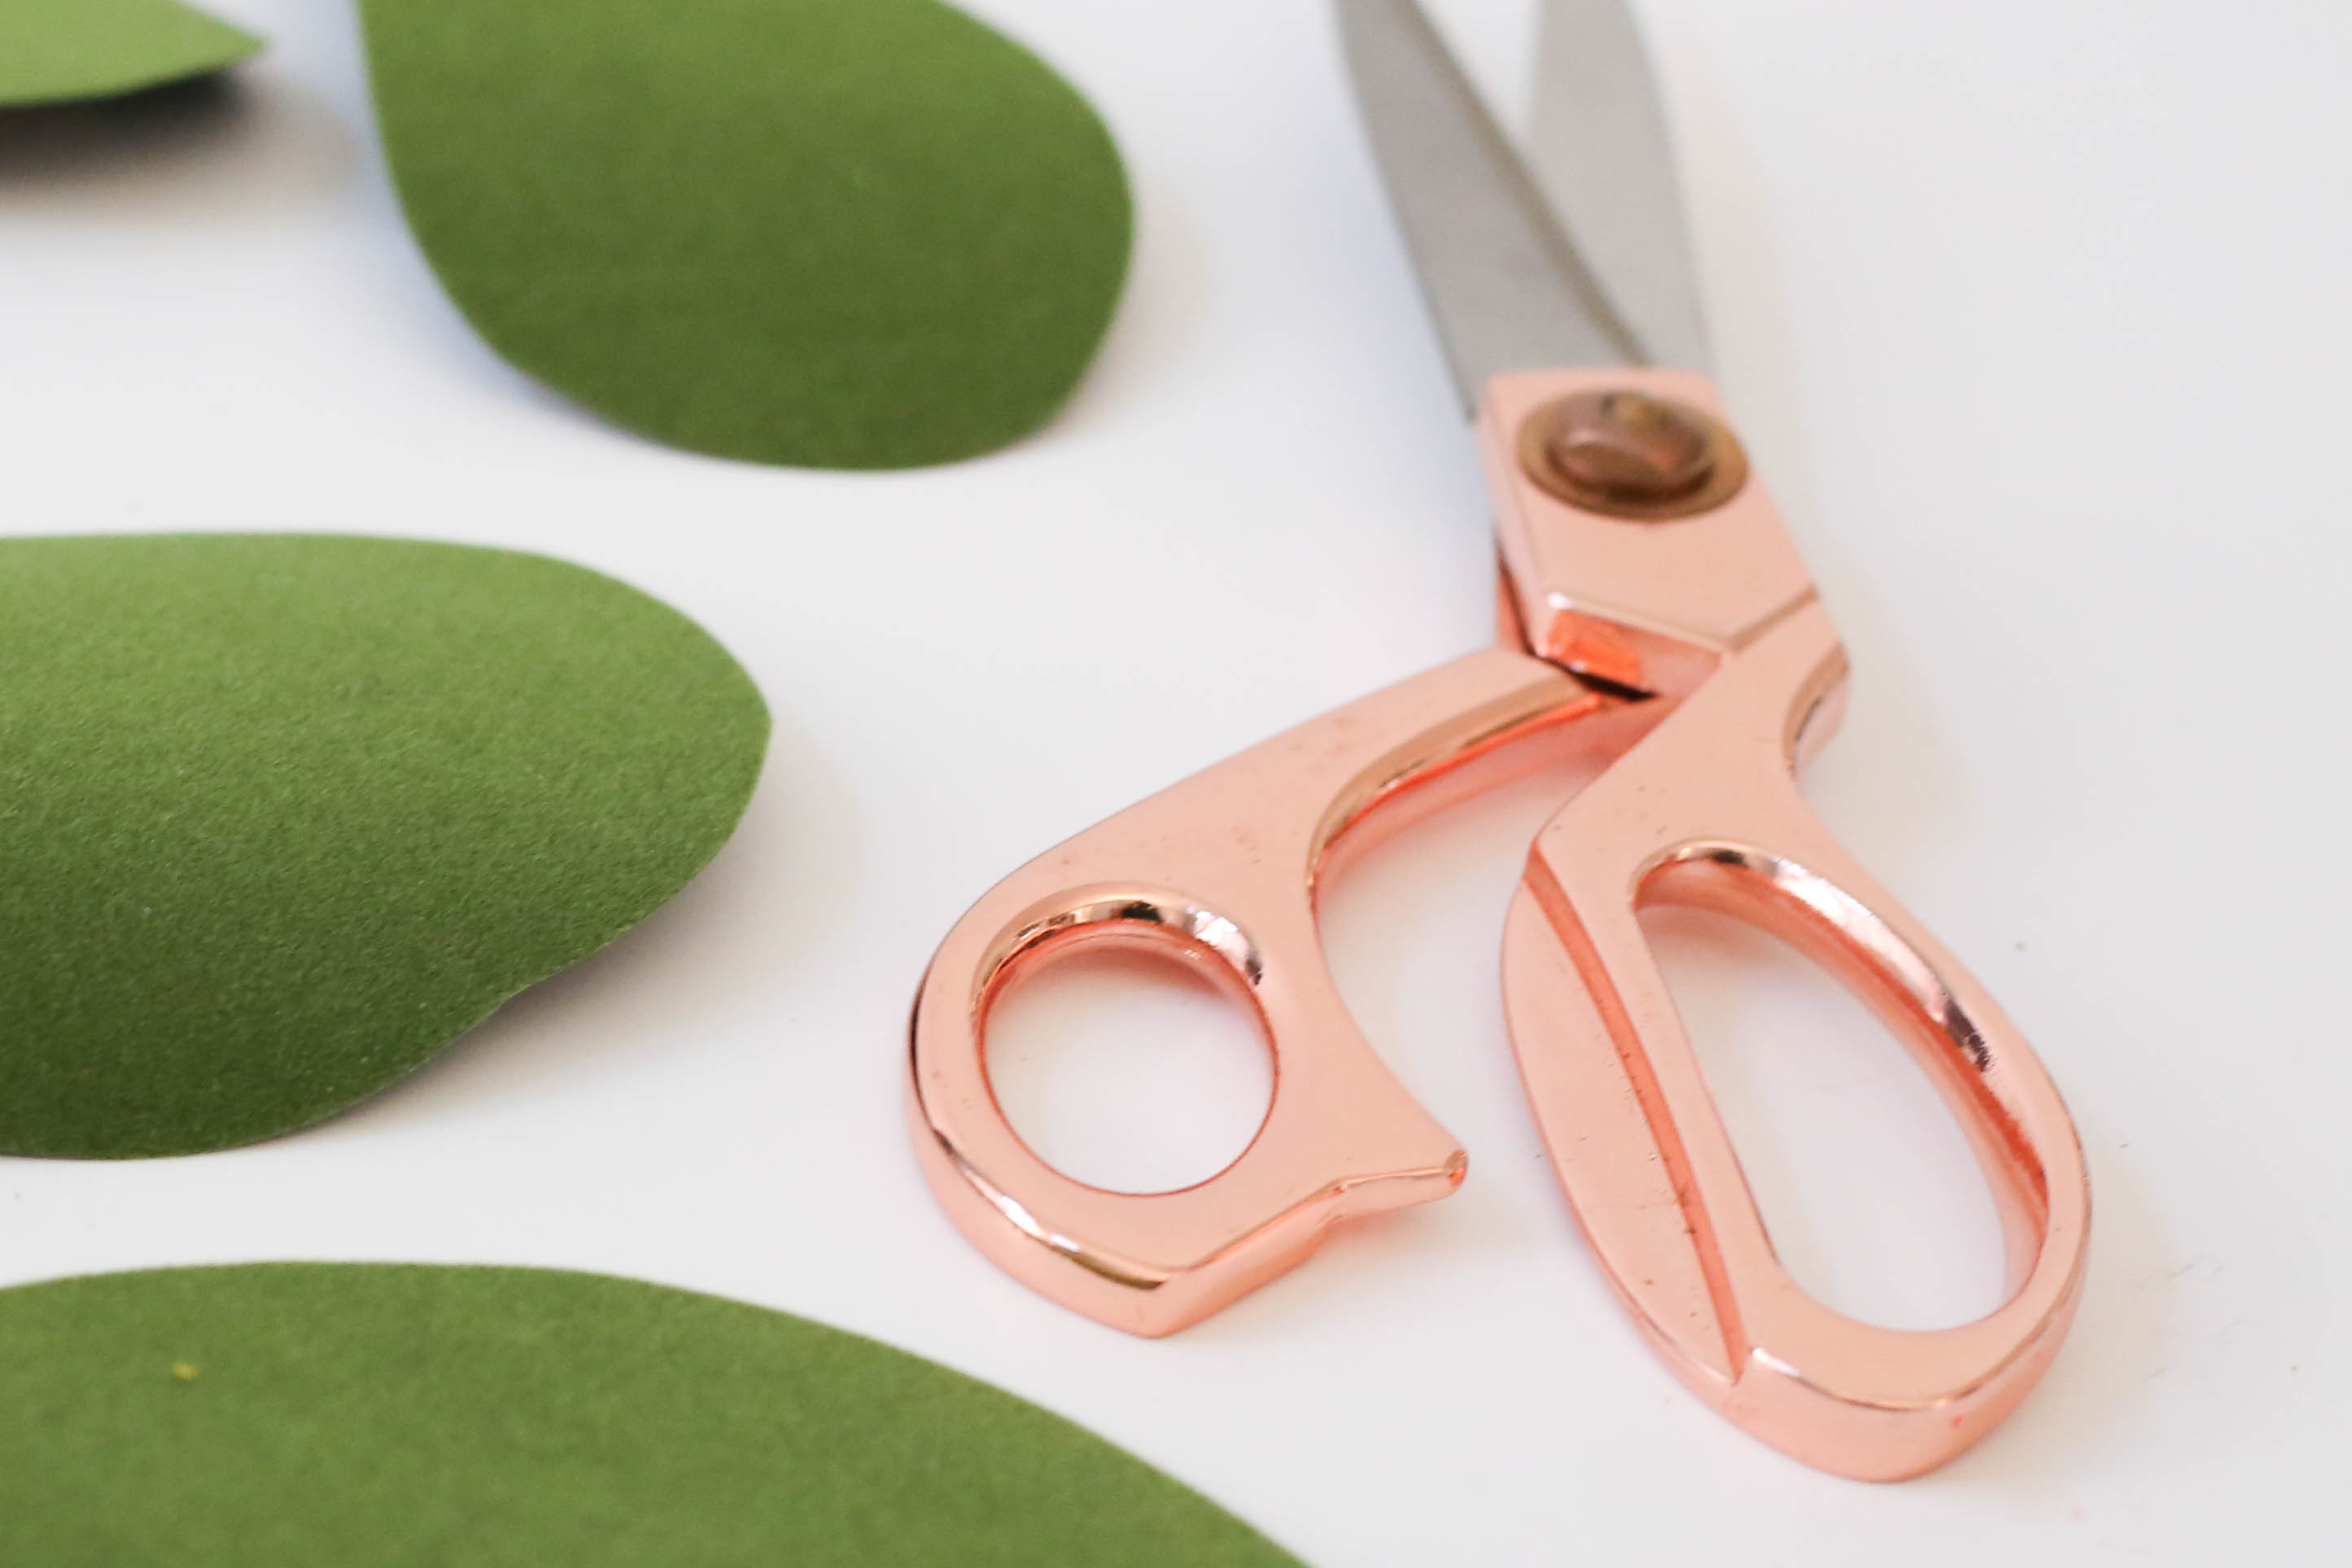
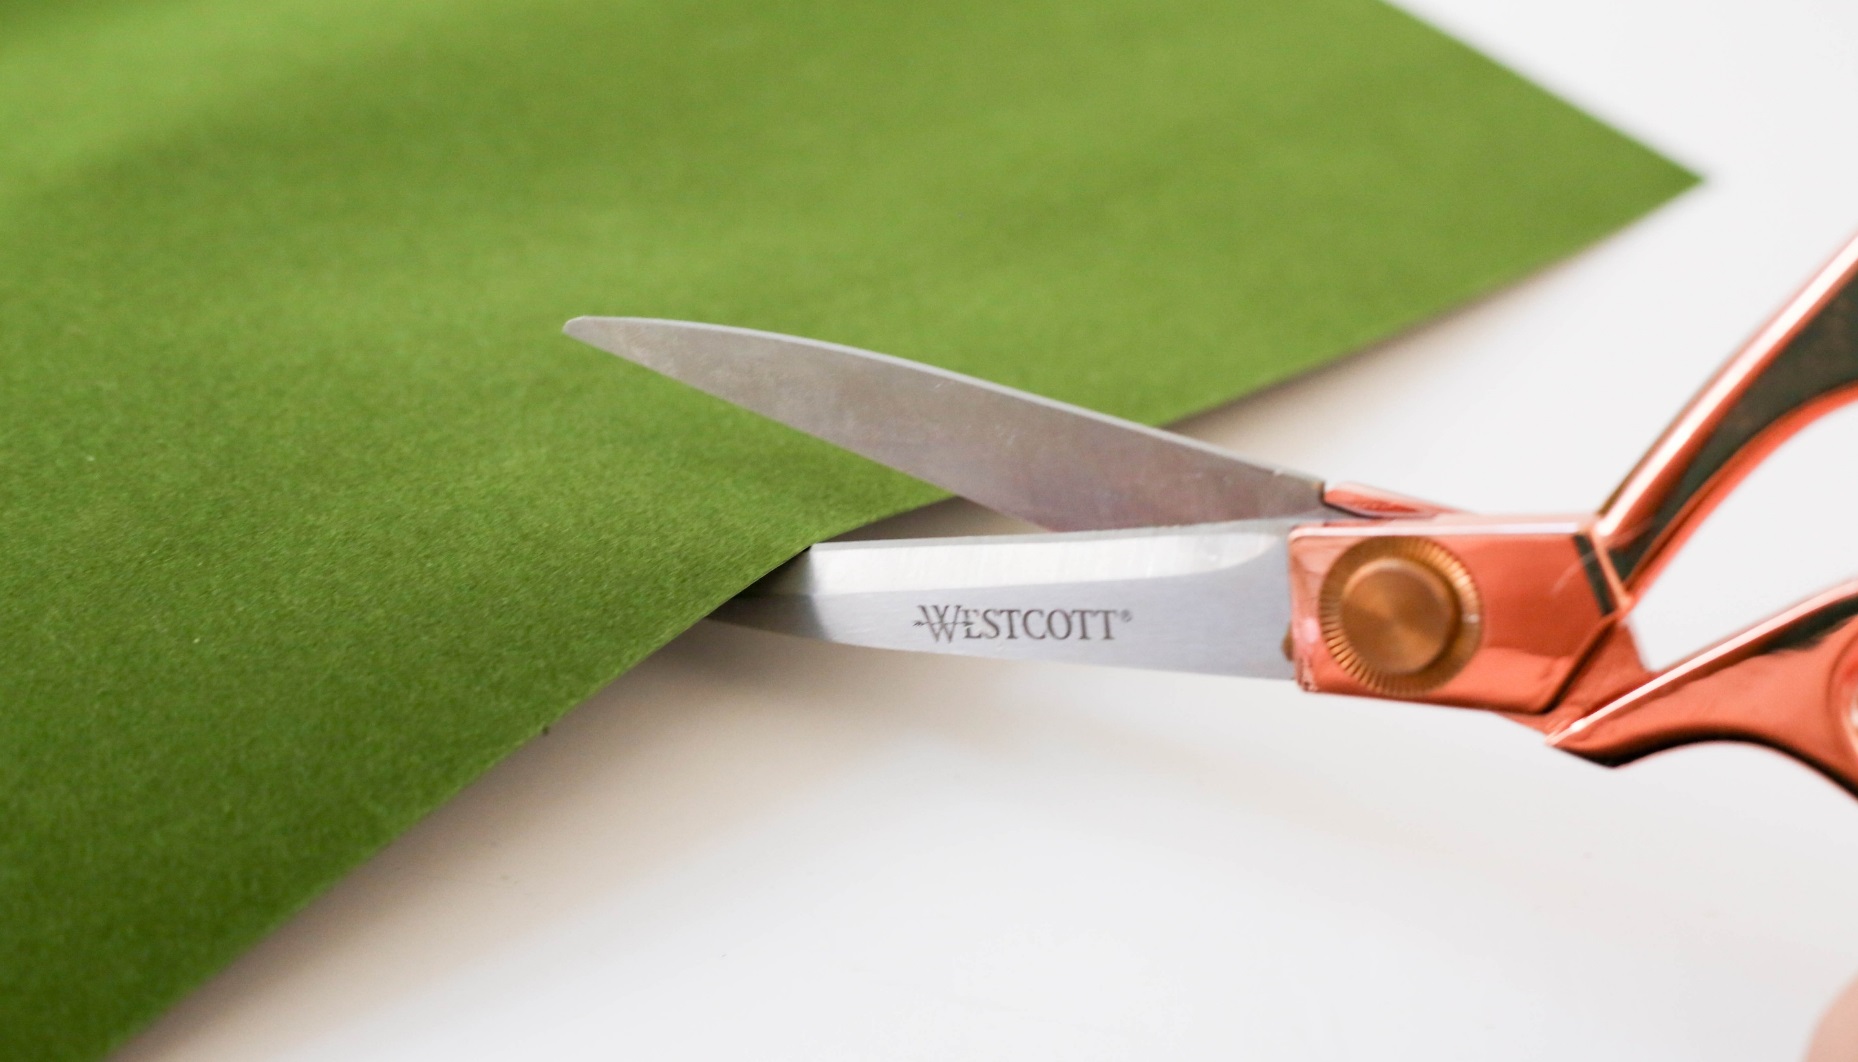
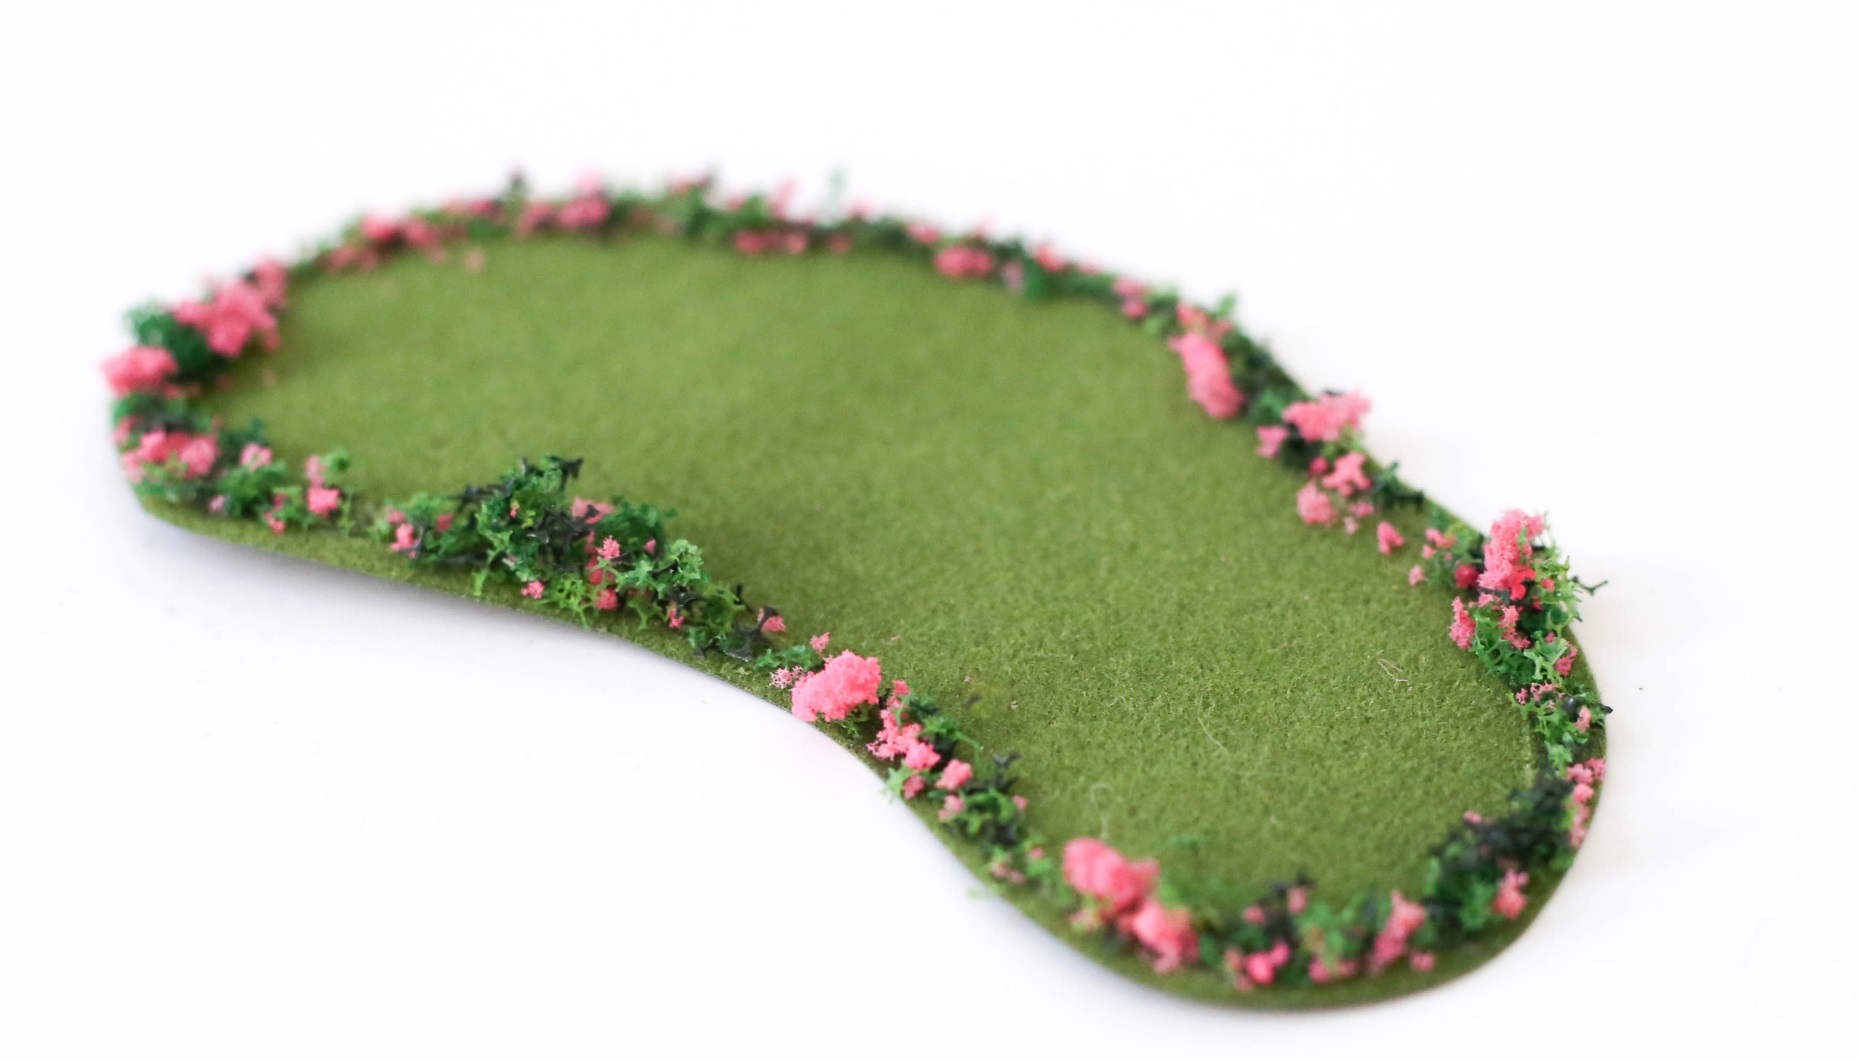
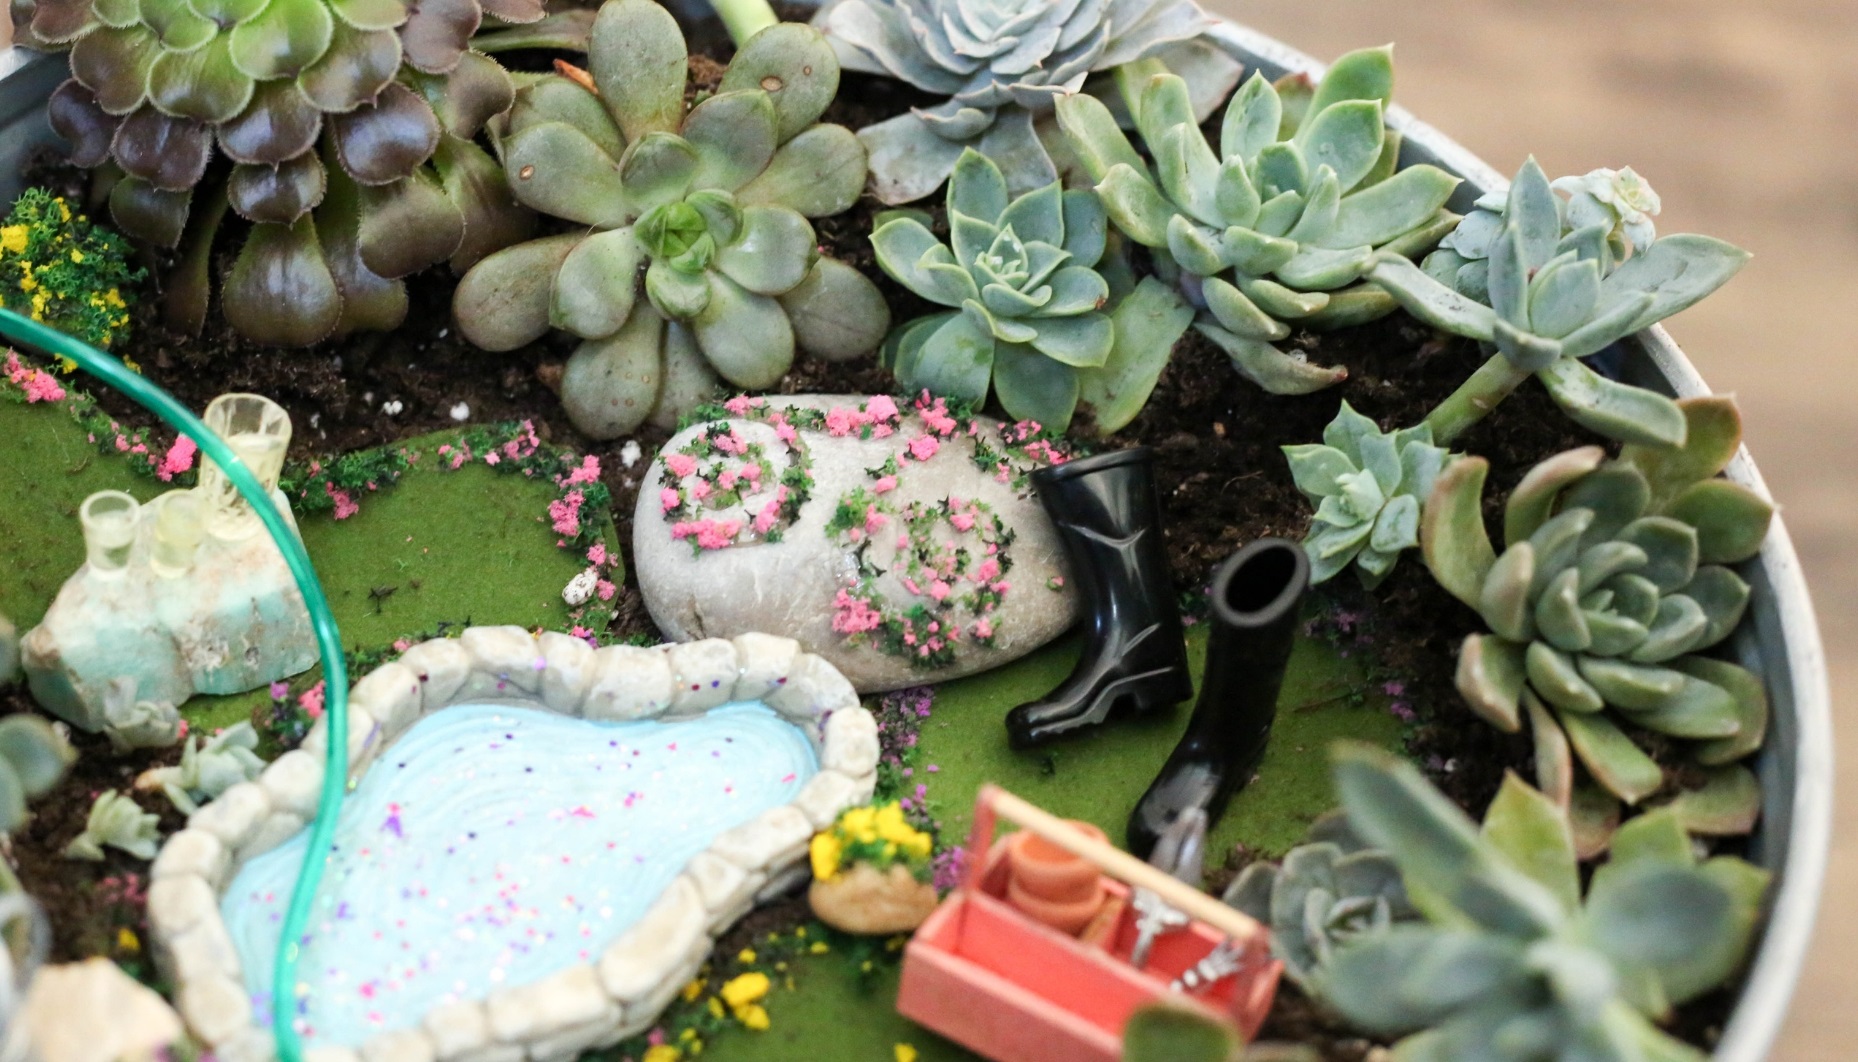
I wanted to create a few flat areas in this miniature garden to display my tiny treasures, so I trimmed some abstract ovals and circles from the grass sheet. Colorful Growies flowers were added all around the edges with glue. Doing this allowed me to create adorable mini platforms to display miniature items throughout the garden space. (The edging also obscures the unattractive cut edge of the faux grass.) Once dry, I placed them on top of the soil, along with the pond, until I was pleased with the final arrangement.
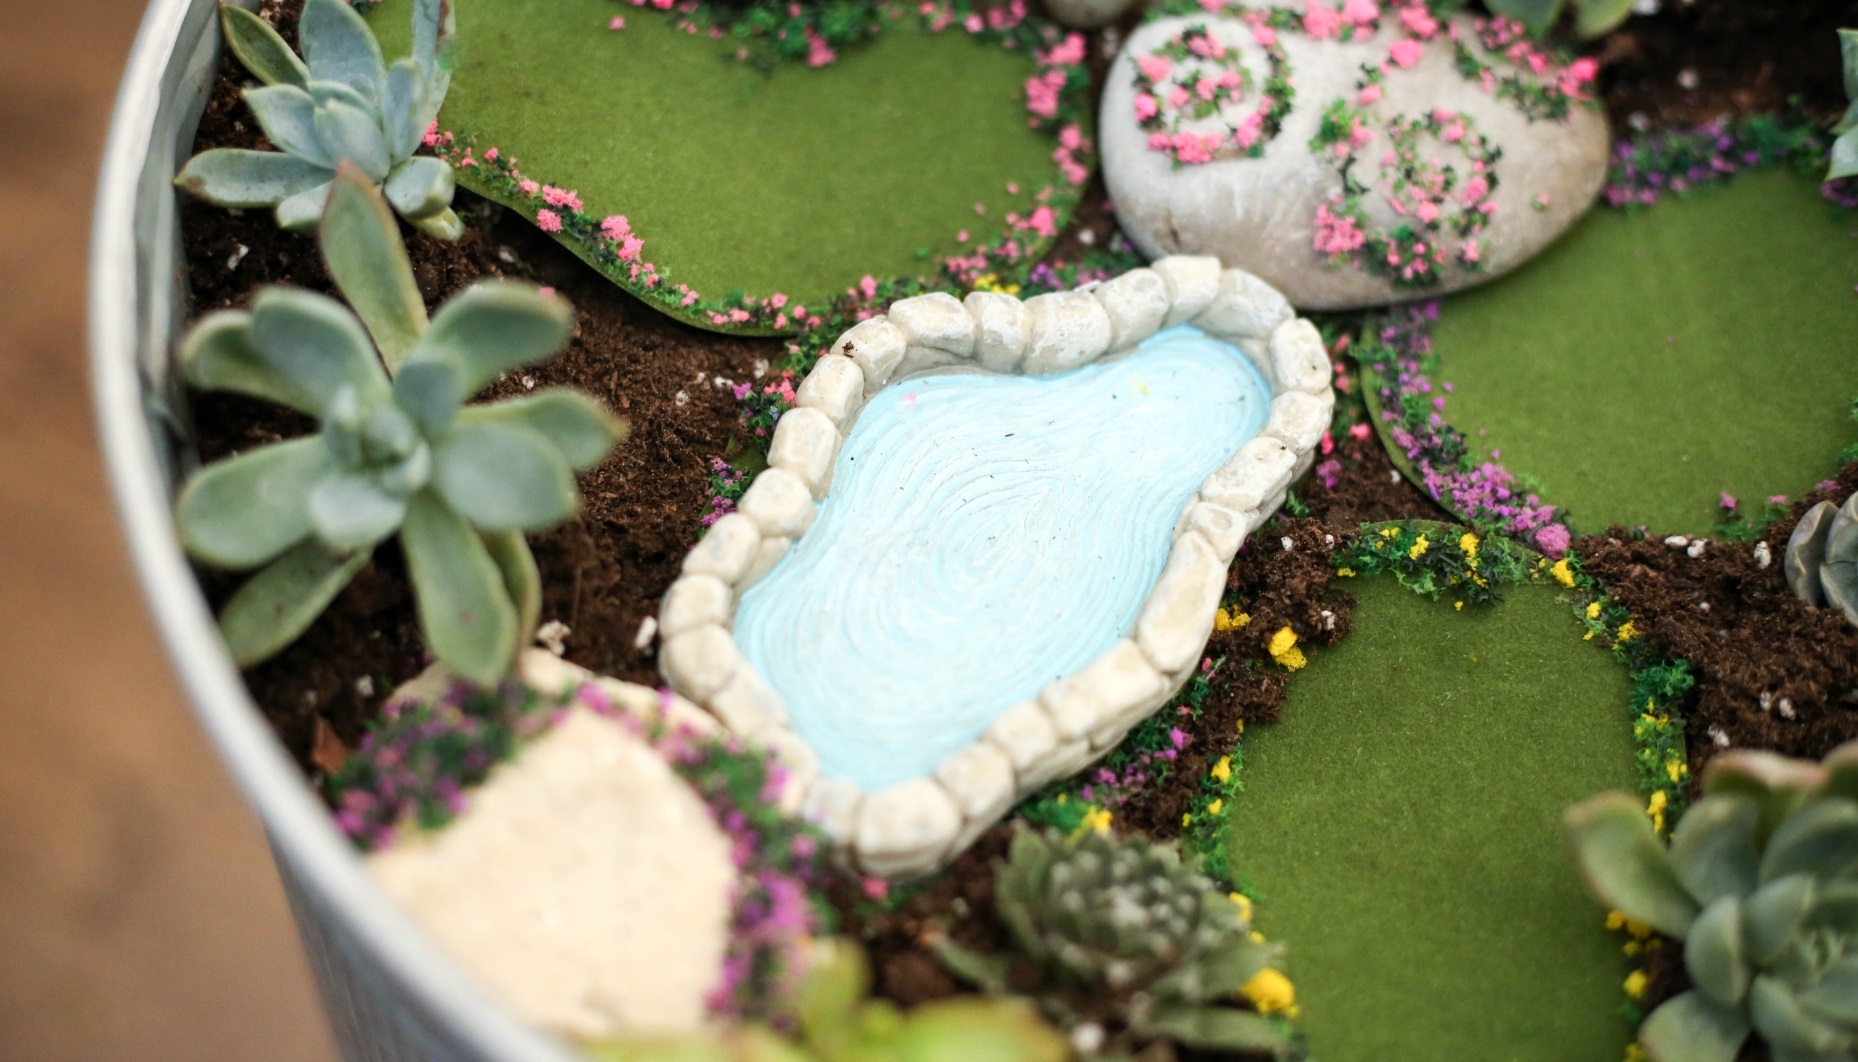
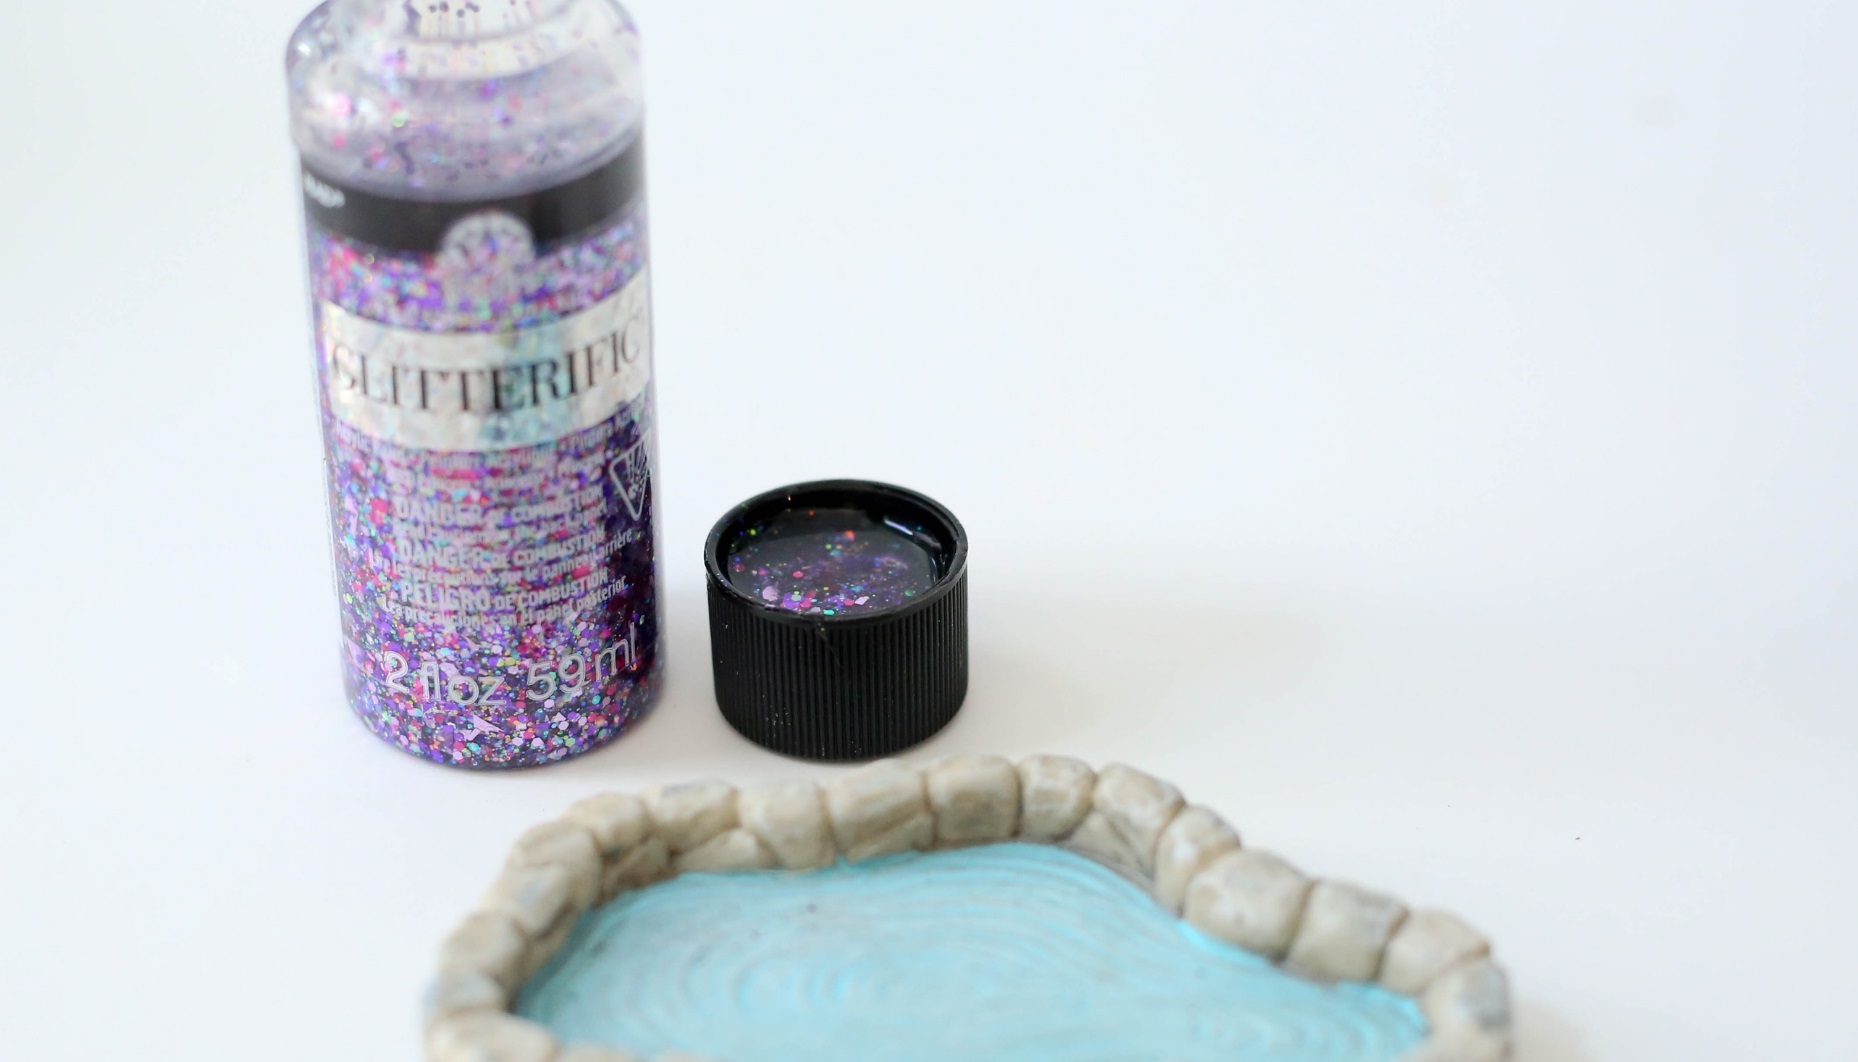
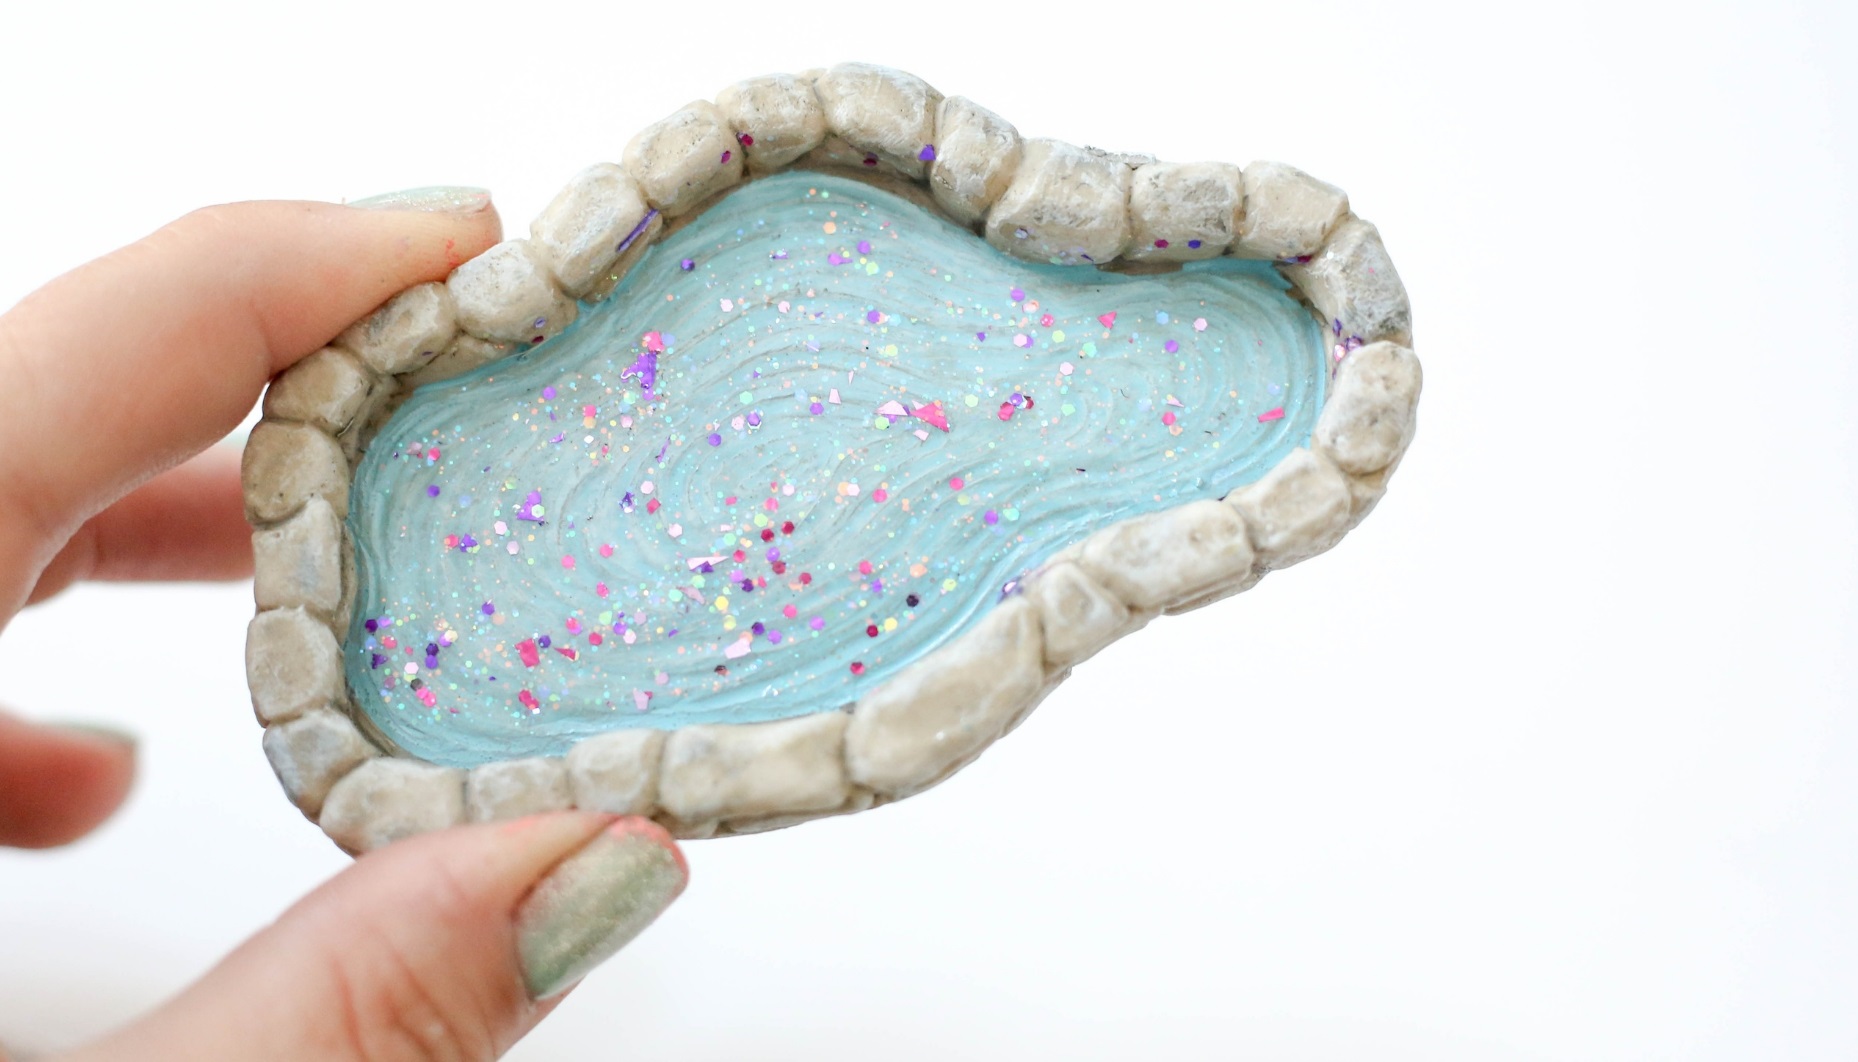
Step 6
With my plants and display areas defined, it was time to add the miniatures. I had already started with the pond, and laid it central in my tiny garden, but I felt it needed a little something special! I added a little glitter paint using Glitterific paint in Princess. The iridescent quality of the glitter paint adds an enchanting sparkle to this garden pond.
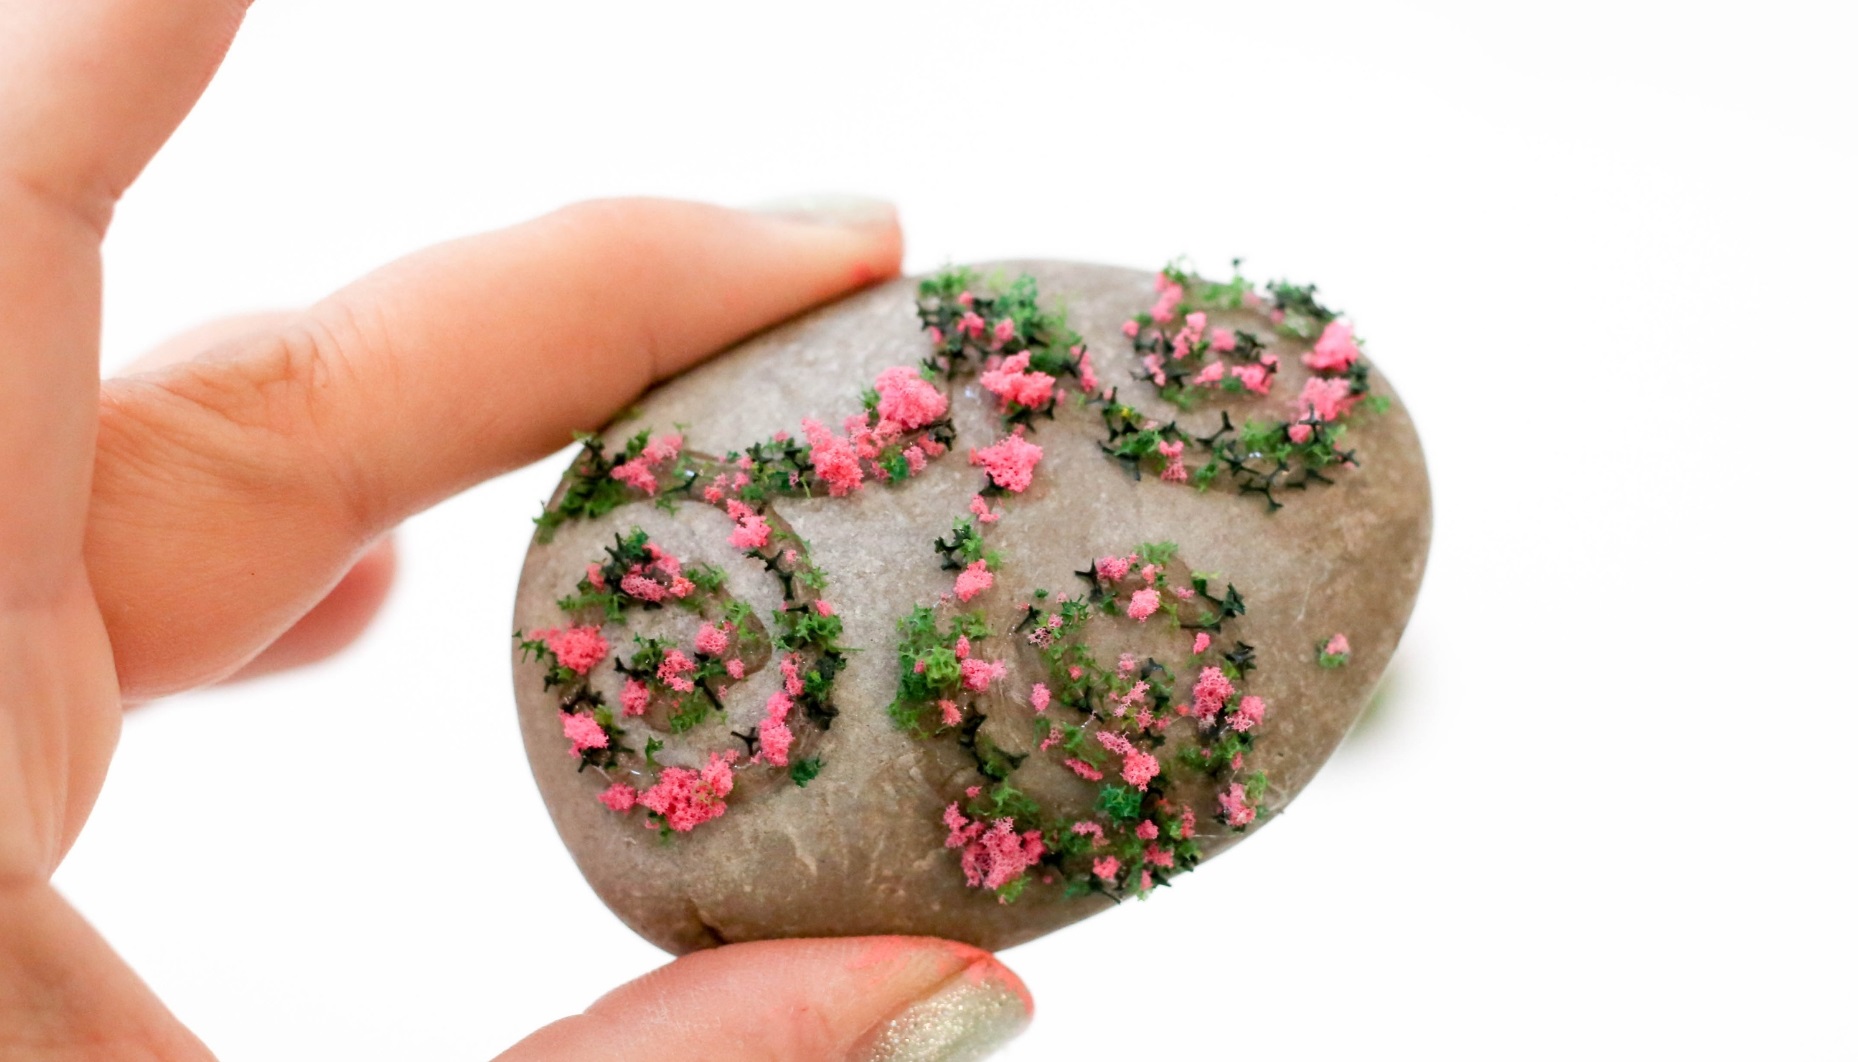
Step 7
To edge the pond, I had a great idea for adding a whimsical touch of color. I added more of the Growies miniature flowers to garden rocks. Some of them even resemble lush topiaries. This adds lots of charm to the look, don’t you agree? In my opinion, flowered rocks are much more magical than ordinary rocks! Nearby a pair of black rubber garden wellies has been left in the garden
Step 8
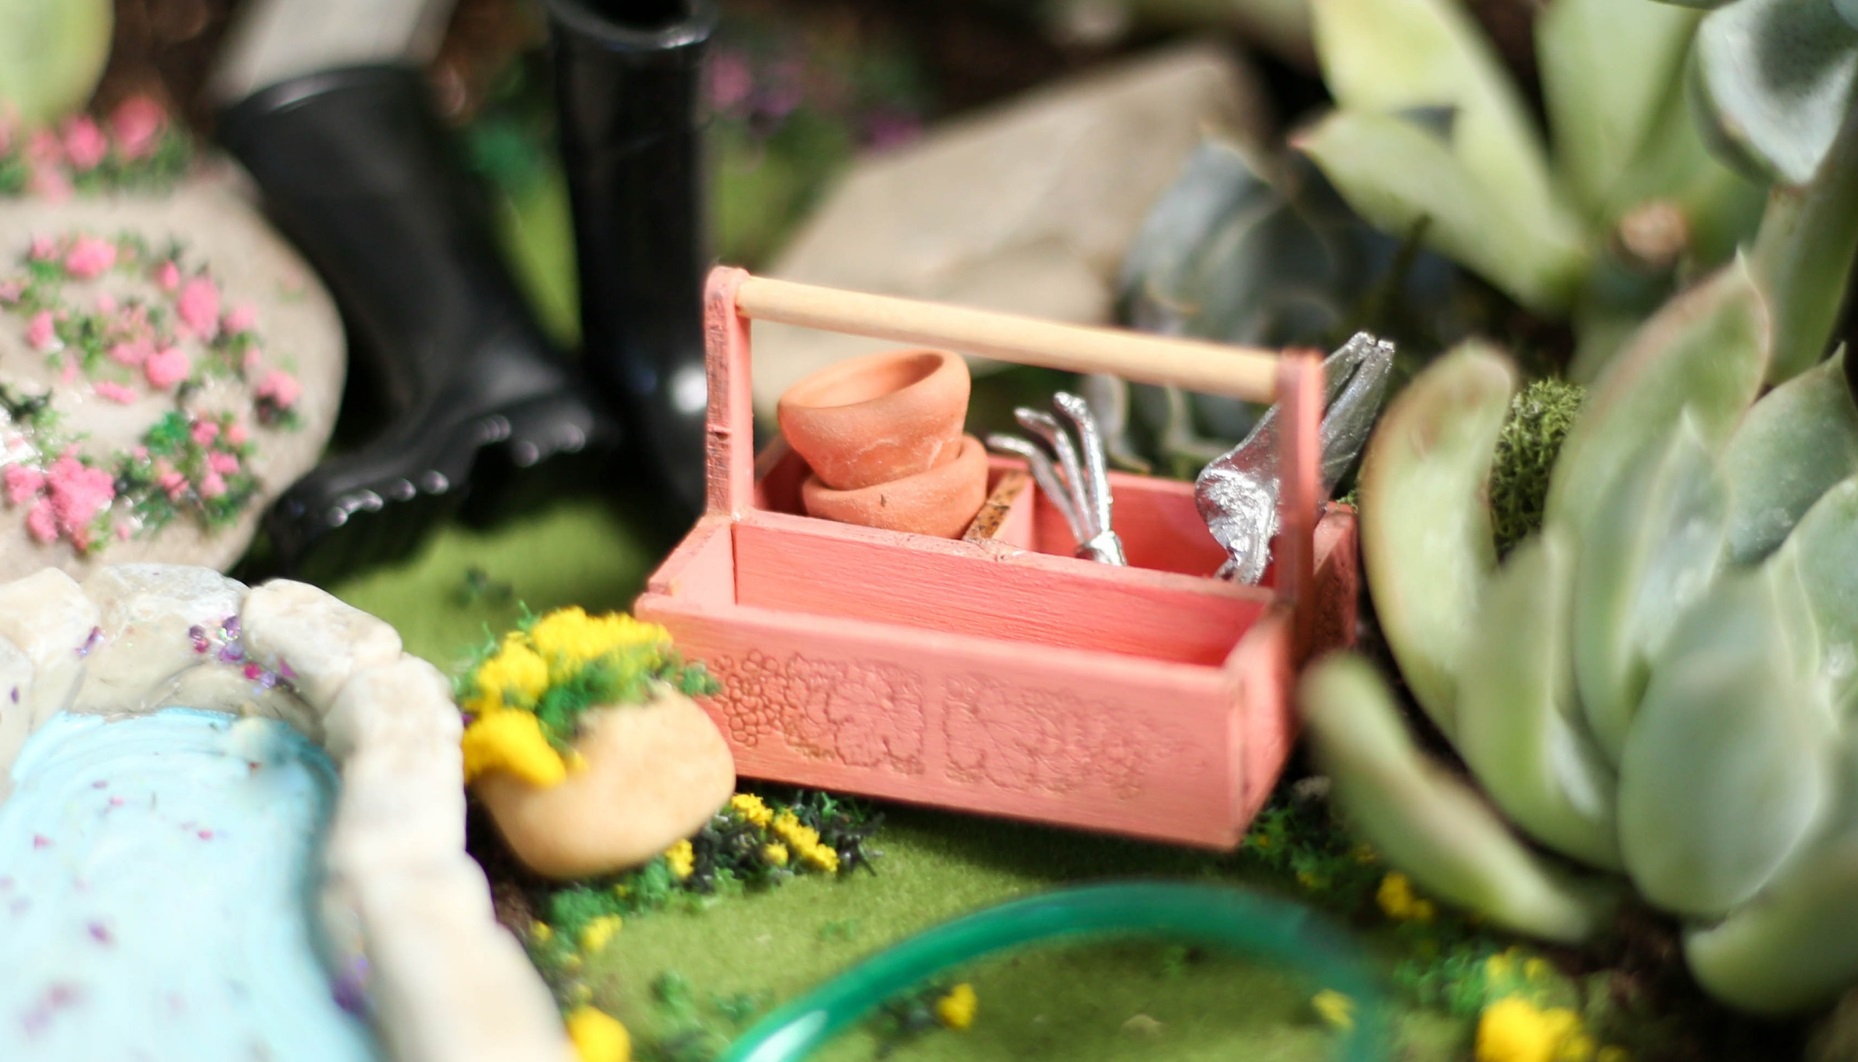
I placed the garden tote nearby; the tote is painted in a summery shade in FolkArt Fire Coral. This tiny human element is enthralling, as one can just imagine the tiny gardener whose hands carry these minute garden tools.
Step 9
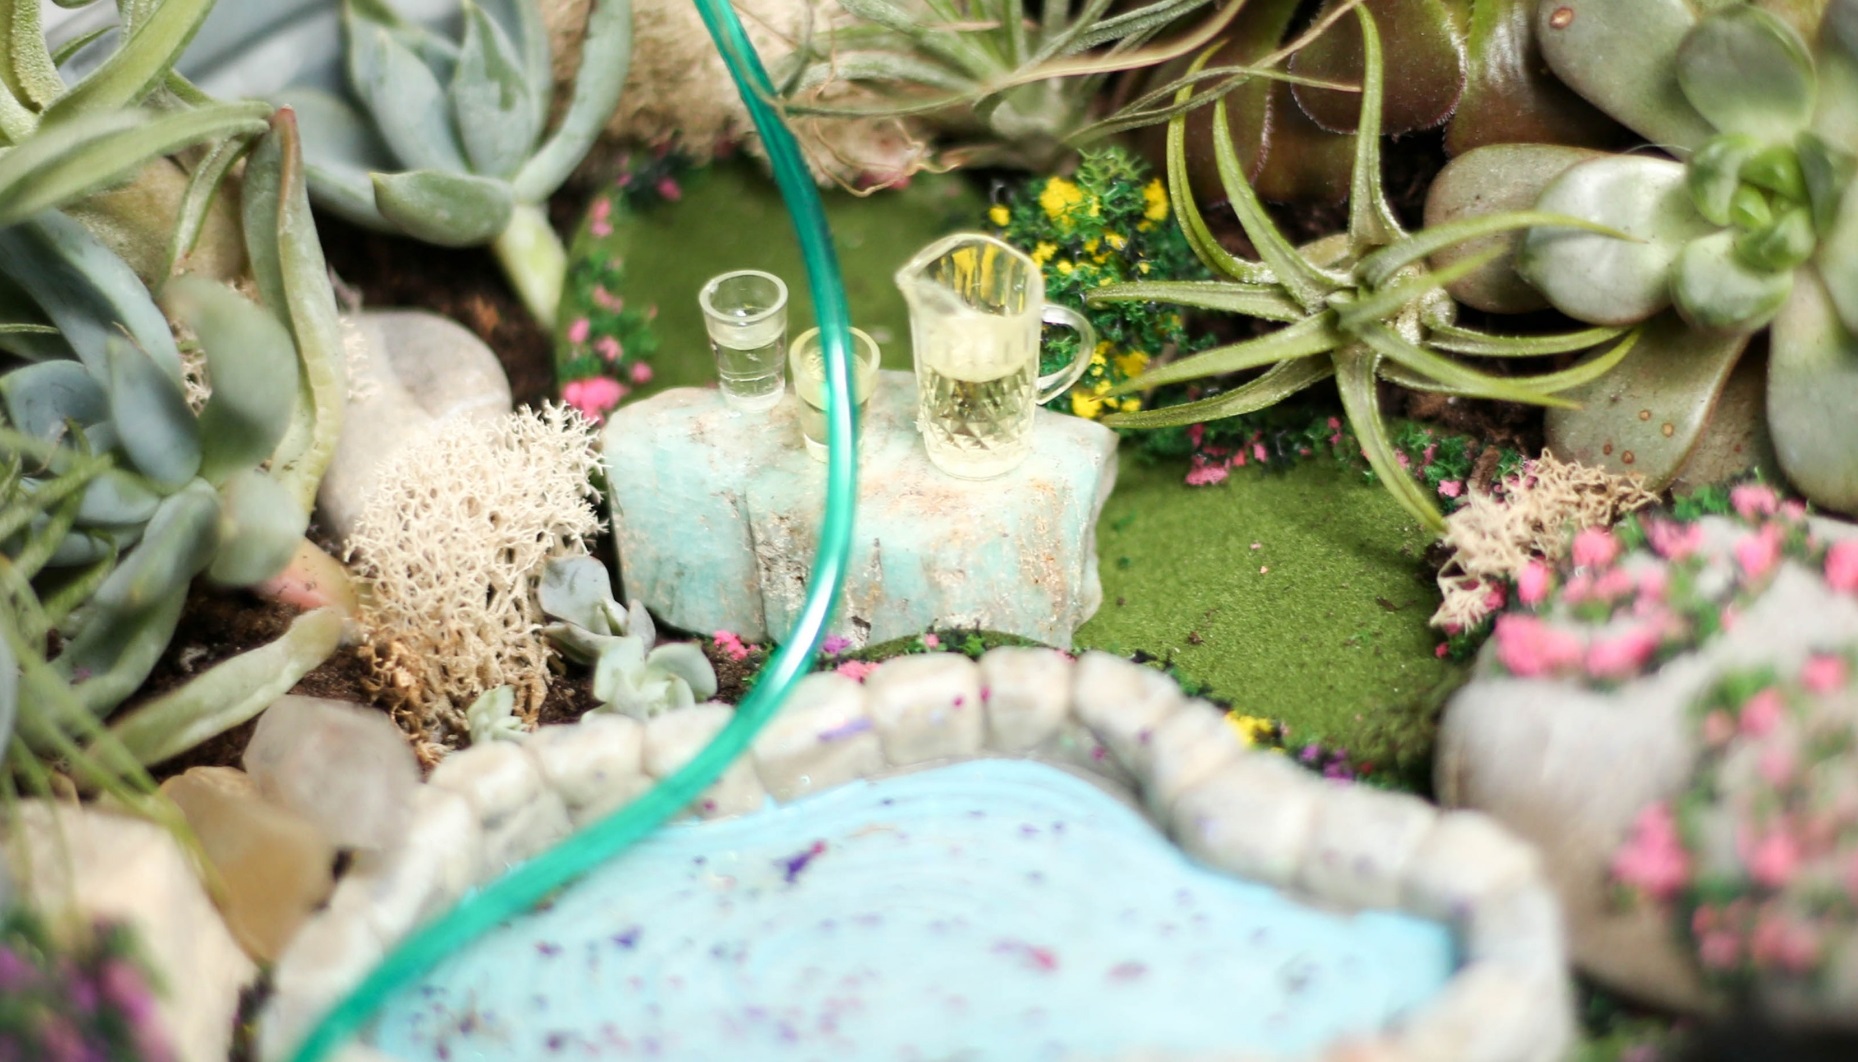
The garden hose is stretched haphazardly across the garden. Atop a small piece of Amazonite crystal sits a pitcher filled with chilled water, and two glasses. After a hard day’s work in the garden, these will really hit the spot!
Step 10
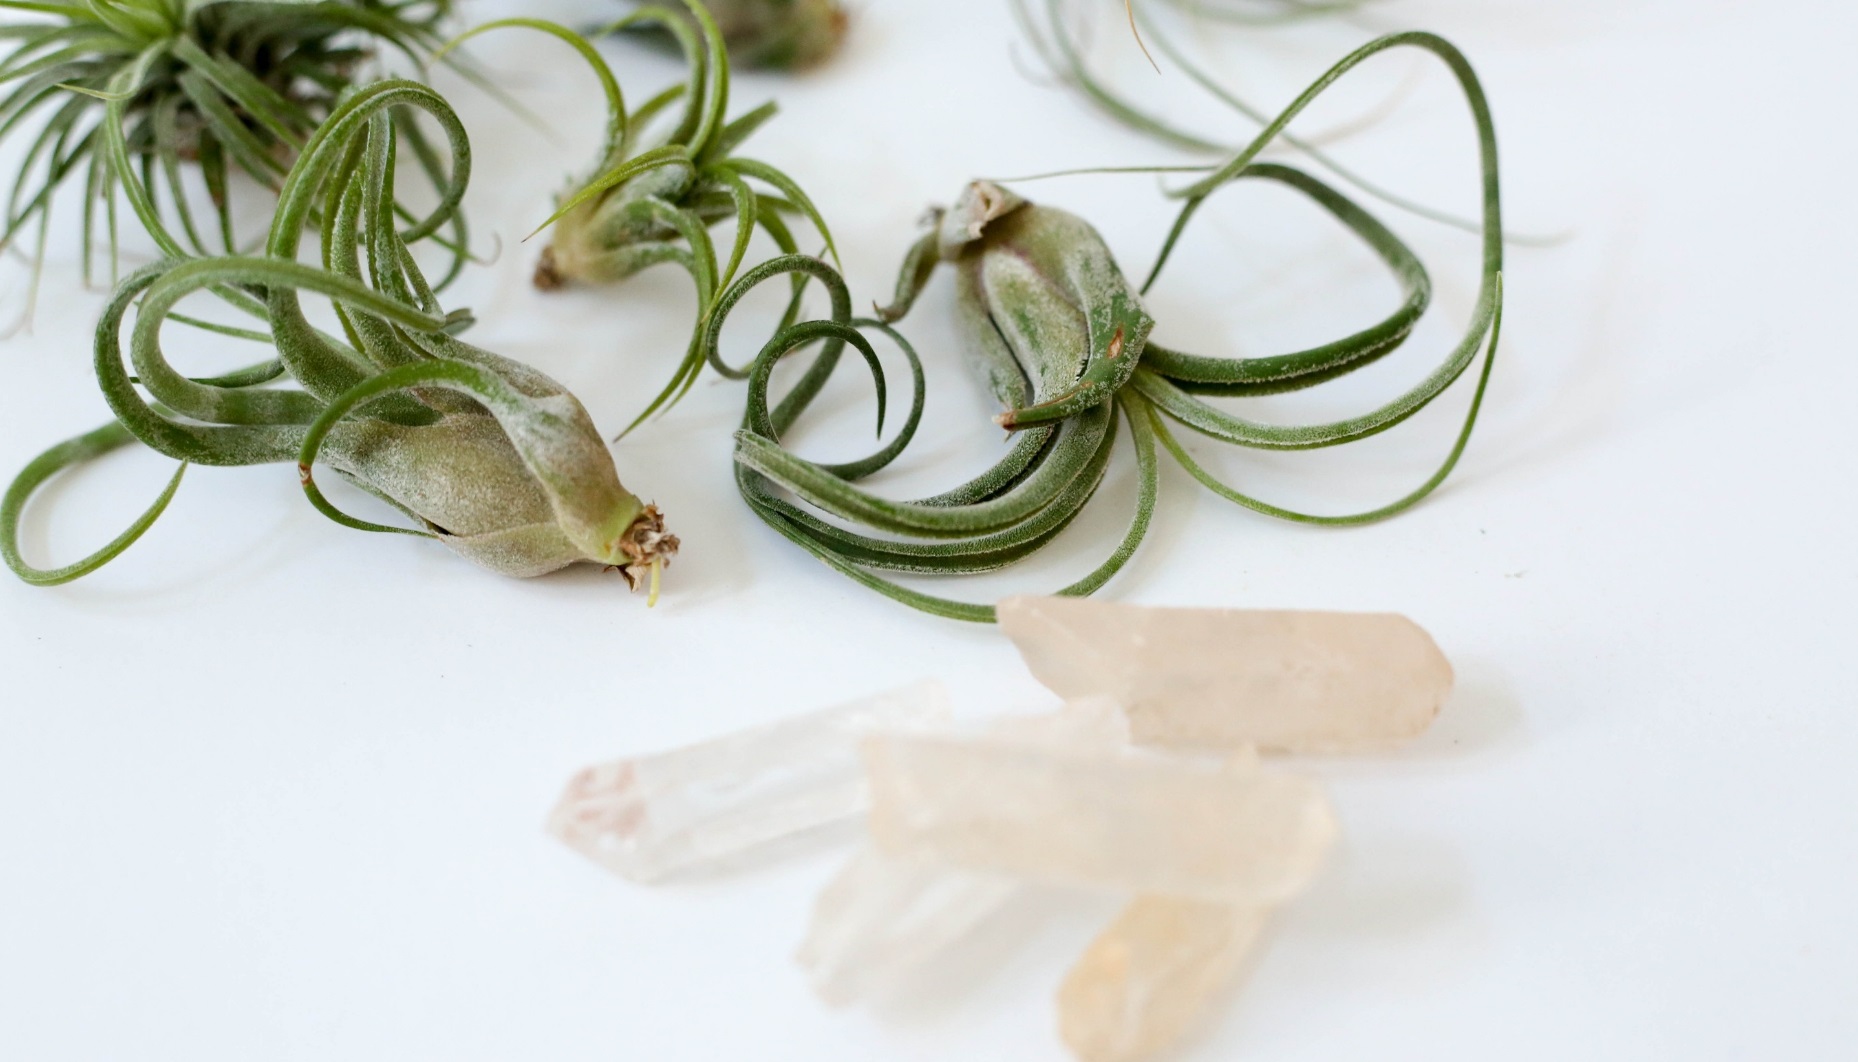
Small air plants and crystals were also used in the arrangement and add texture and interest to the look. Air plants don’t get planted in the soil, instead they’re just rested on top of some reindeer moss.
To add my own personal touches to the miniature garden creation, I placed some small pebbles, rocks and crystals from my own collection around the plants, and also added a tiny handmade sign that reads, “Grow Dammit”. I like to load up as much magic as I can into my little scenes!
I placed my finished miniature garden in a well lit spot on my patio, (away from direct sunlight), and can’t wait to enjoy it well into the summertime!
Thanks for visiting, and be sure to check out all the fun spring time delights at miniatures.com!