

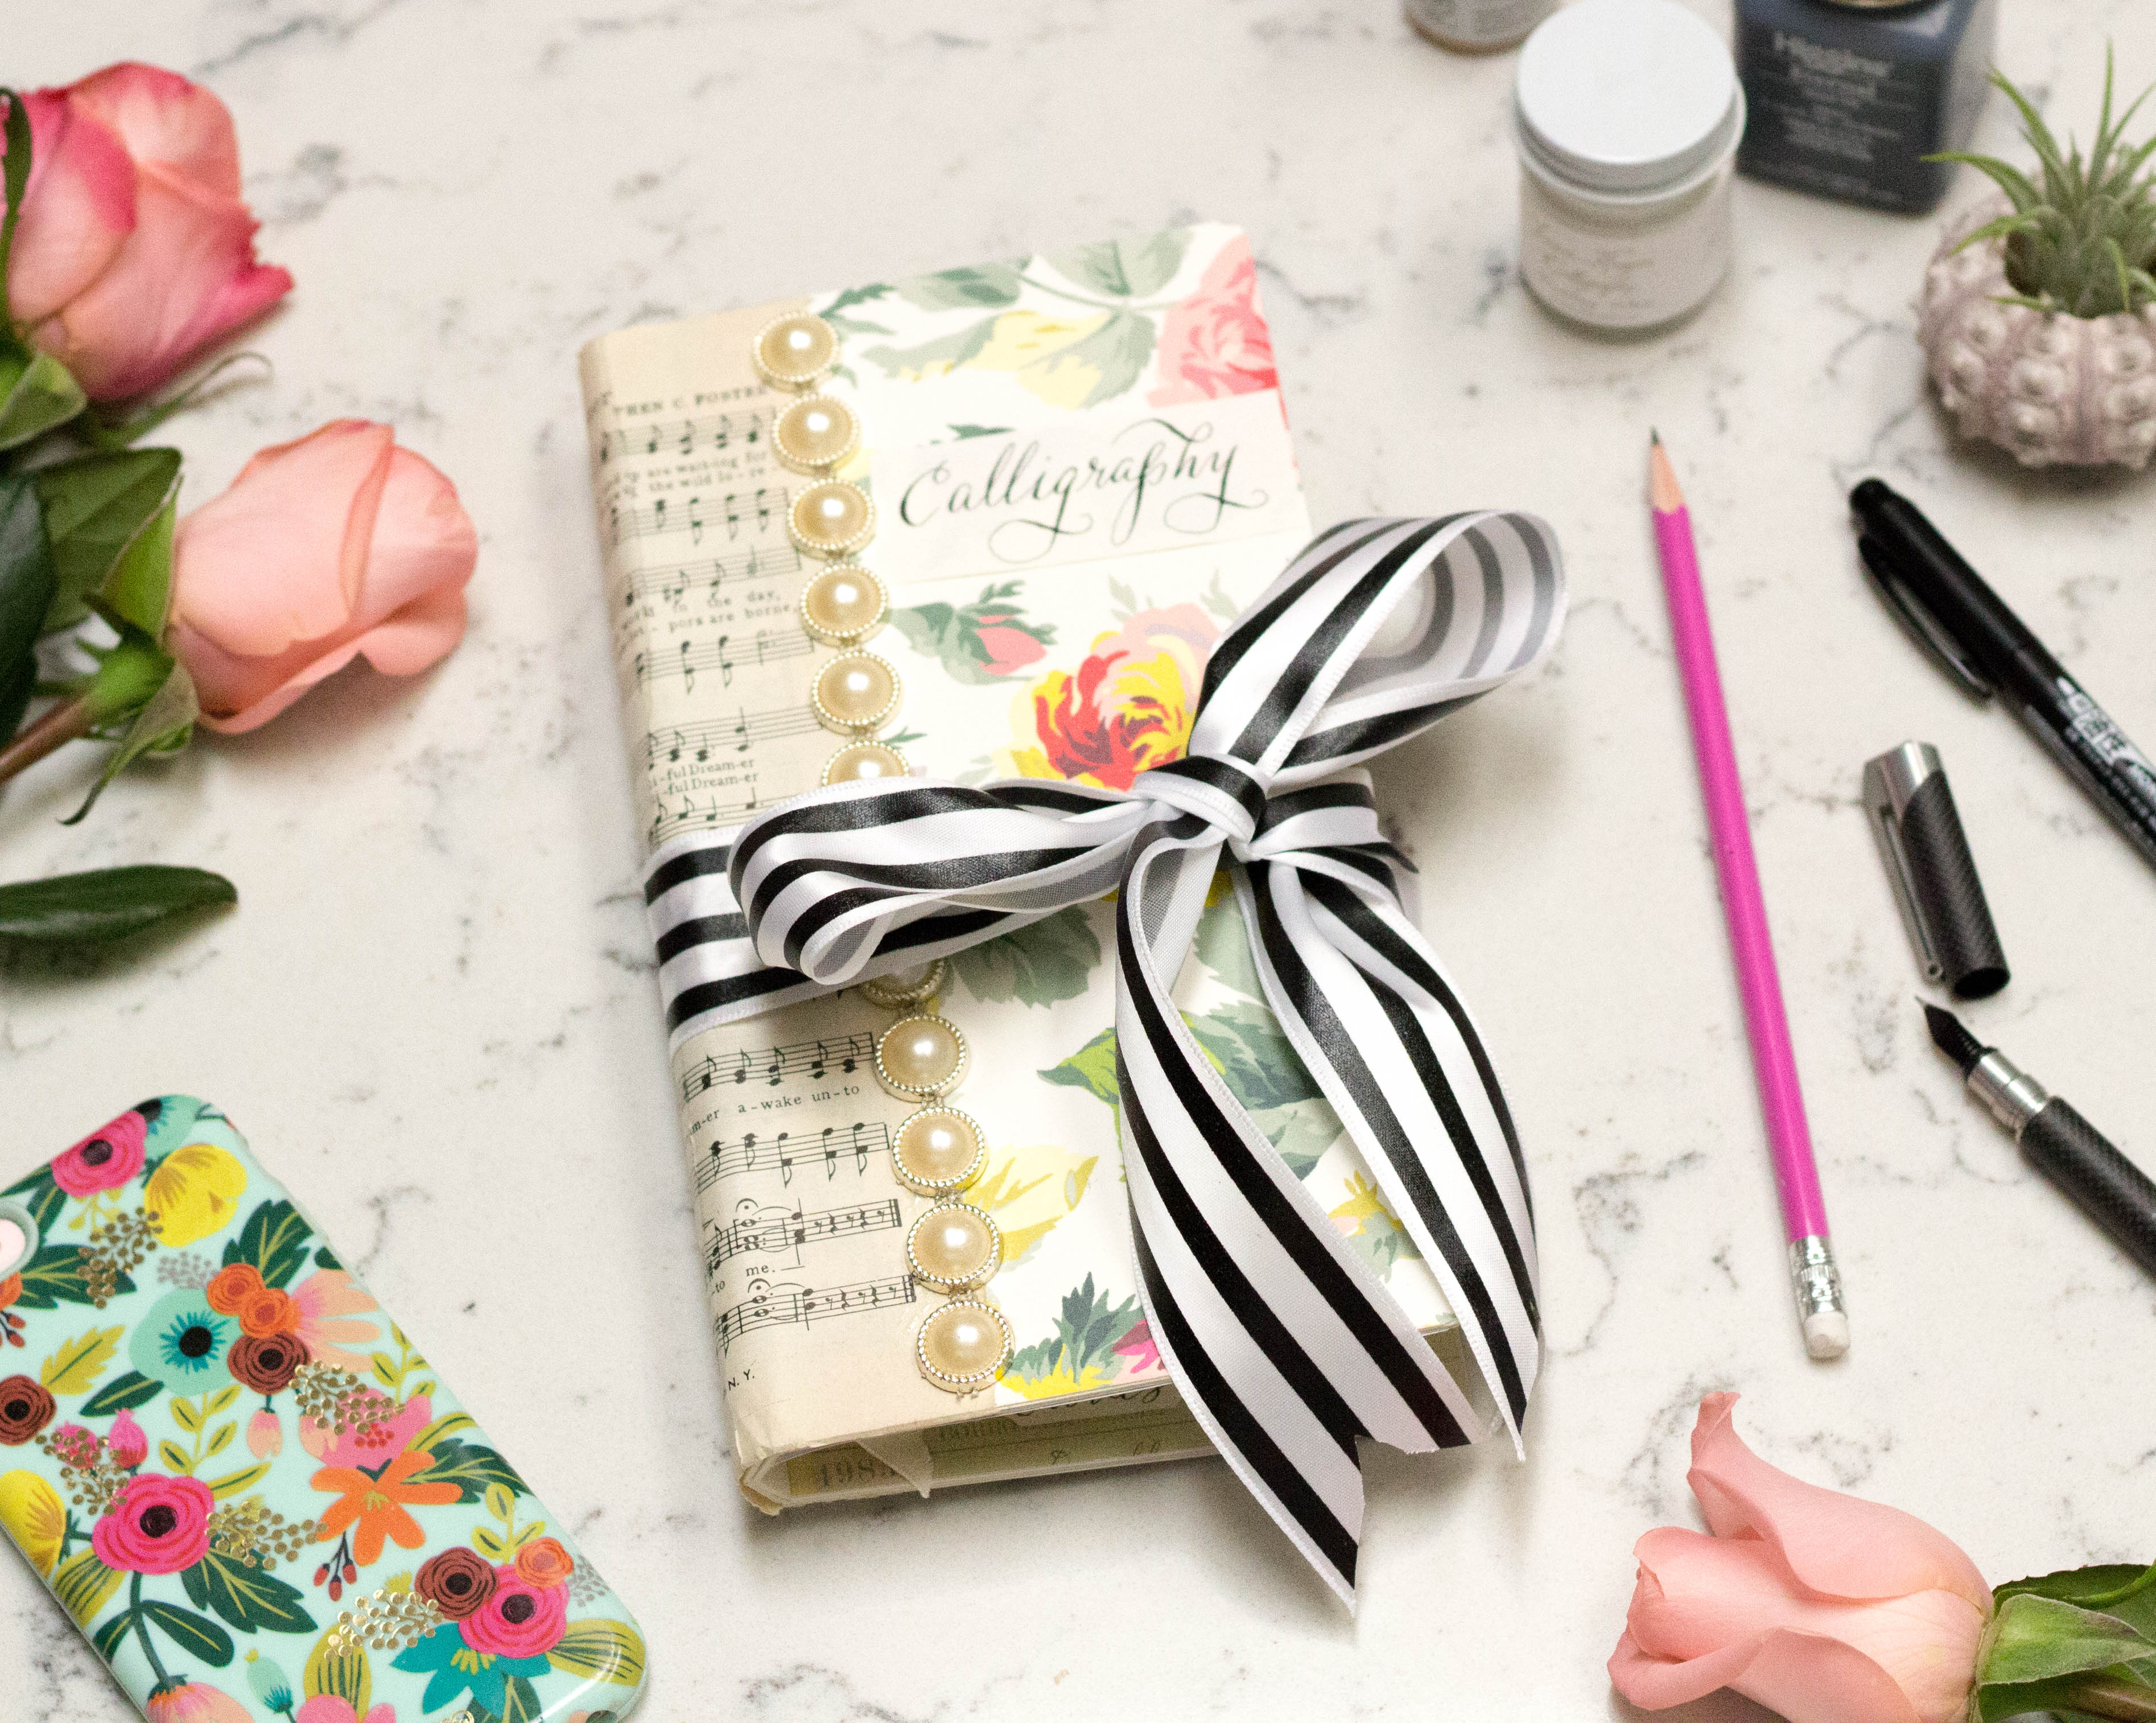
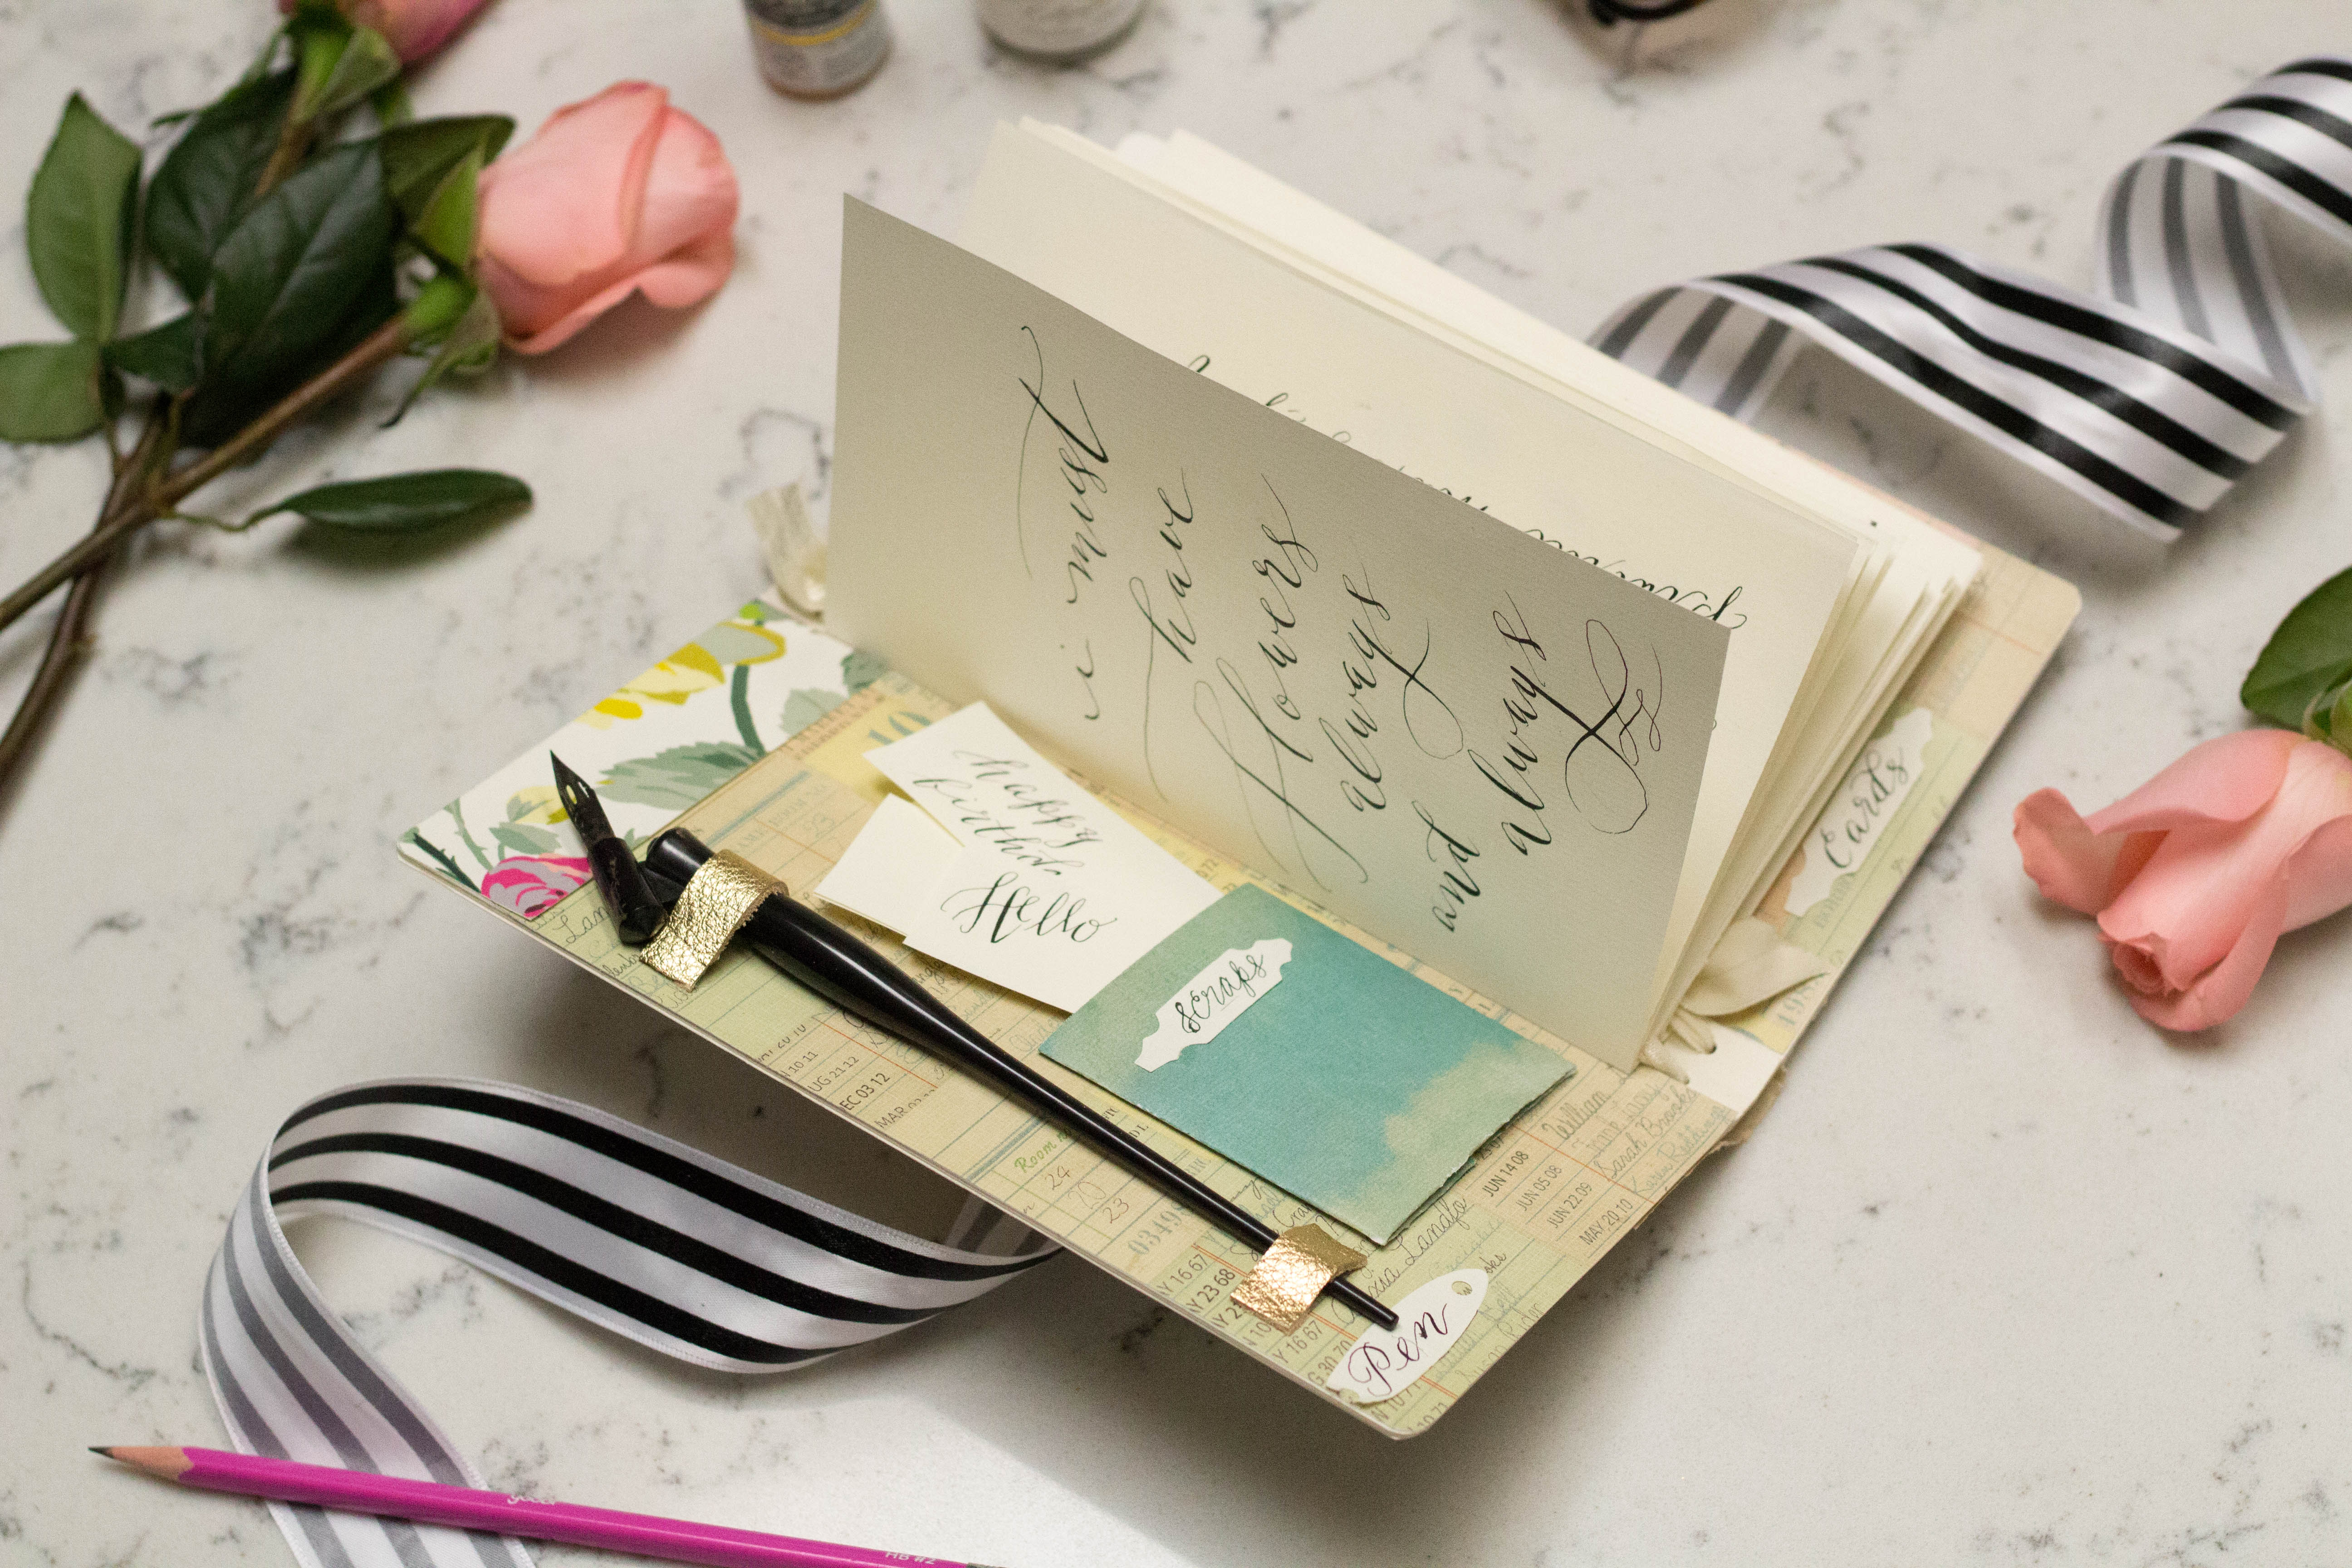
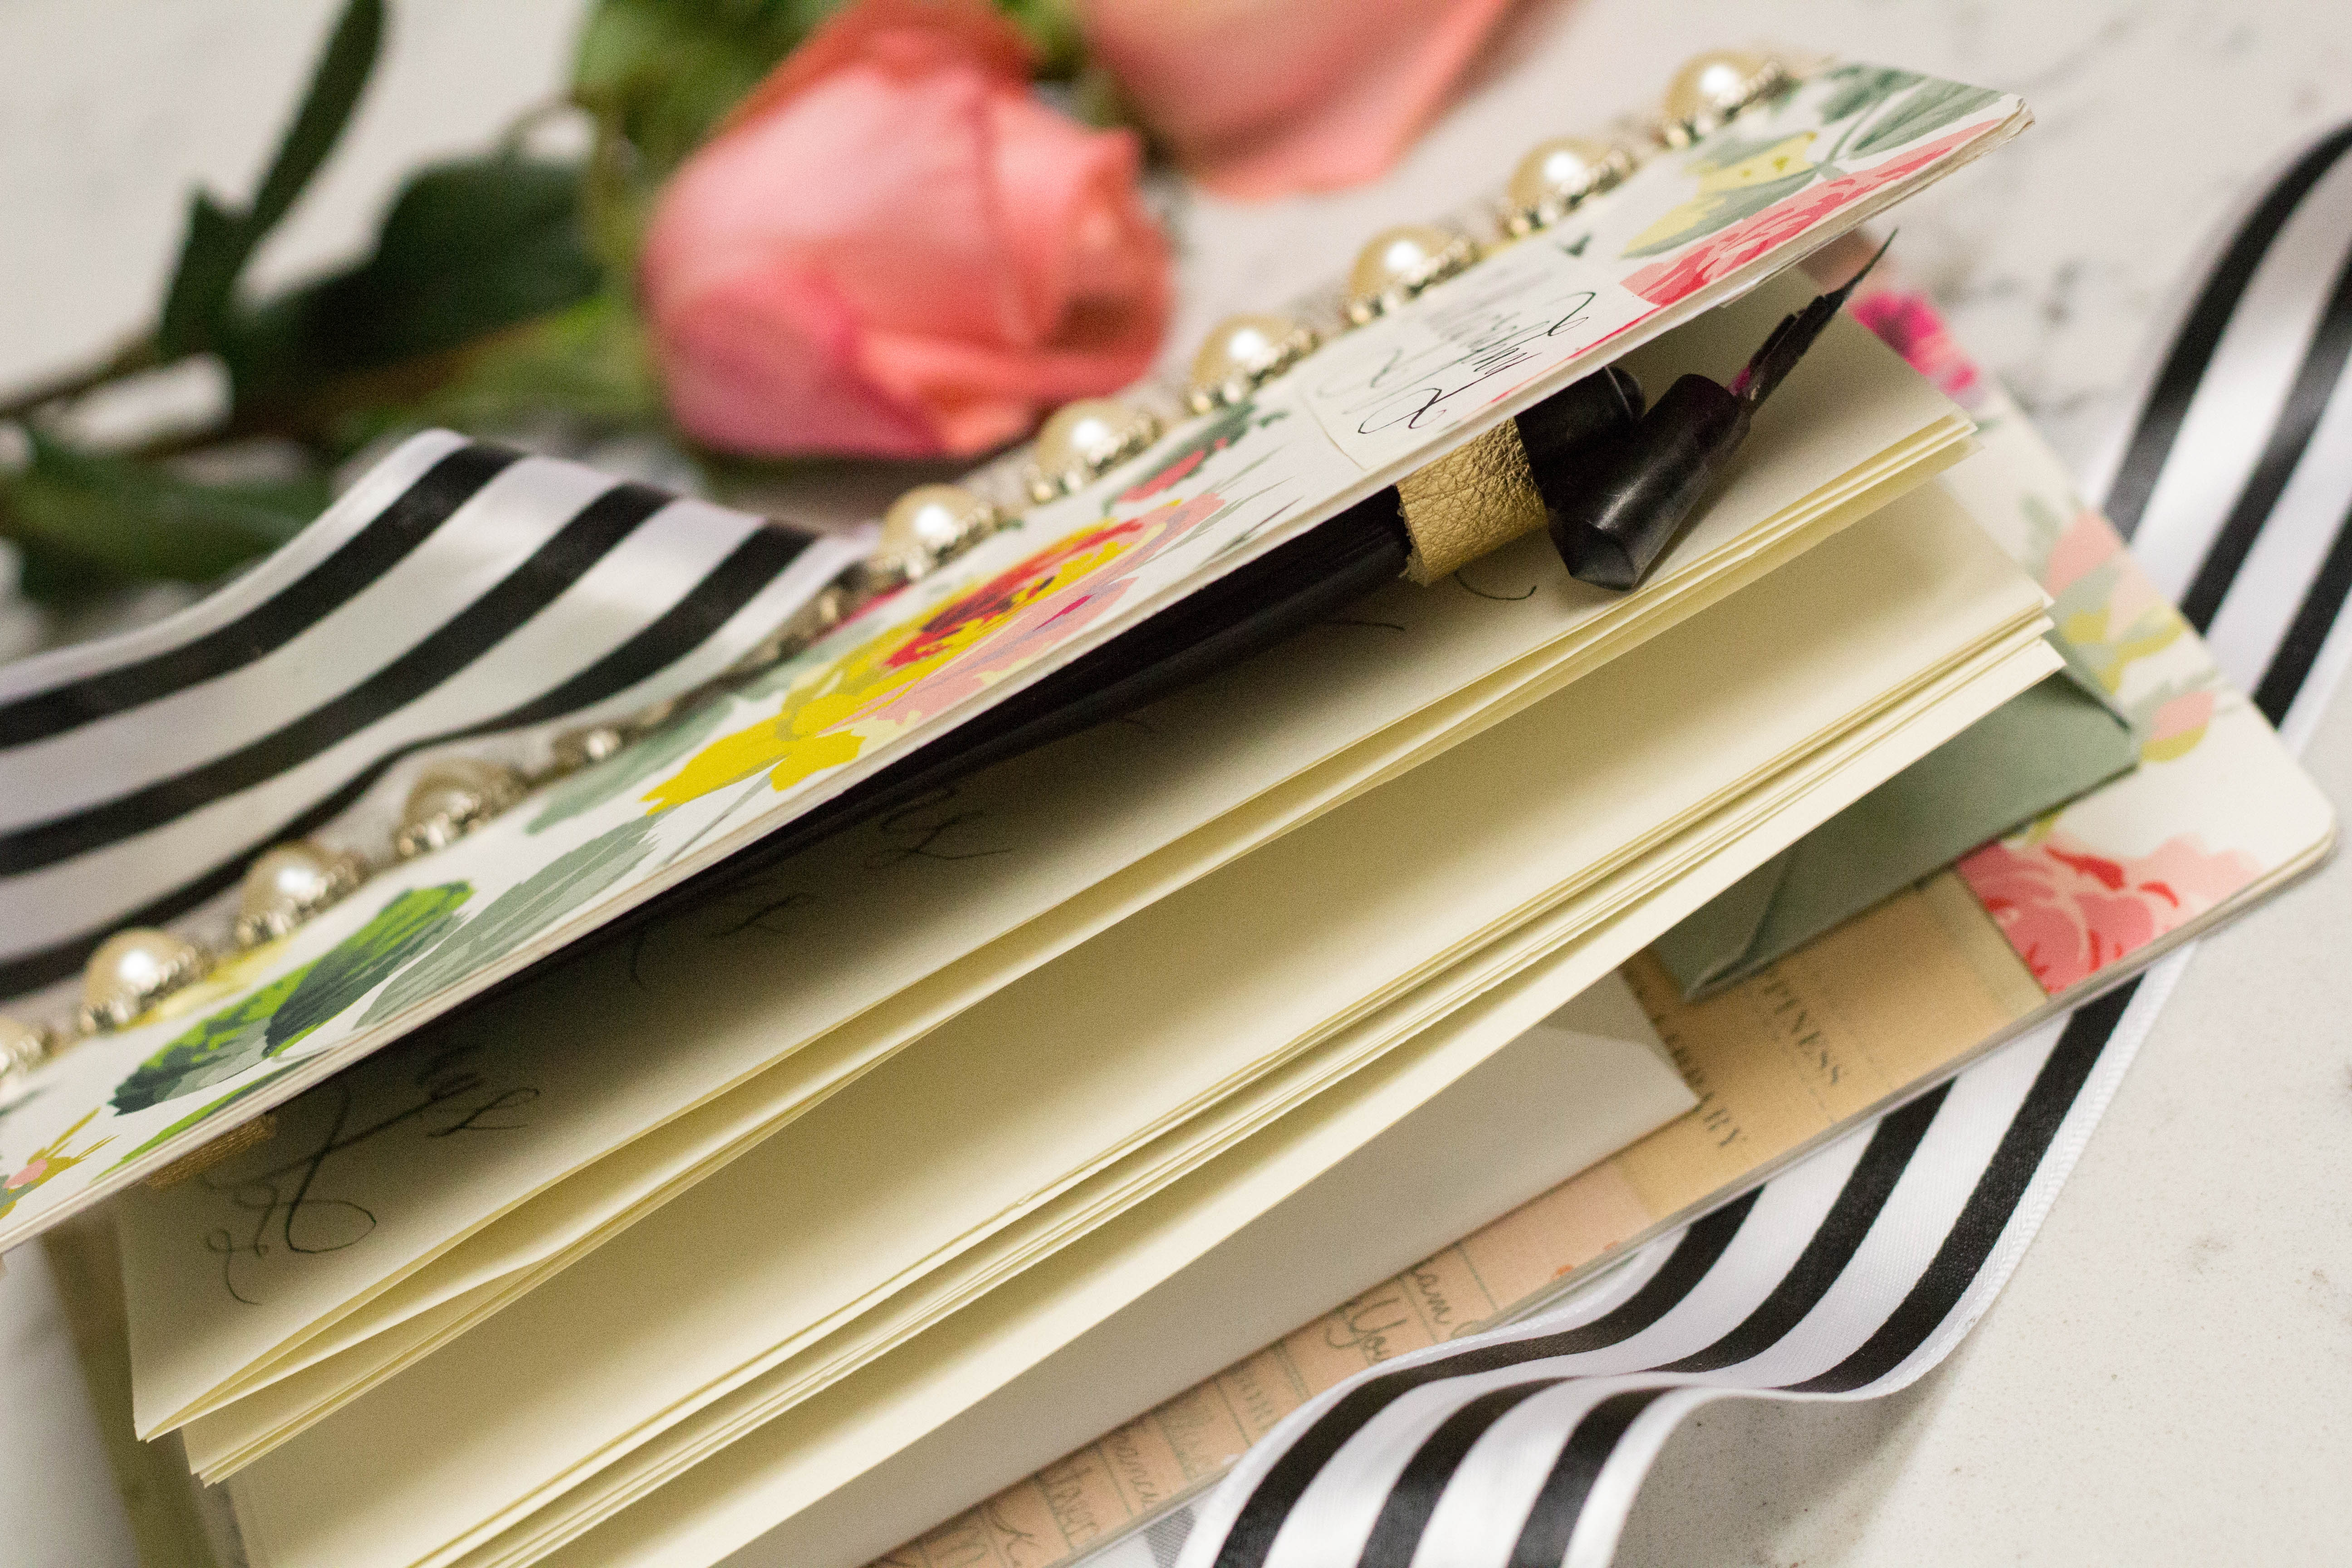
Take your calligraphy, hand lettering or sketching abilities on the go, with this conveniently sized Pretty and Practical Calligraphy Journal. It’s polished on the outside, and practical on the inside, with a place for everything, and everything in its place! Handy compartments for small greeting cards, nibs, paper scraps and even a pointed calligraphy pen provide organization and space to create, with style to spare.
Materials and Tools:
- Eileen Hull™ Heartfelt Journal Die 661903
- Little Sizzles Matboard, White, 2 Sheets 656492
- Sizzix Big Shot Cutting Machine 660425
- XL Cutting Pads 655267
- Paper Trimmer
- Scissors
- Beacon Zip Dry Glue
- Anna Griffin Floral Patterned Cardstock
- Library Card Patterned Cardstock
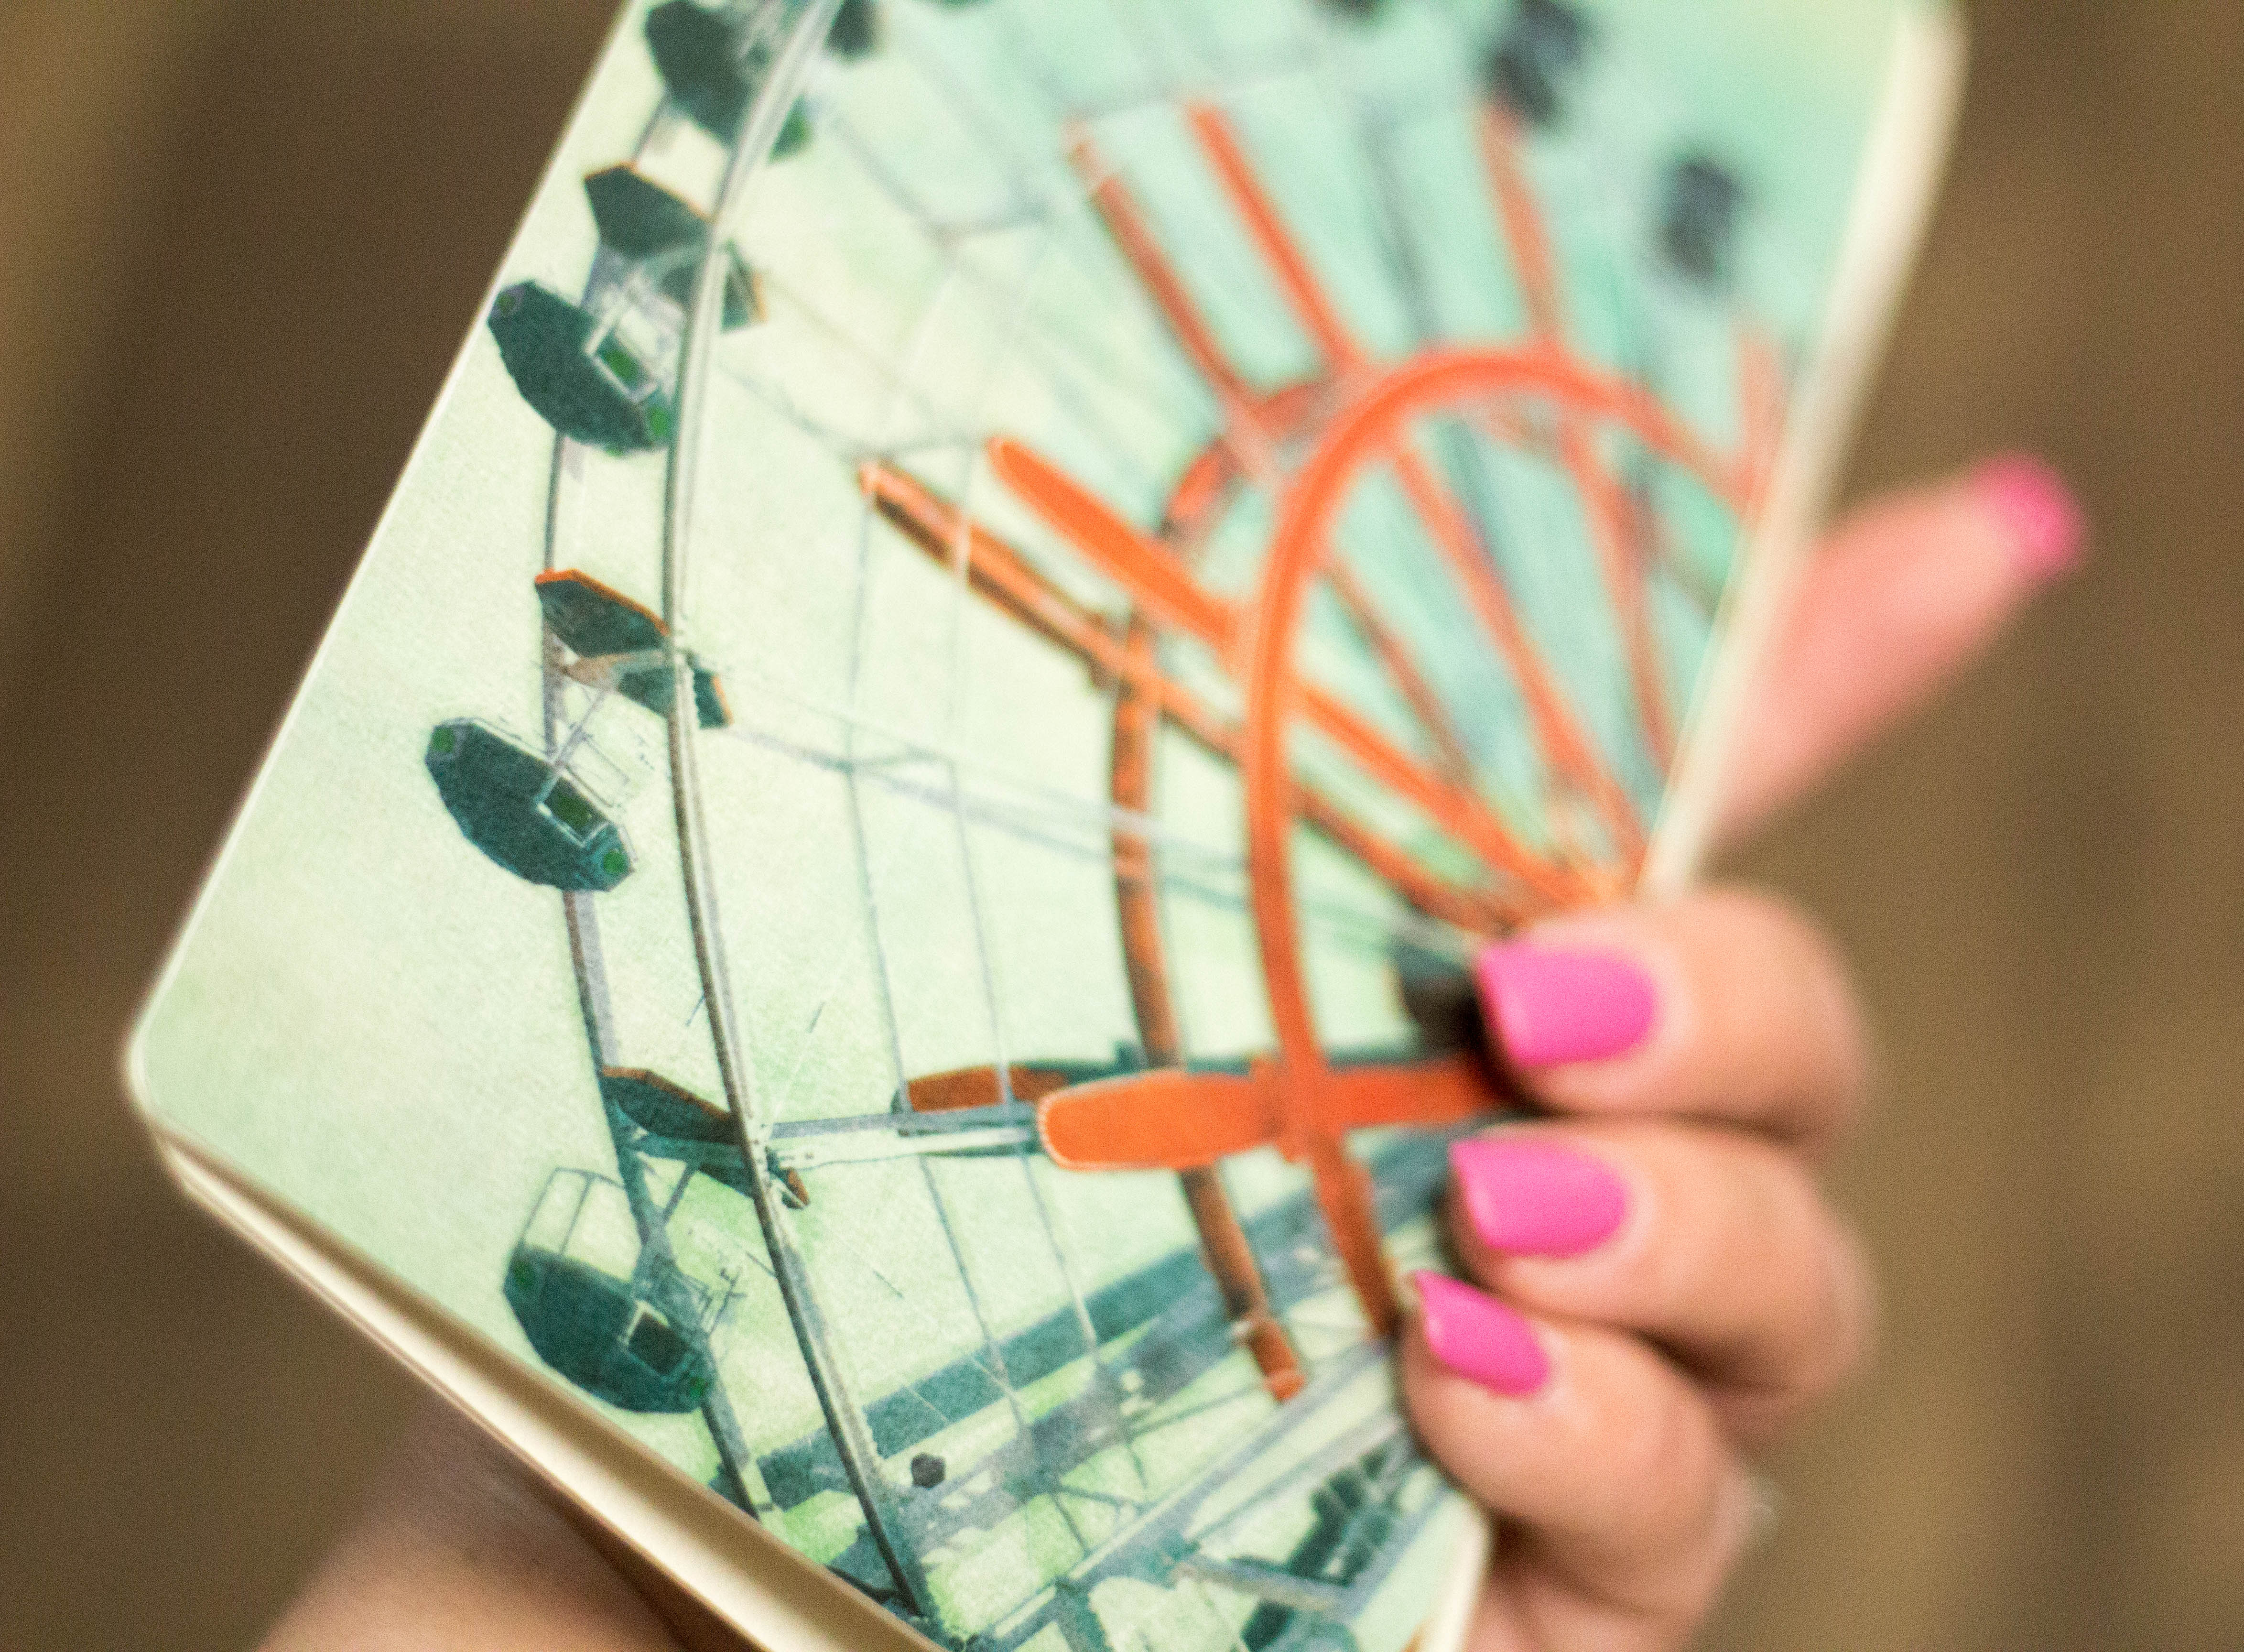
- Ferris Wheel Patterned Cardstock
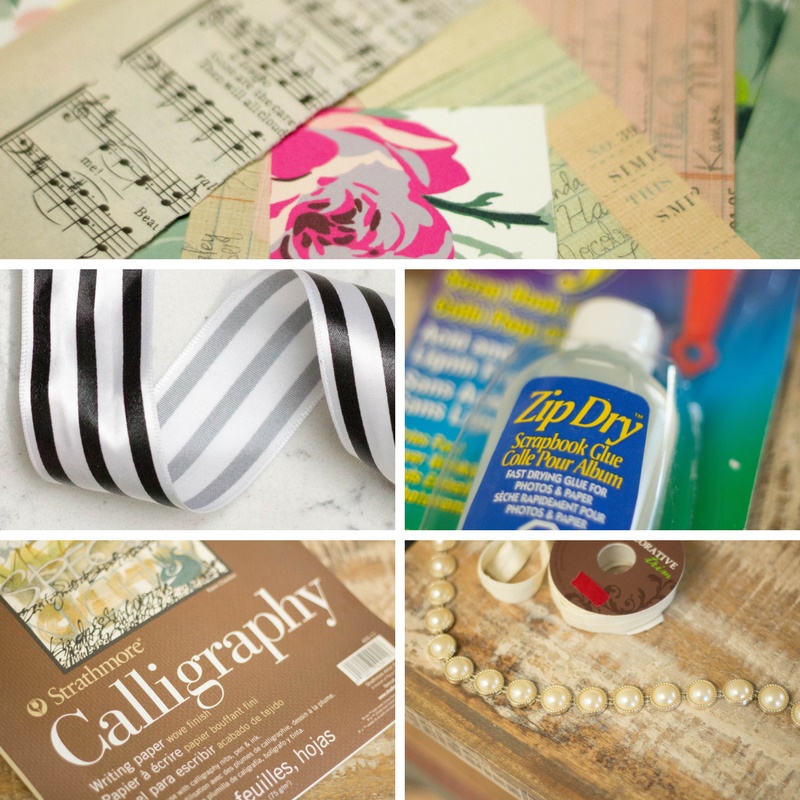
- Vintage Sheet Music Pages
- Black and White Striped Ribbon, 1 yard
- Paper Scraps in Coordinating Colors and Patterns
- Calligraphy Paper, approximately thirty 8.5” x 11” sheets
- ½” Wide Elastic Trim, Ivory
- Pearl Chain Trim from Expo International, approximately 18” length
- Bristol Calligraphy Pad, 50 sheets 8.5” x 11”
- Sizzix Gold Pebbled Leather
- Small greeting cards and envelope, approximately 3” x 5” size
Instructions:
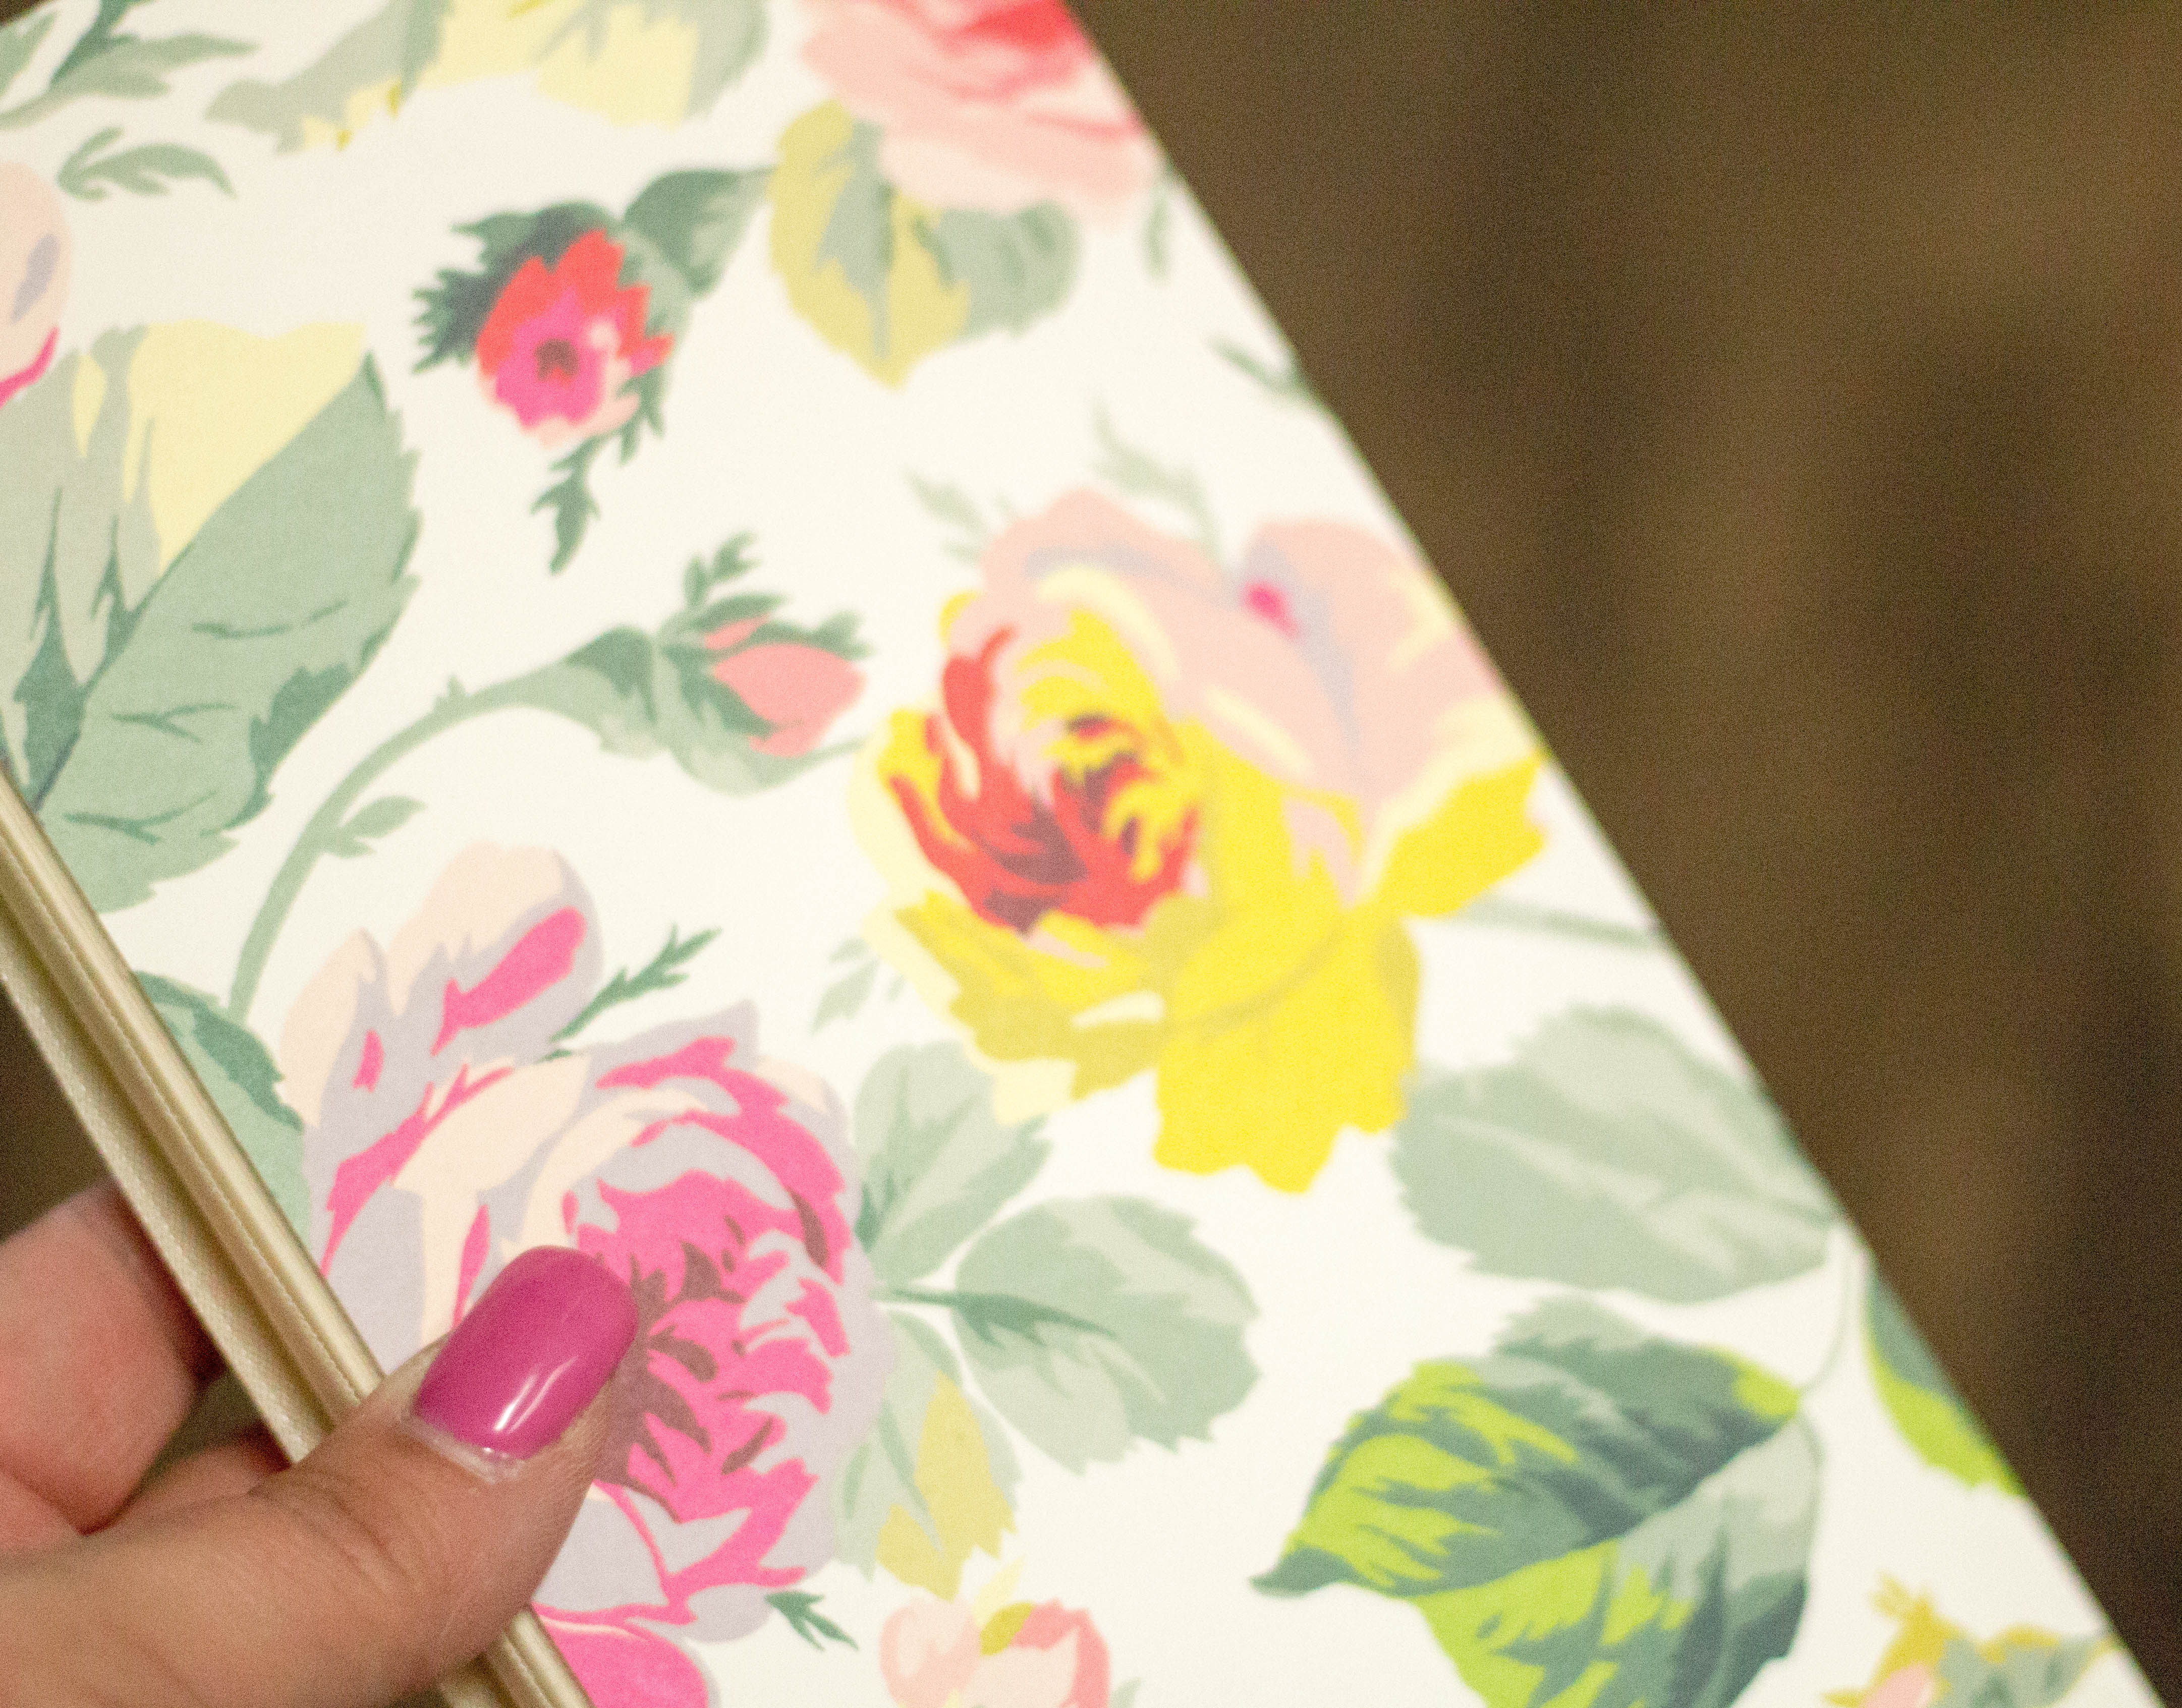
Using the Heartfelt Journal Die, cut 2 pieces from the mat board. Cut two of the library card patterned paper for the inside covers, one of the floral patterned paper, (for the front cover), and one of the ferris wheel photorealistic paper, (for the back cover). (Before cutting photorealistic papers, I like to line them up on the die to ensure the final cut will display properly). The floral paper I used is from the Anna Griffin “Garden Party” paper pad, and the Ferris Wheel and Library Card Patterns are from the Die Cuts with a View La Boutique Vintage” paper pad.
Using Zip Dry adhesive, align and cover the inside covers of the journal using the library card patterned paper and allow to set.Overlap the two covers at the center dot located on the spine. Attach the spines together using zip dry, and clamp together using binder clips until firmly set.

Cover the outside front cover with the floral patterned paper using Zip Dry, then repeat this process on the back outside cover, using the ferris wheel paper.
Lace elastic from the top left hole, through the bottom left hole, and tie in a knot, on the inside of the journal. Repeat on the right, creating two elastic loops, under which your journal pages will be secured.
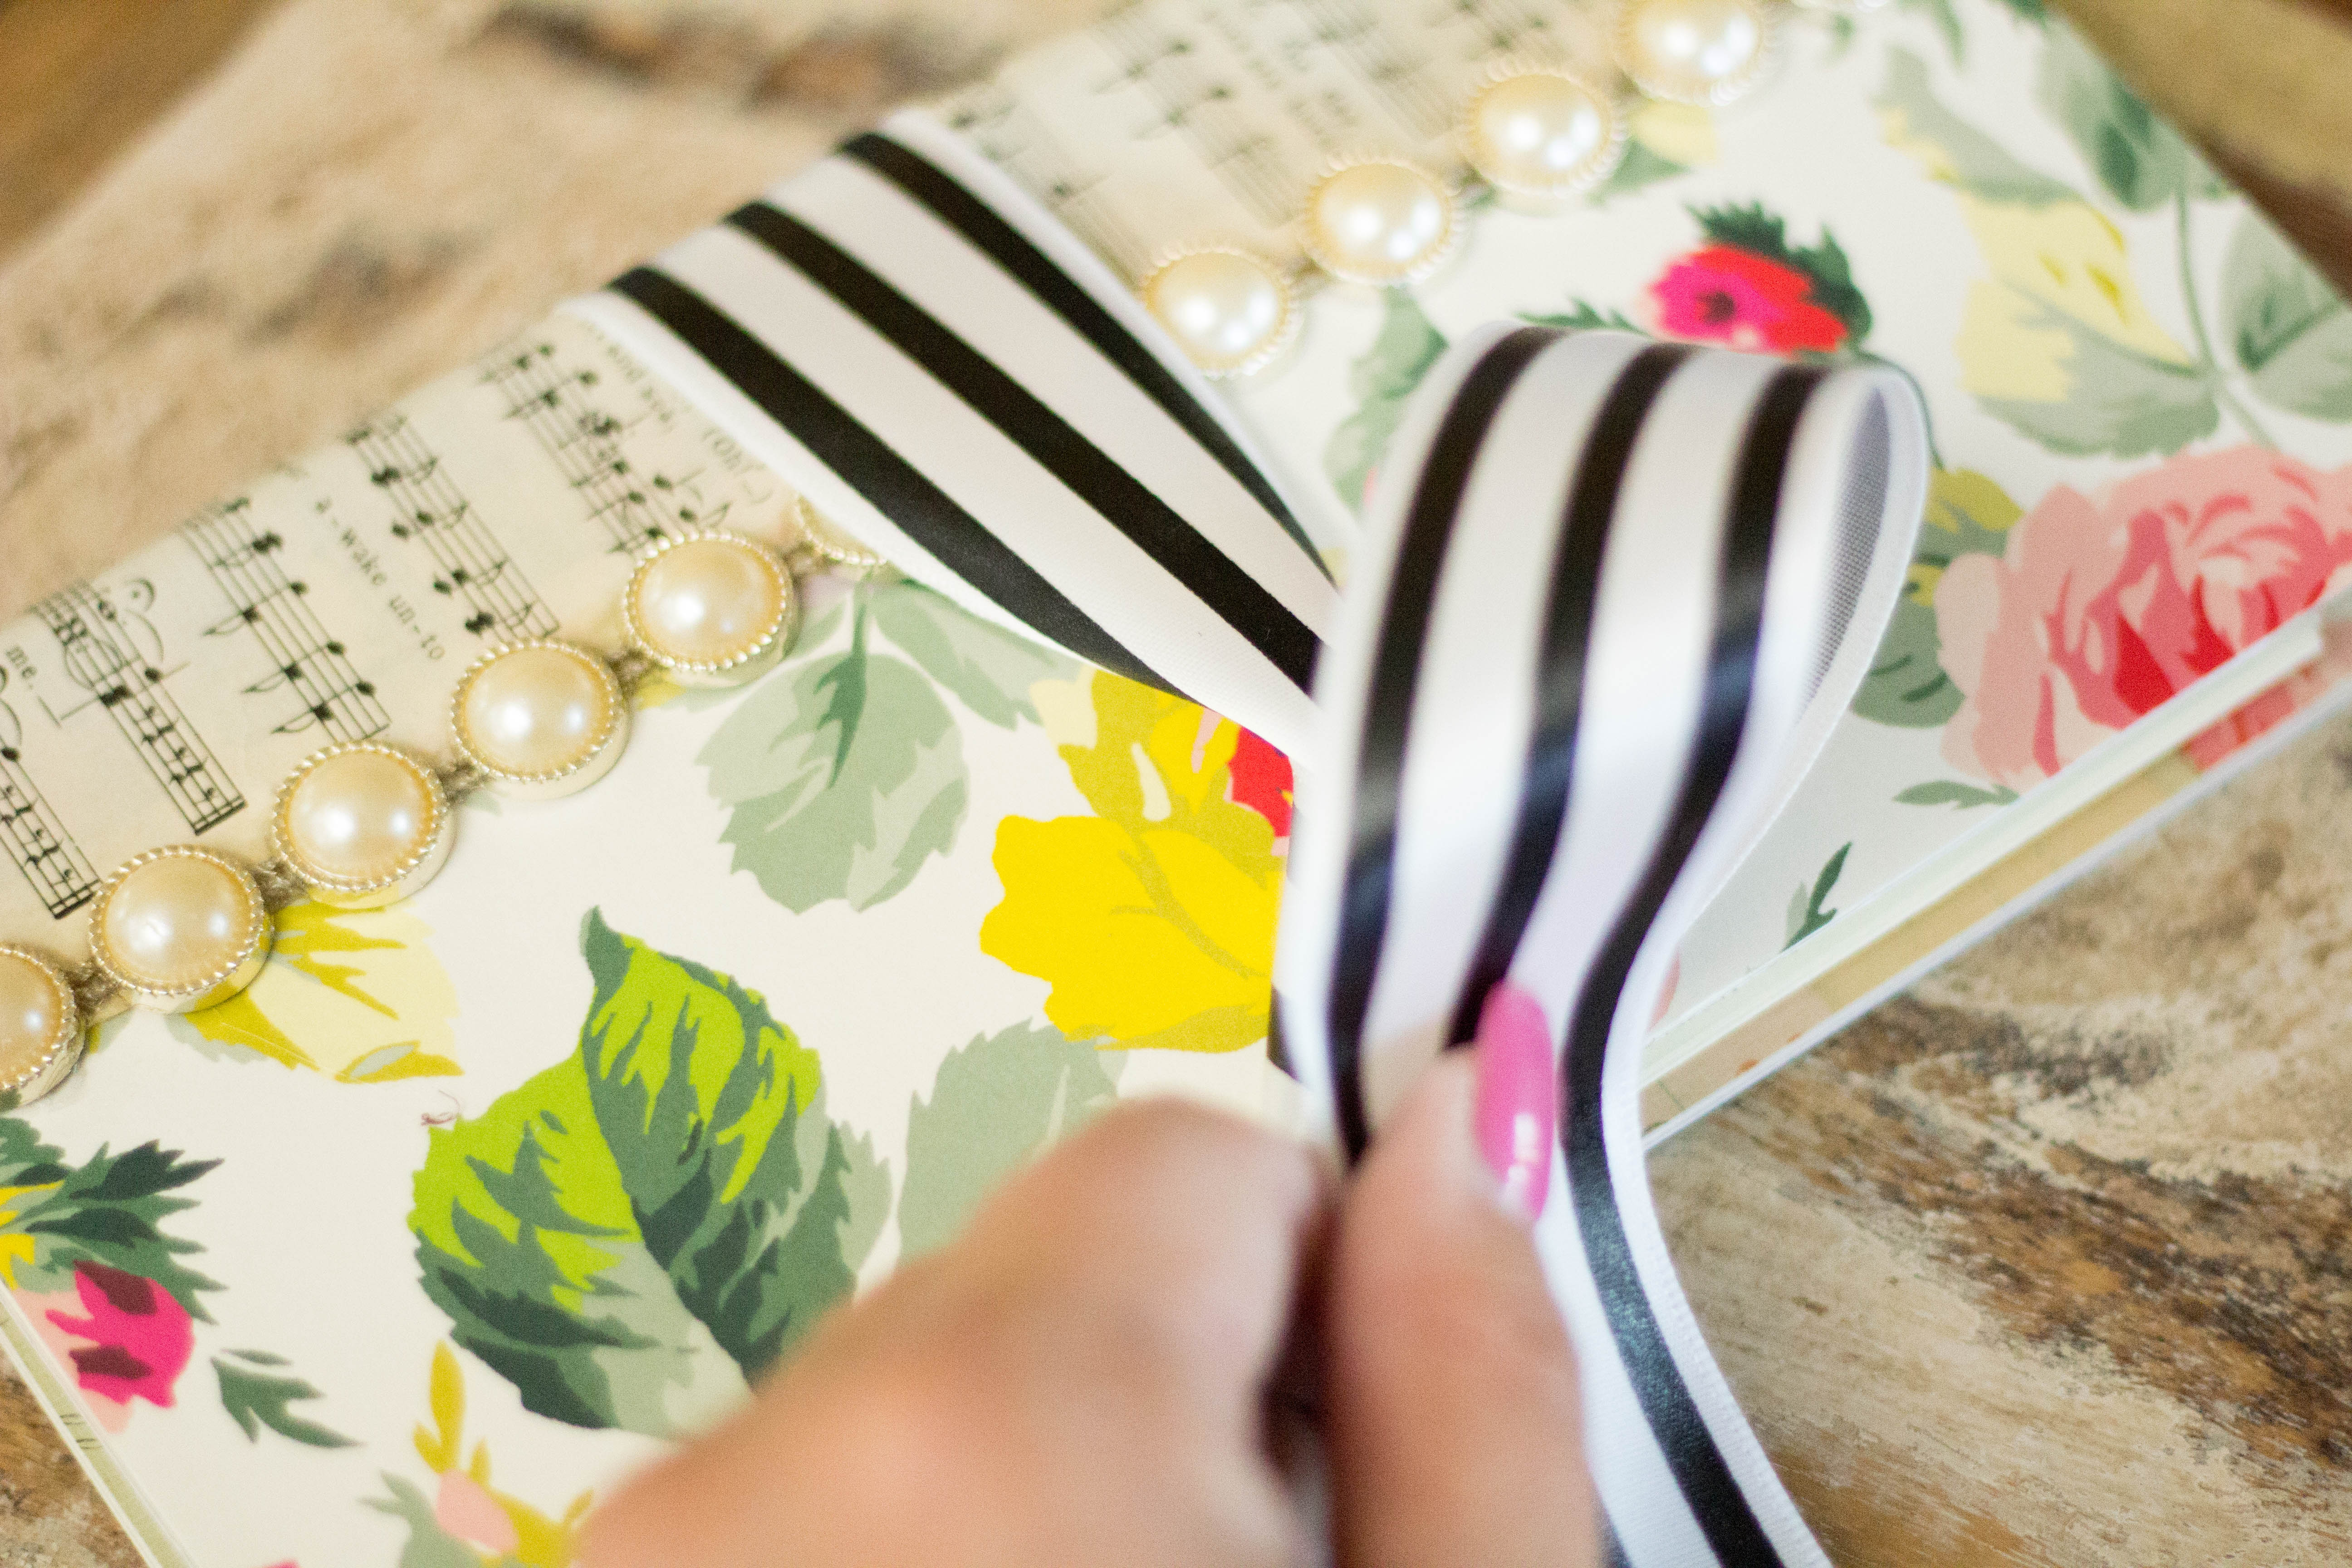
To create the look of a book binding, I added vintage music paper, wrapped vertically around the spine of the journal, extending about two inches onto the front and back covers.
Along the line where the music paper meets the front cover, glue a vertical length of pearl chain trim using Zip Dry. Repeat on the back cover.

Remove 30 sheets of calligraphy paper from the pad and divide in half. Fold in half lengthwise, and trim to fit your journal using the paper trimmer. Reserve larger scraps.
Using scraps of patterned paper, fold a small pocket about 3”,wide and 3” tall, and glue to the interior front cover.
With scissors, hand cut two small strips of the gold leather about 1.5” wide and 1/3” tall. Position the pen you wish to carry in the journal, and arrange a top and bottom strip to secure it. Glue into place with Zip Dry.
Create another small pocket from patterned paper scraps to hold nibs, and glue to the upper portion of the back inside cover.
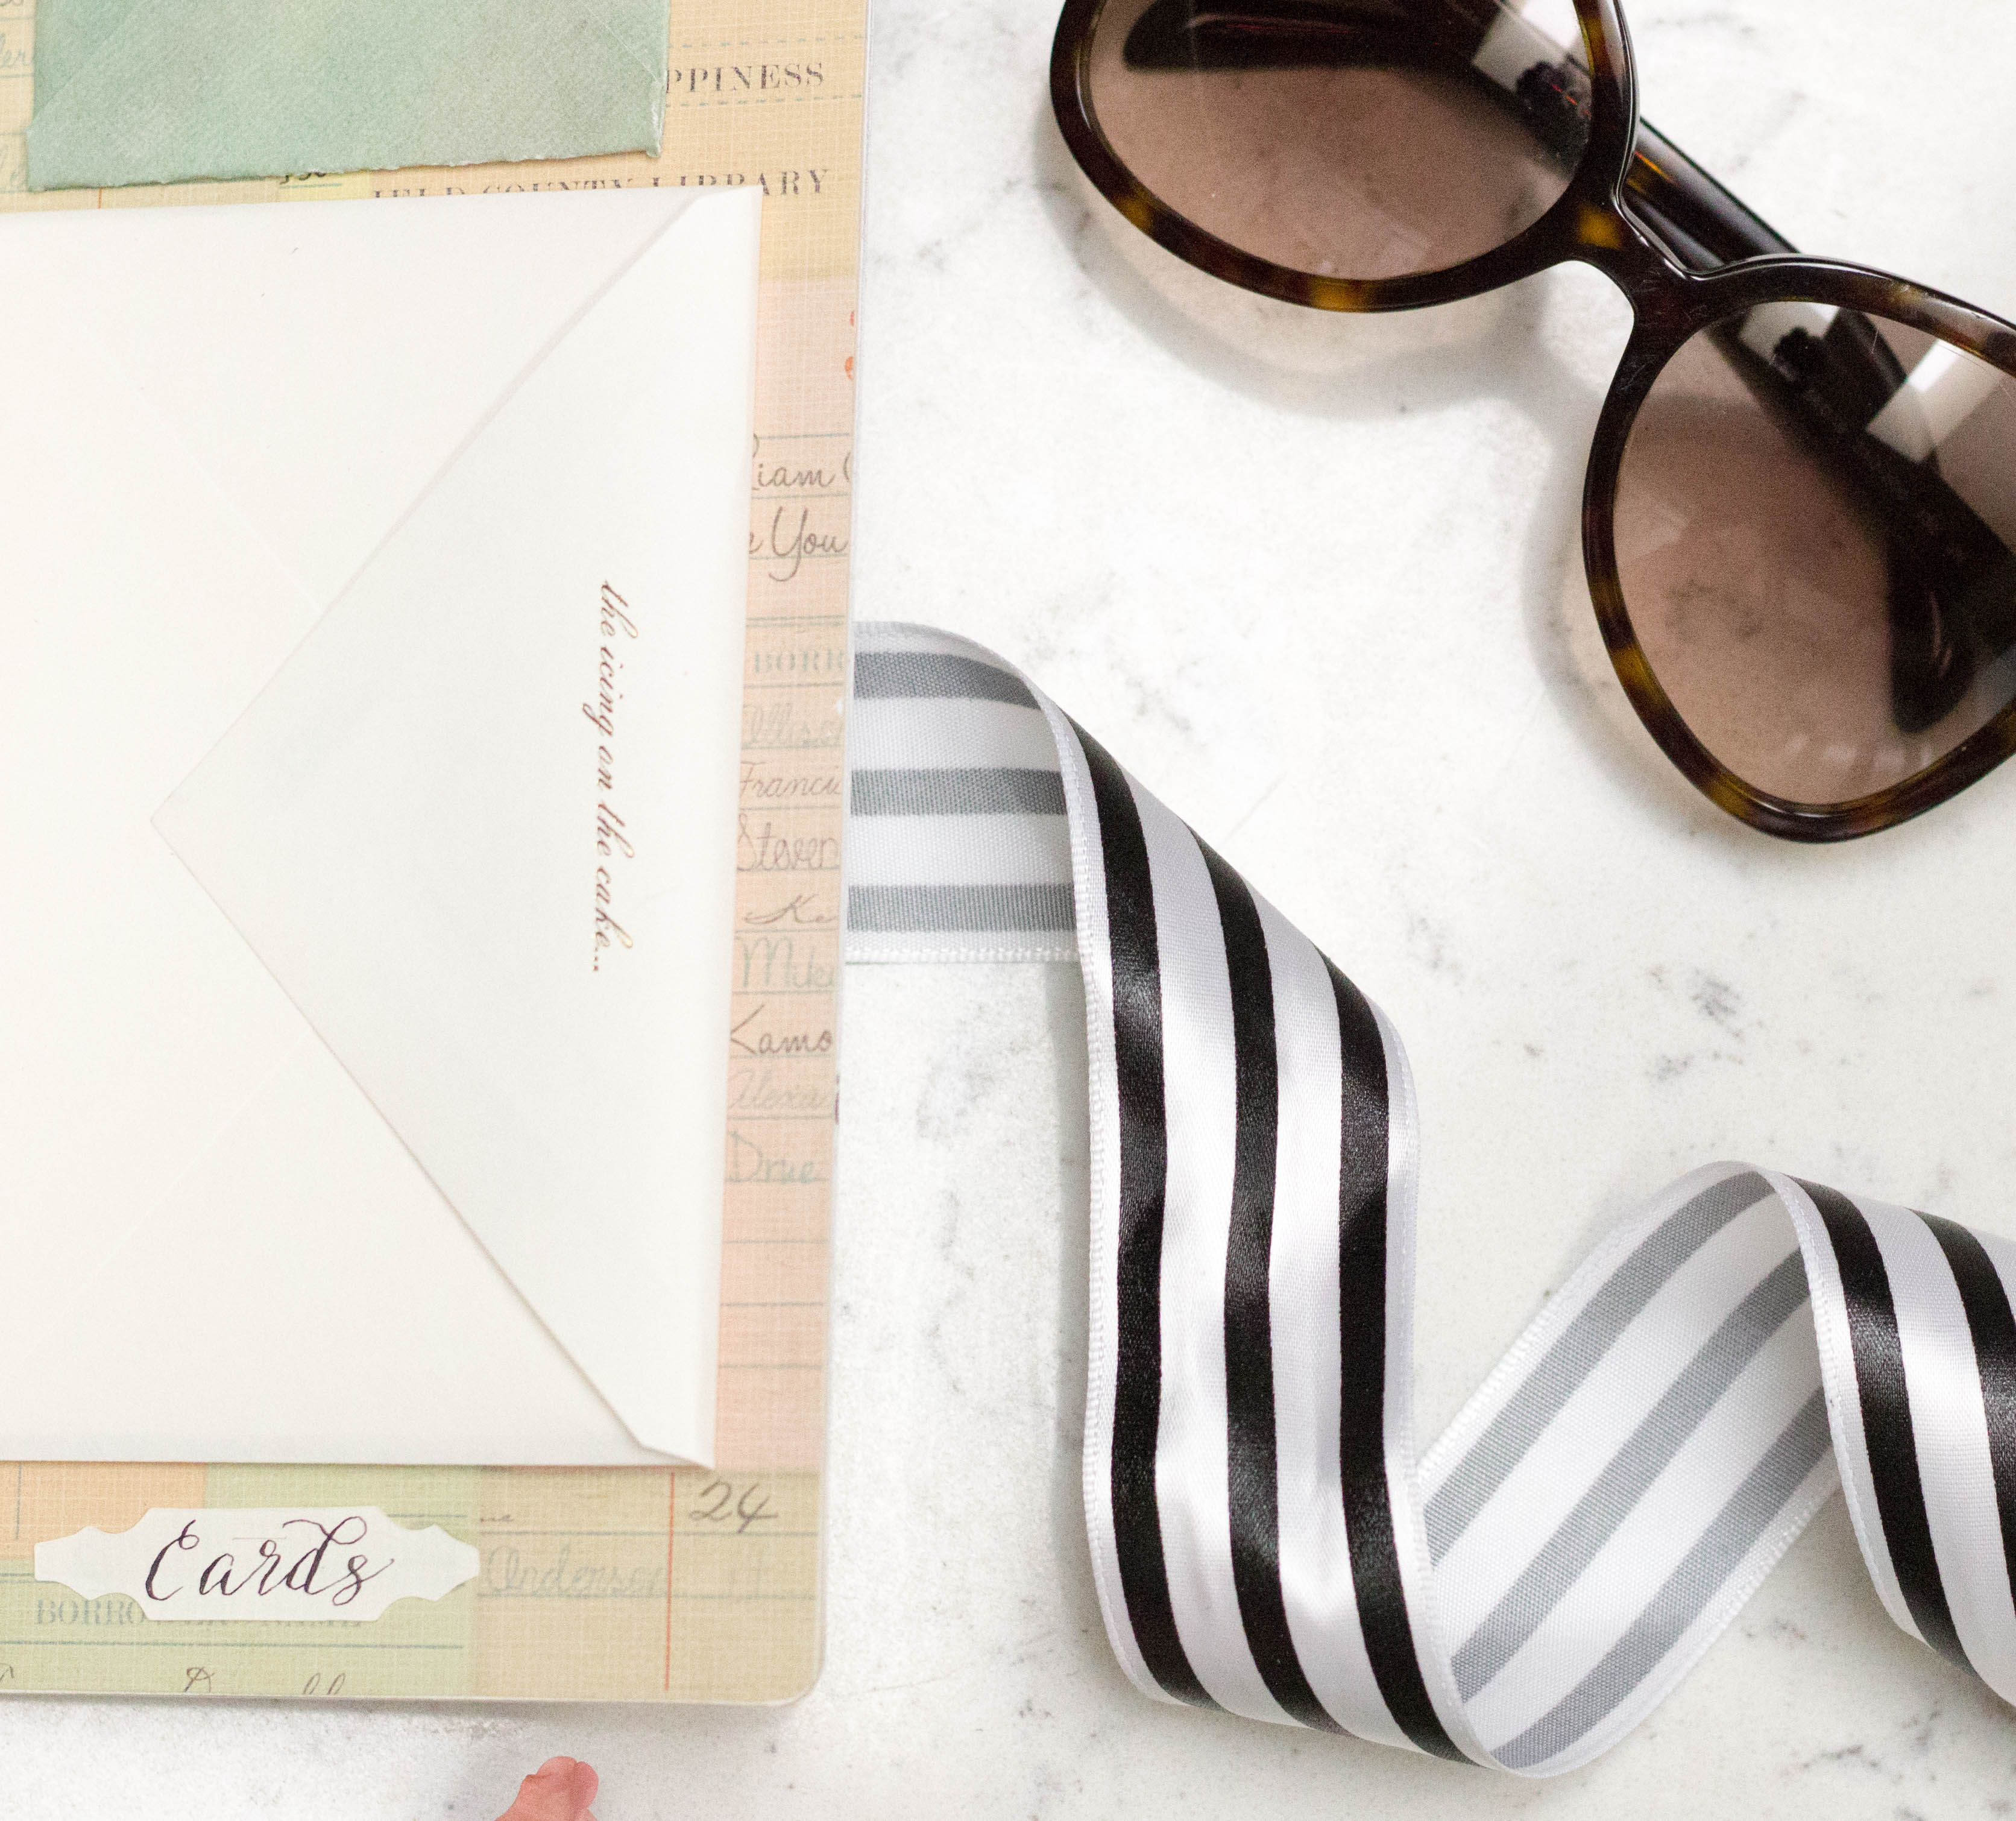
Adhere a small notecard envelope to the inside back cover, and insert a few greeting cards to have at the ready.
Create labels for each compartment. They can be hand cut, or die cut. These were created using Tim Holtz Latches Die, with calligraphy paper. The script is hand lettered. The cover also has a scrap of this paper, and is titled simply, “Calligraphy”.
Arrange the striped ribbon horizontally across the center outside of the journal and tie into an elegant bow. Once tied, trim and dovetail the ends at about 4” from the bow. Once you are satisfied with the arrangement, until the ribbon and adhere it to the journal at the spine, to secure it when untied.
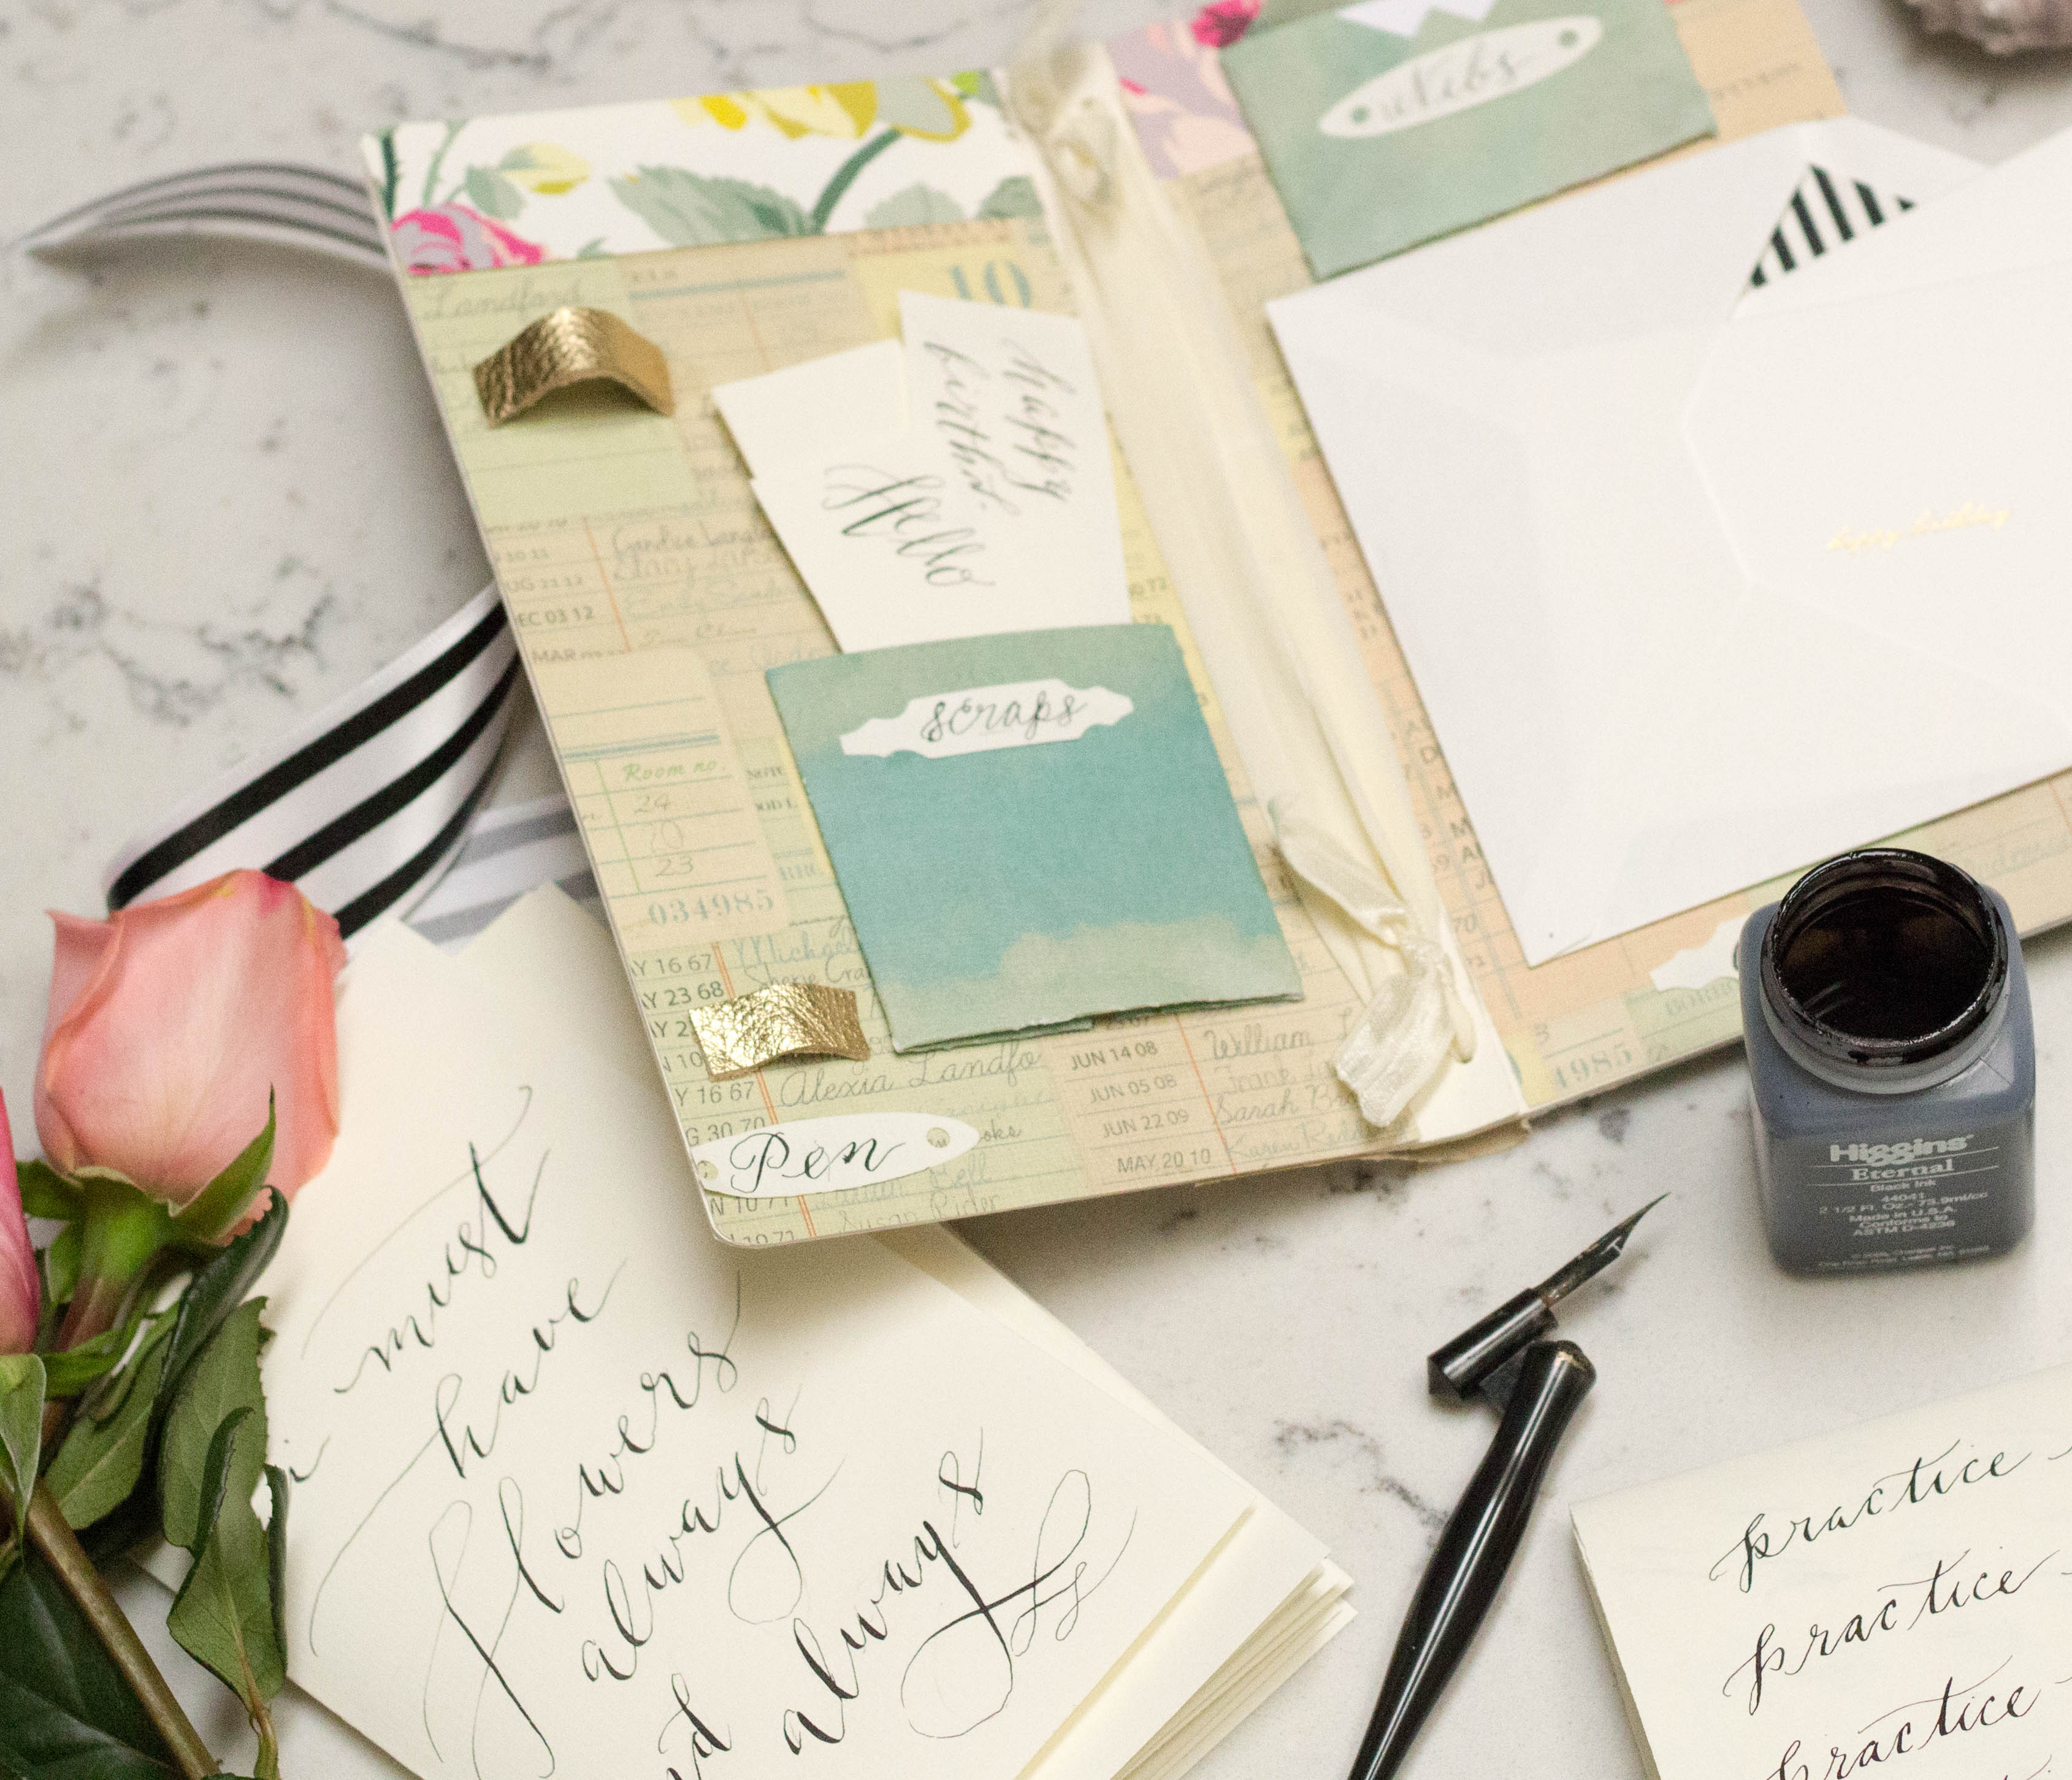 Insert the calligraphy pages by slipping the folded pieces under the elastic. Fill the Scraps pocket with the large calligraphy paper scraps. Insert a few greeting cards, secure your pen, and place a few extra nibs into the designated pocket.
I love the versatility of the Heartfelt Journal Die! I already have several more ideas spinning in my head that will use this format. What would you make with this Heartfelt Journal die?