
The sea is calling and I must go… This pretty Mermaid Tray features a soft palette of cool colors like blue and lavender. It boasts a dazzling scattering of sea shells, pearls, iridescent glitter, and a white finger starfish. It’s a fantastic catchall for perfume bottles, jewelry, or your own collection of sea shells and coastal treasures.
To bring you this pretty project, I was provided with product from Enviro Tex Lite®. As always, the design and ideas are all my own.

I’m a Co-Host of The Fab Furniture Flippin’ Contest® , a monthly furniture and home decor creative contest. This month’s Sponsor was ETI Envirotex, who generously provided me with enough Pour-On Lite Resin to complete this project, and a few others! (Expect to see more with this amazing medium in future posts!) You won’t believe the incredible, reflective high-gloss finish that can be achieved with this high quality product.
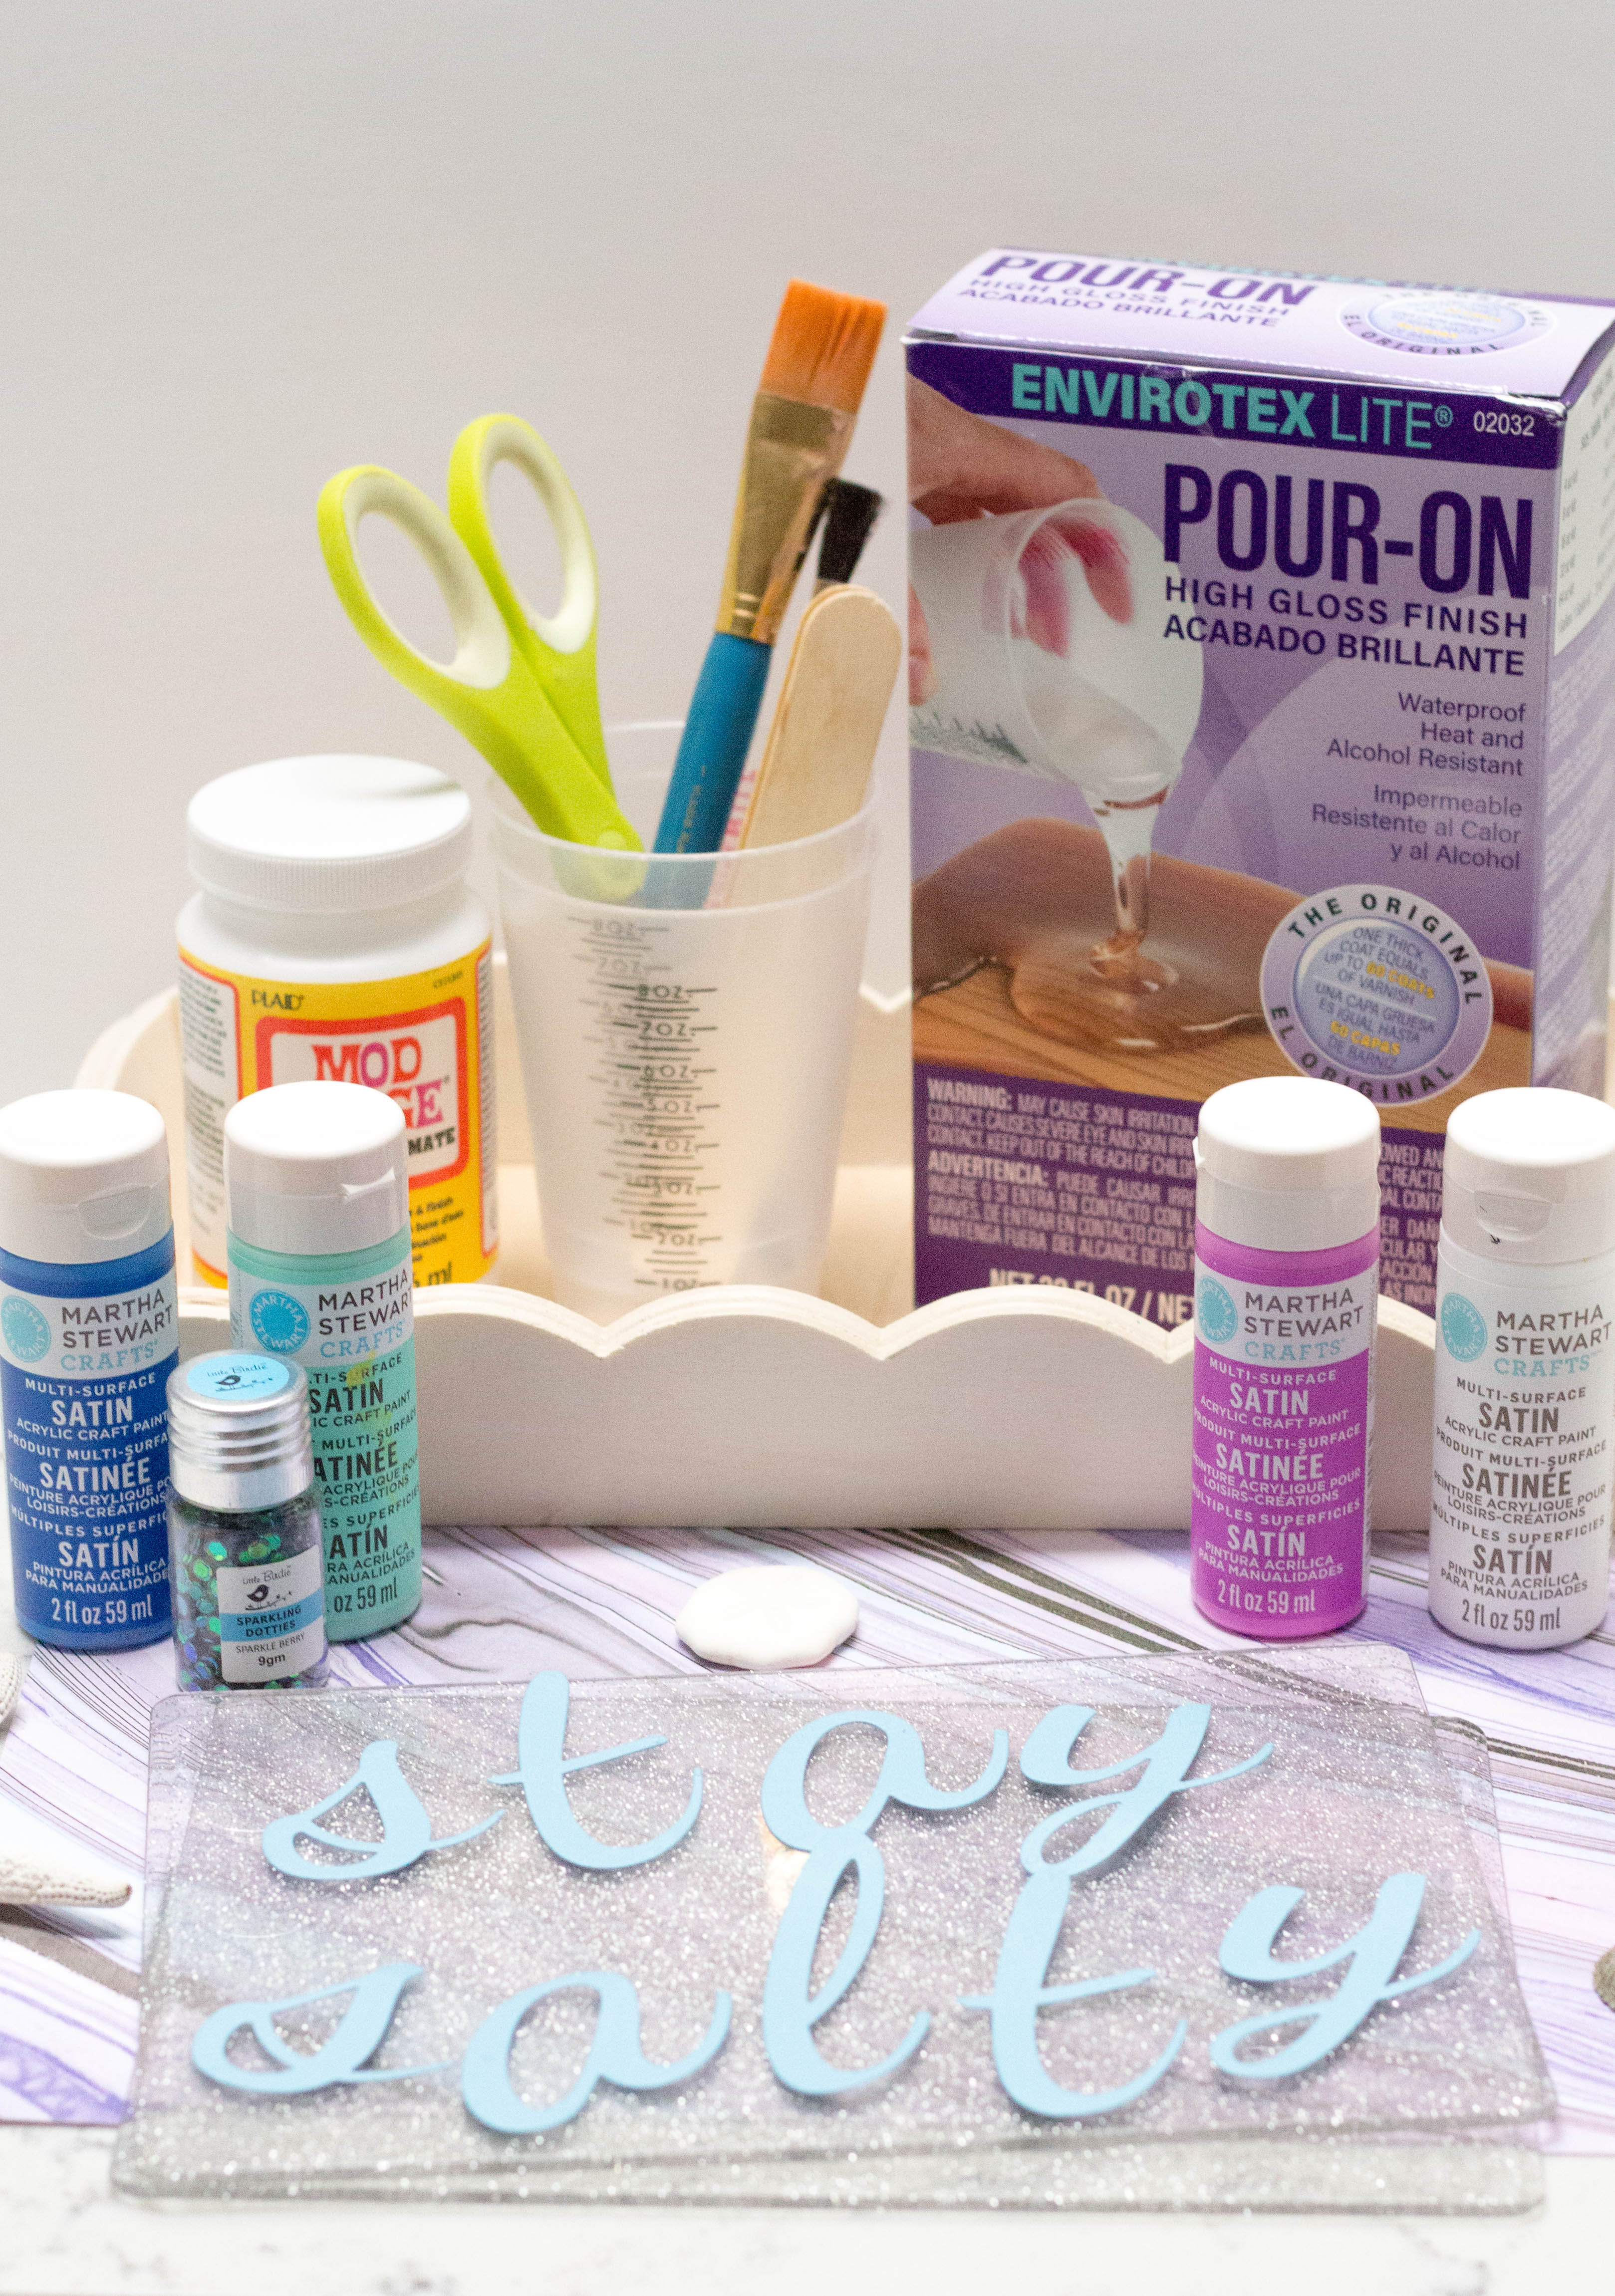
Here’ s What You’ll Need to Create your own Mermaid Tray:
- Envirotex Lite 8 ounce Kit
- Disposable Cups for mixing paint (included in the kit)
- Wood Tray with Sides
- Acrylic Paints in “Mermaid” colors
- Paintbrush
- Mod Podge
- Marbled Scrapbook Paper
- Paper Trimmer or Scissors
- Die cut letters to spell out a phrase
- Assorted sea shells, sea stars, faux pearls and glitter
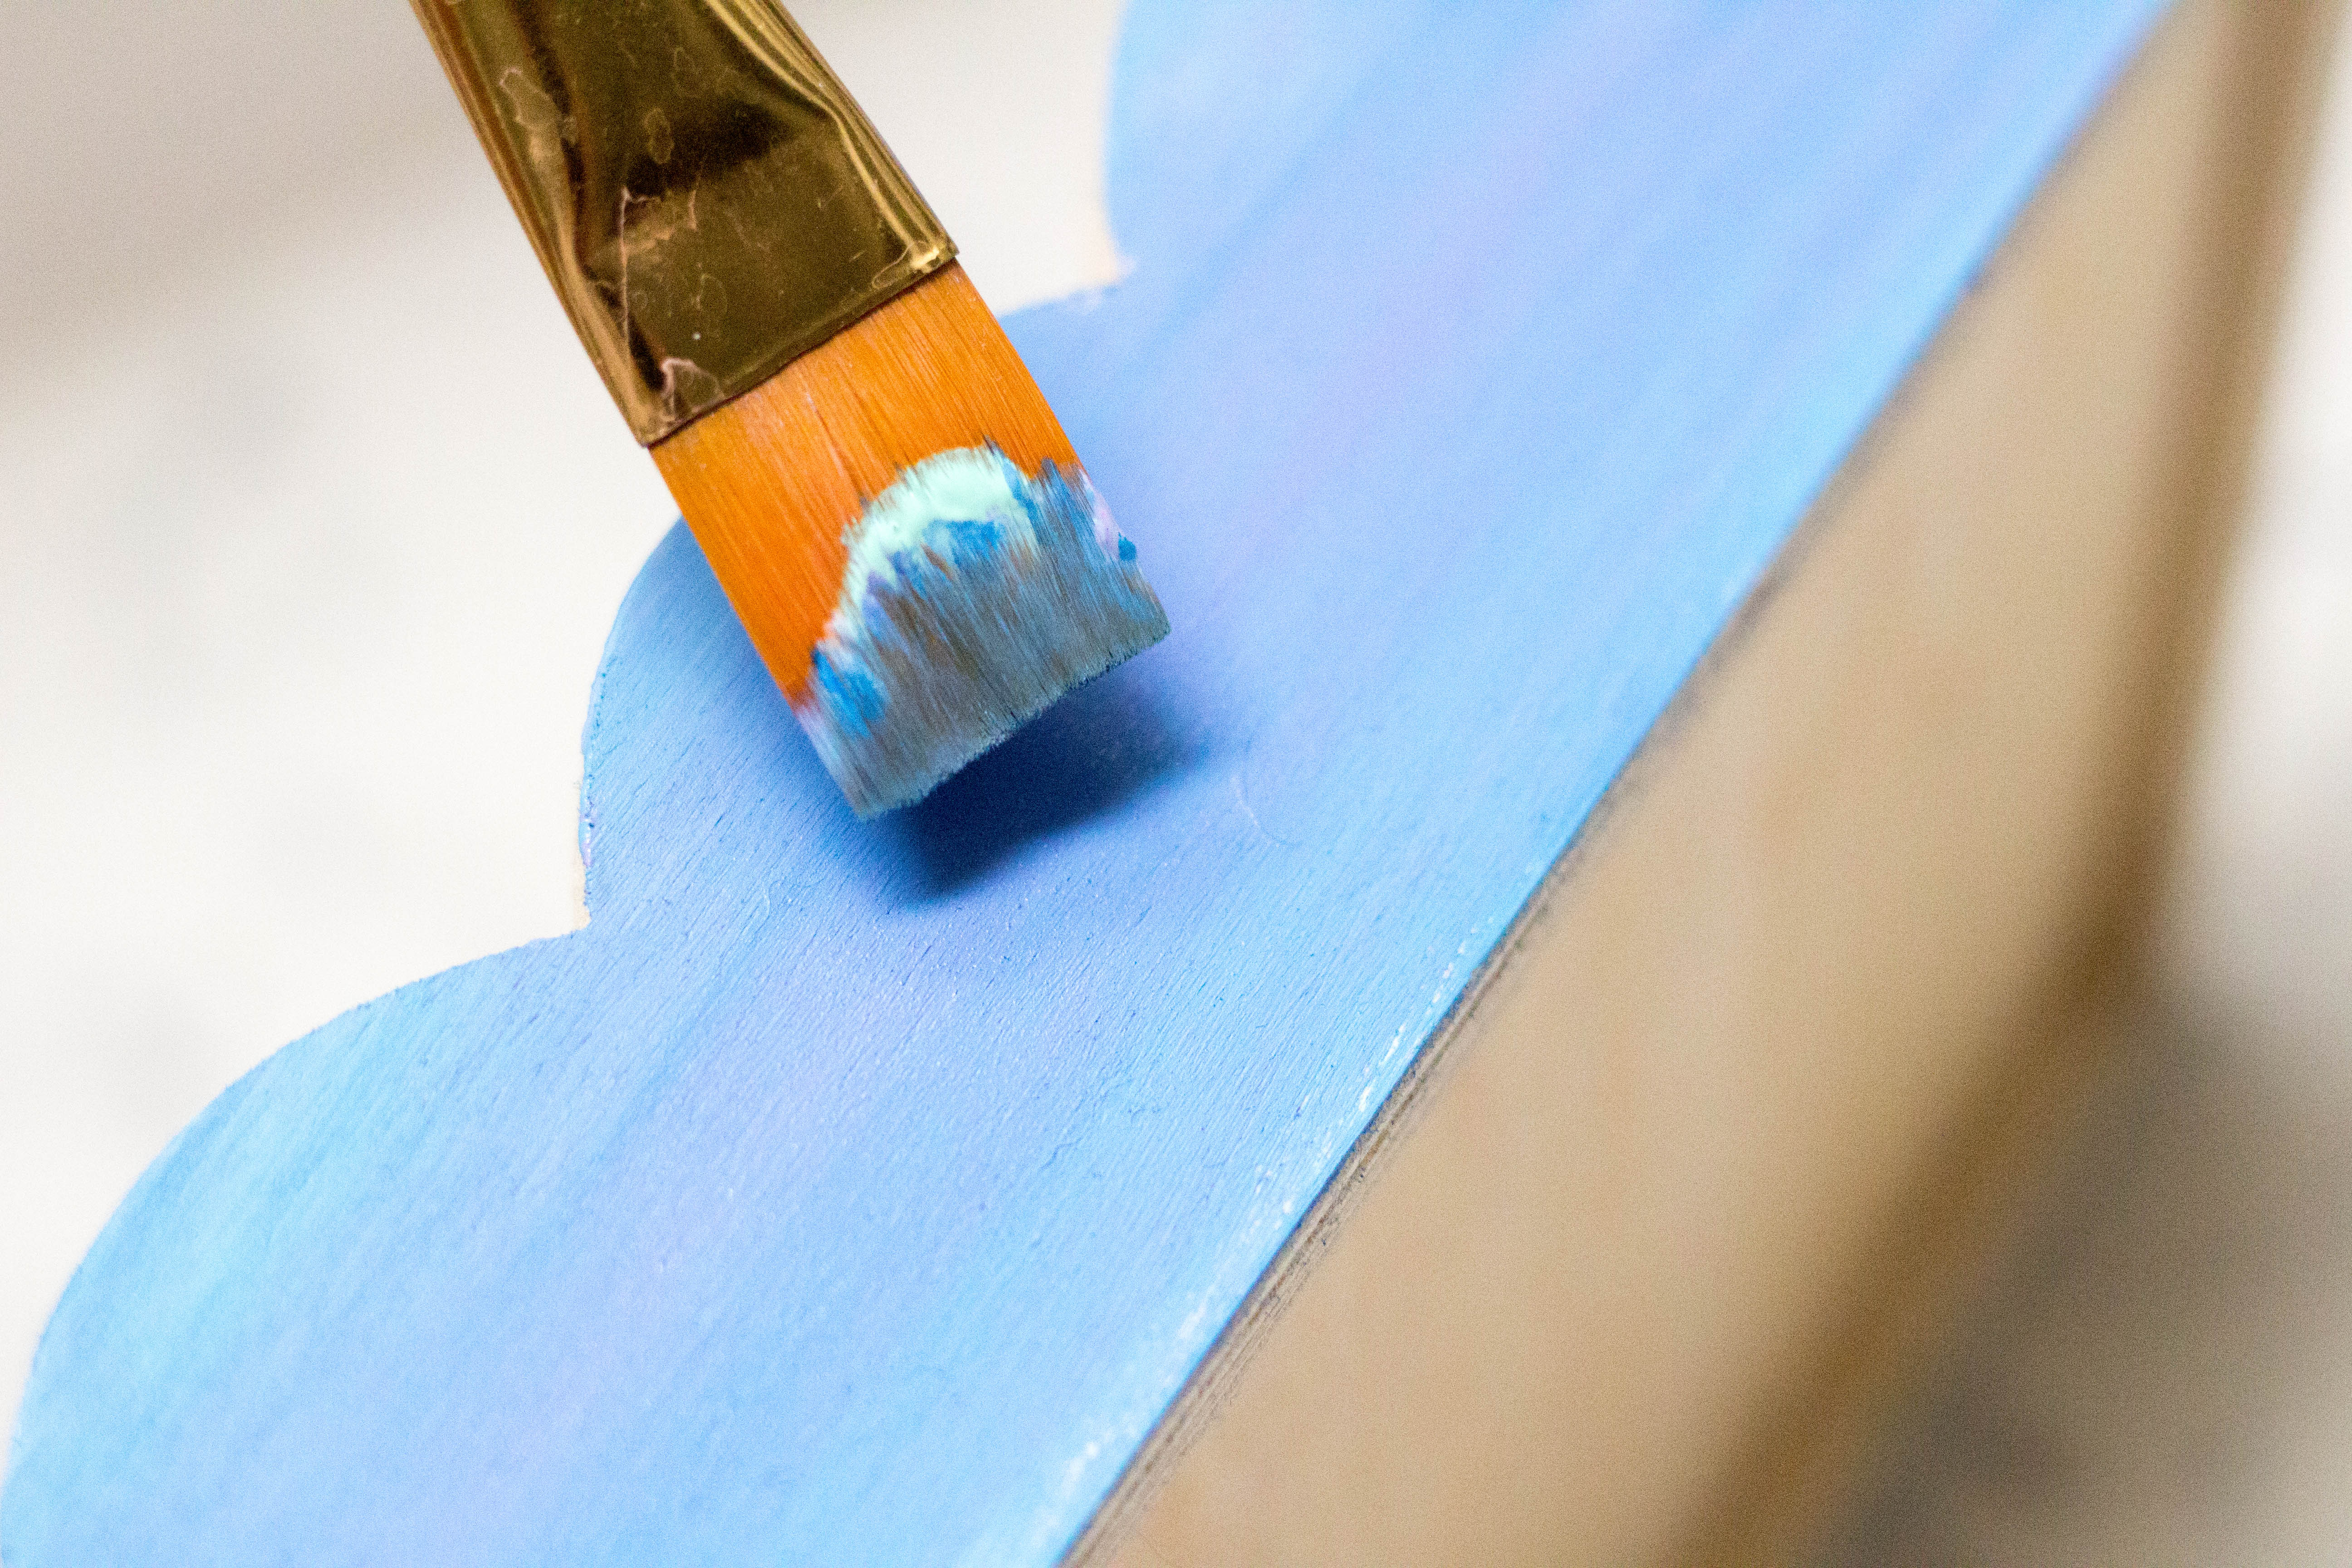
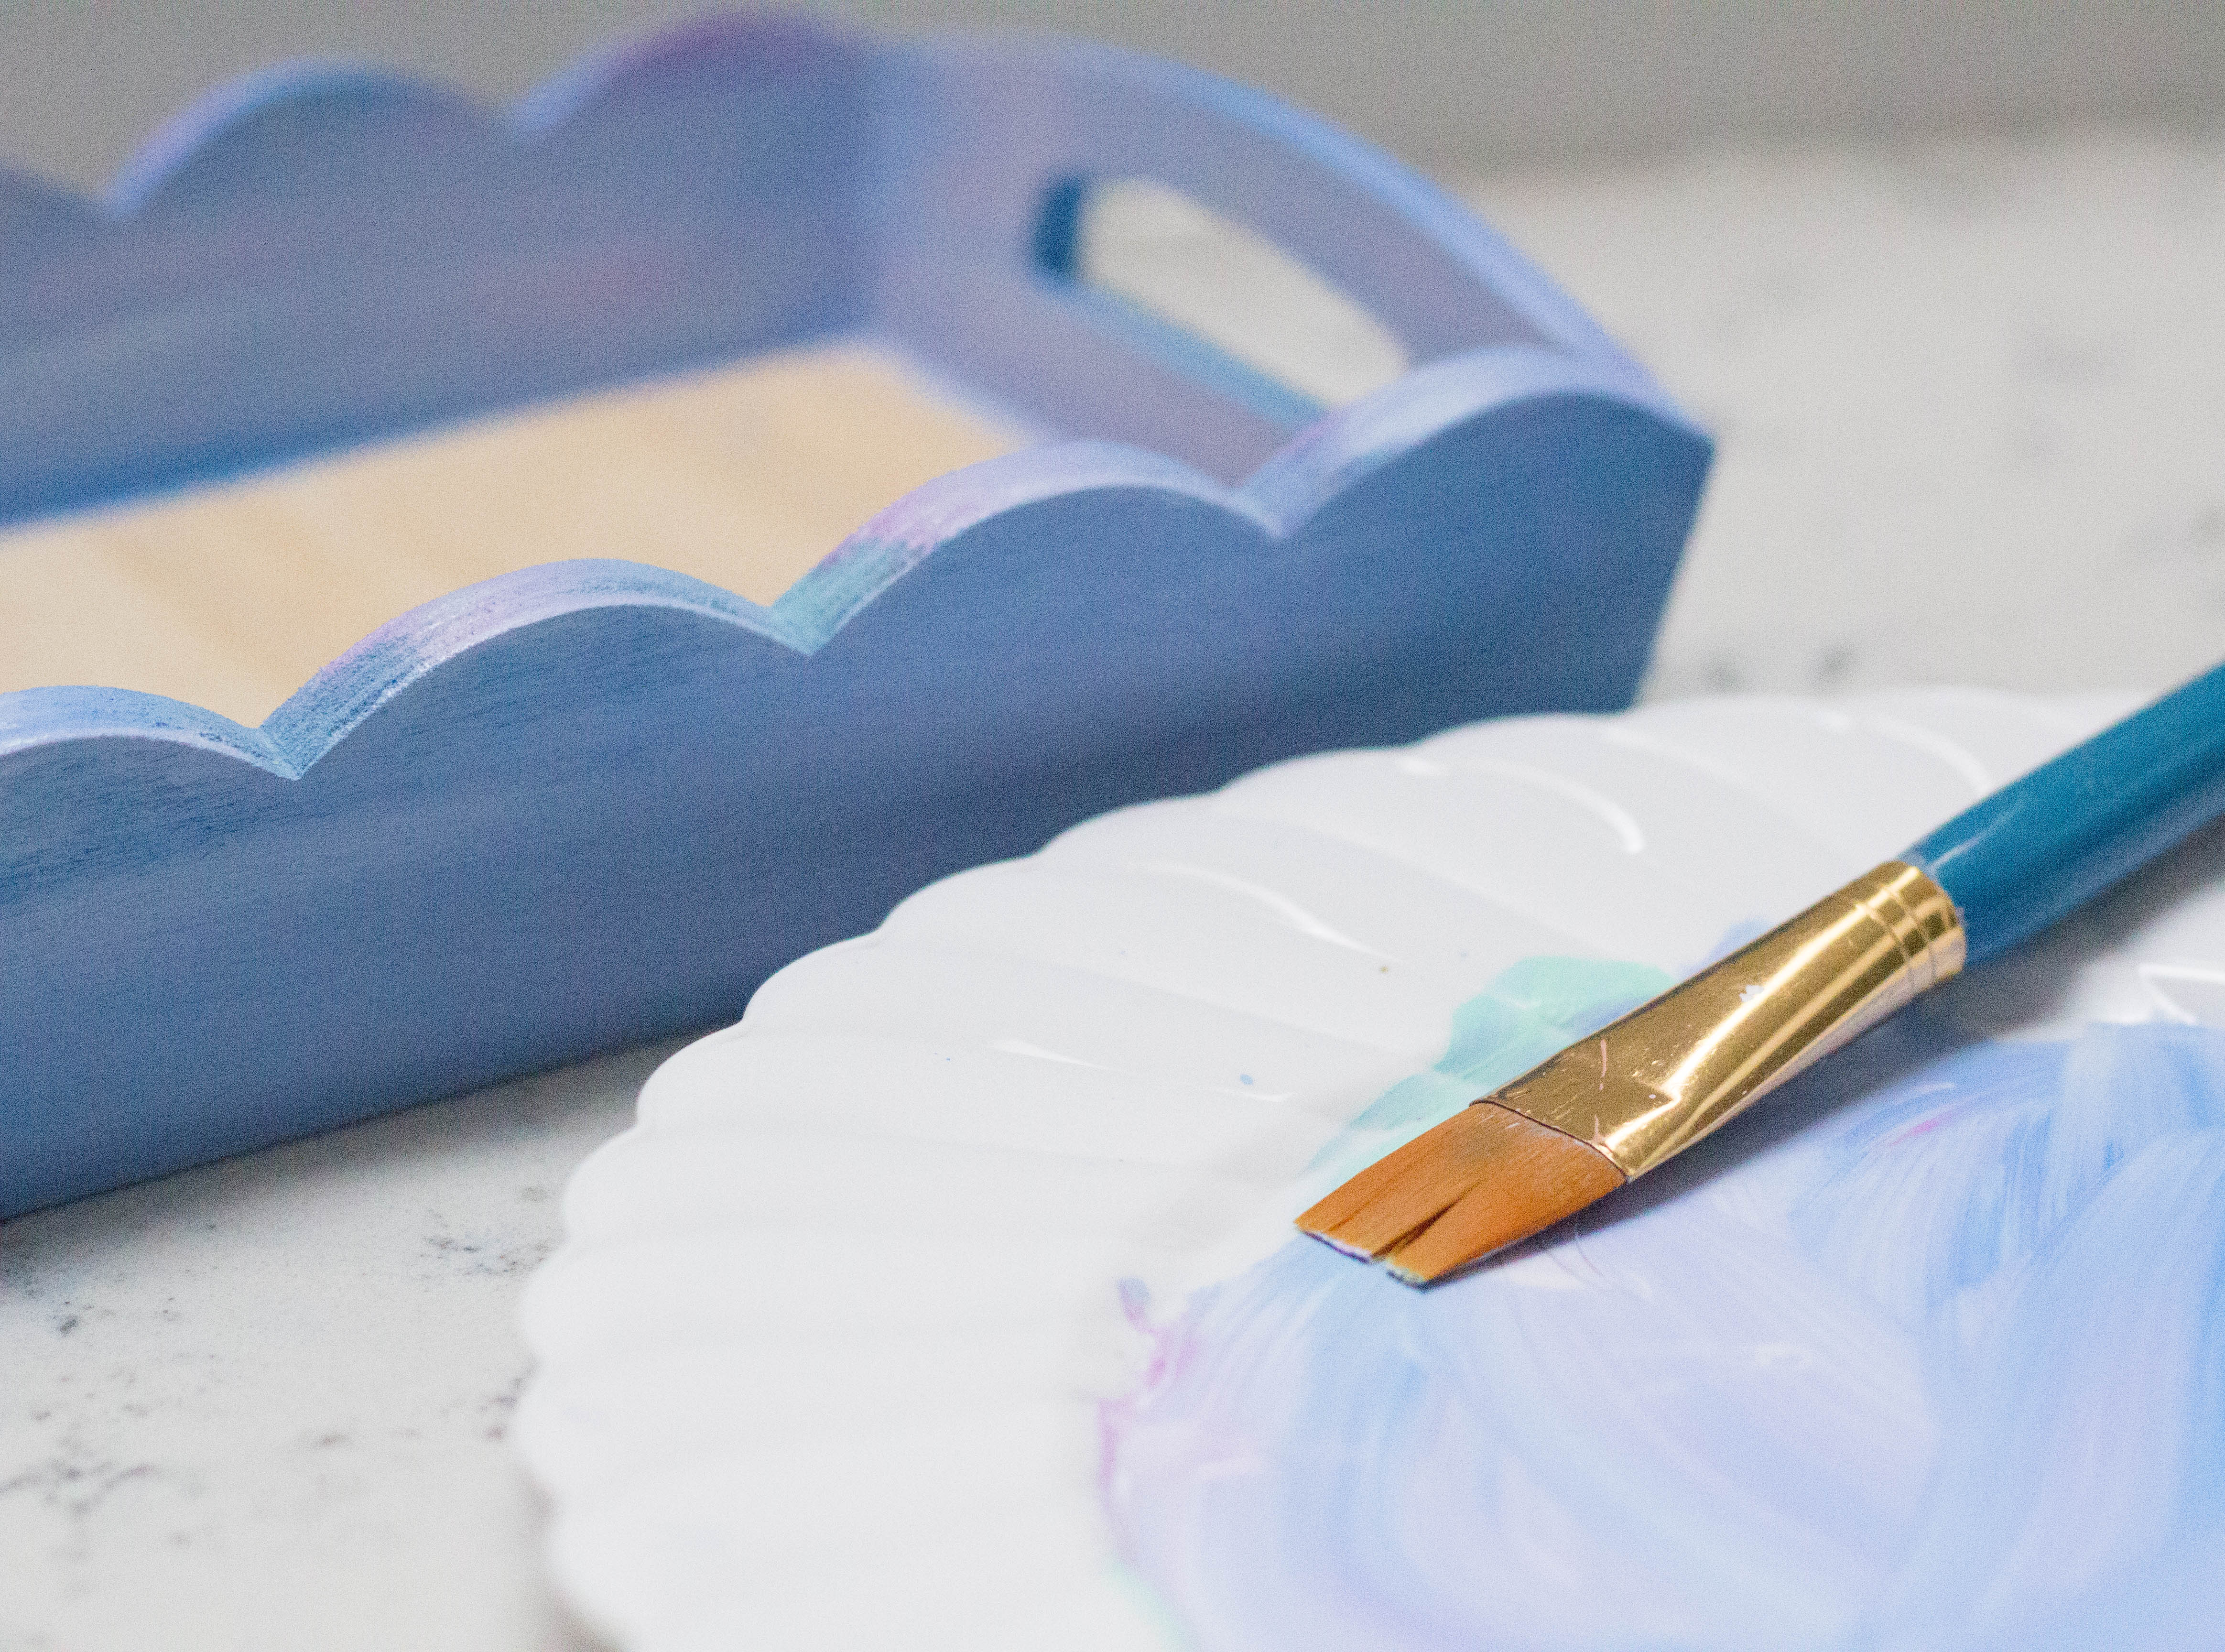
step one
Paint the wood tray using a swirl of your paint colors. I try not to blend them too well. As a result, the various shades show in the finished piece.
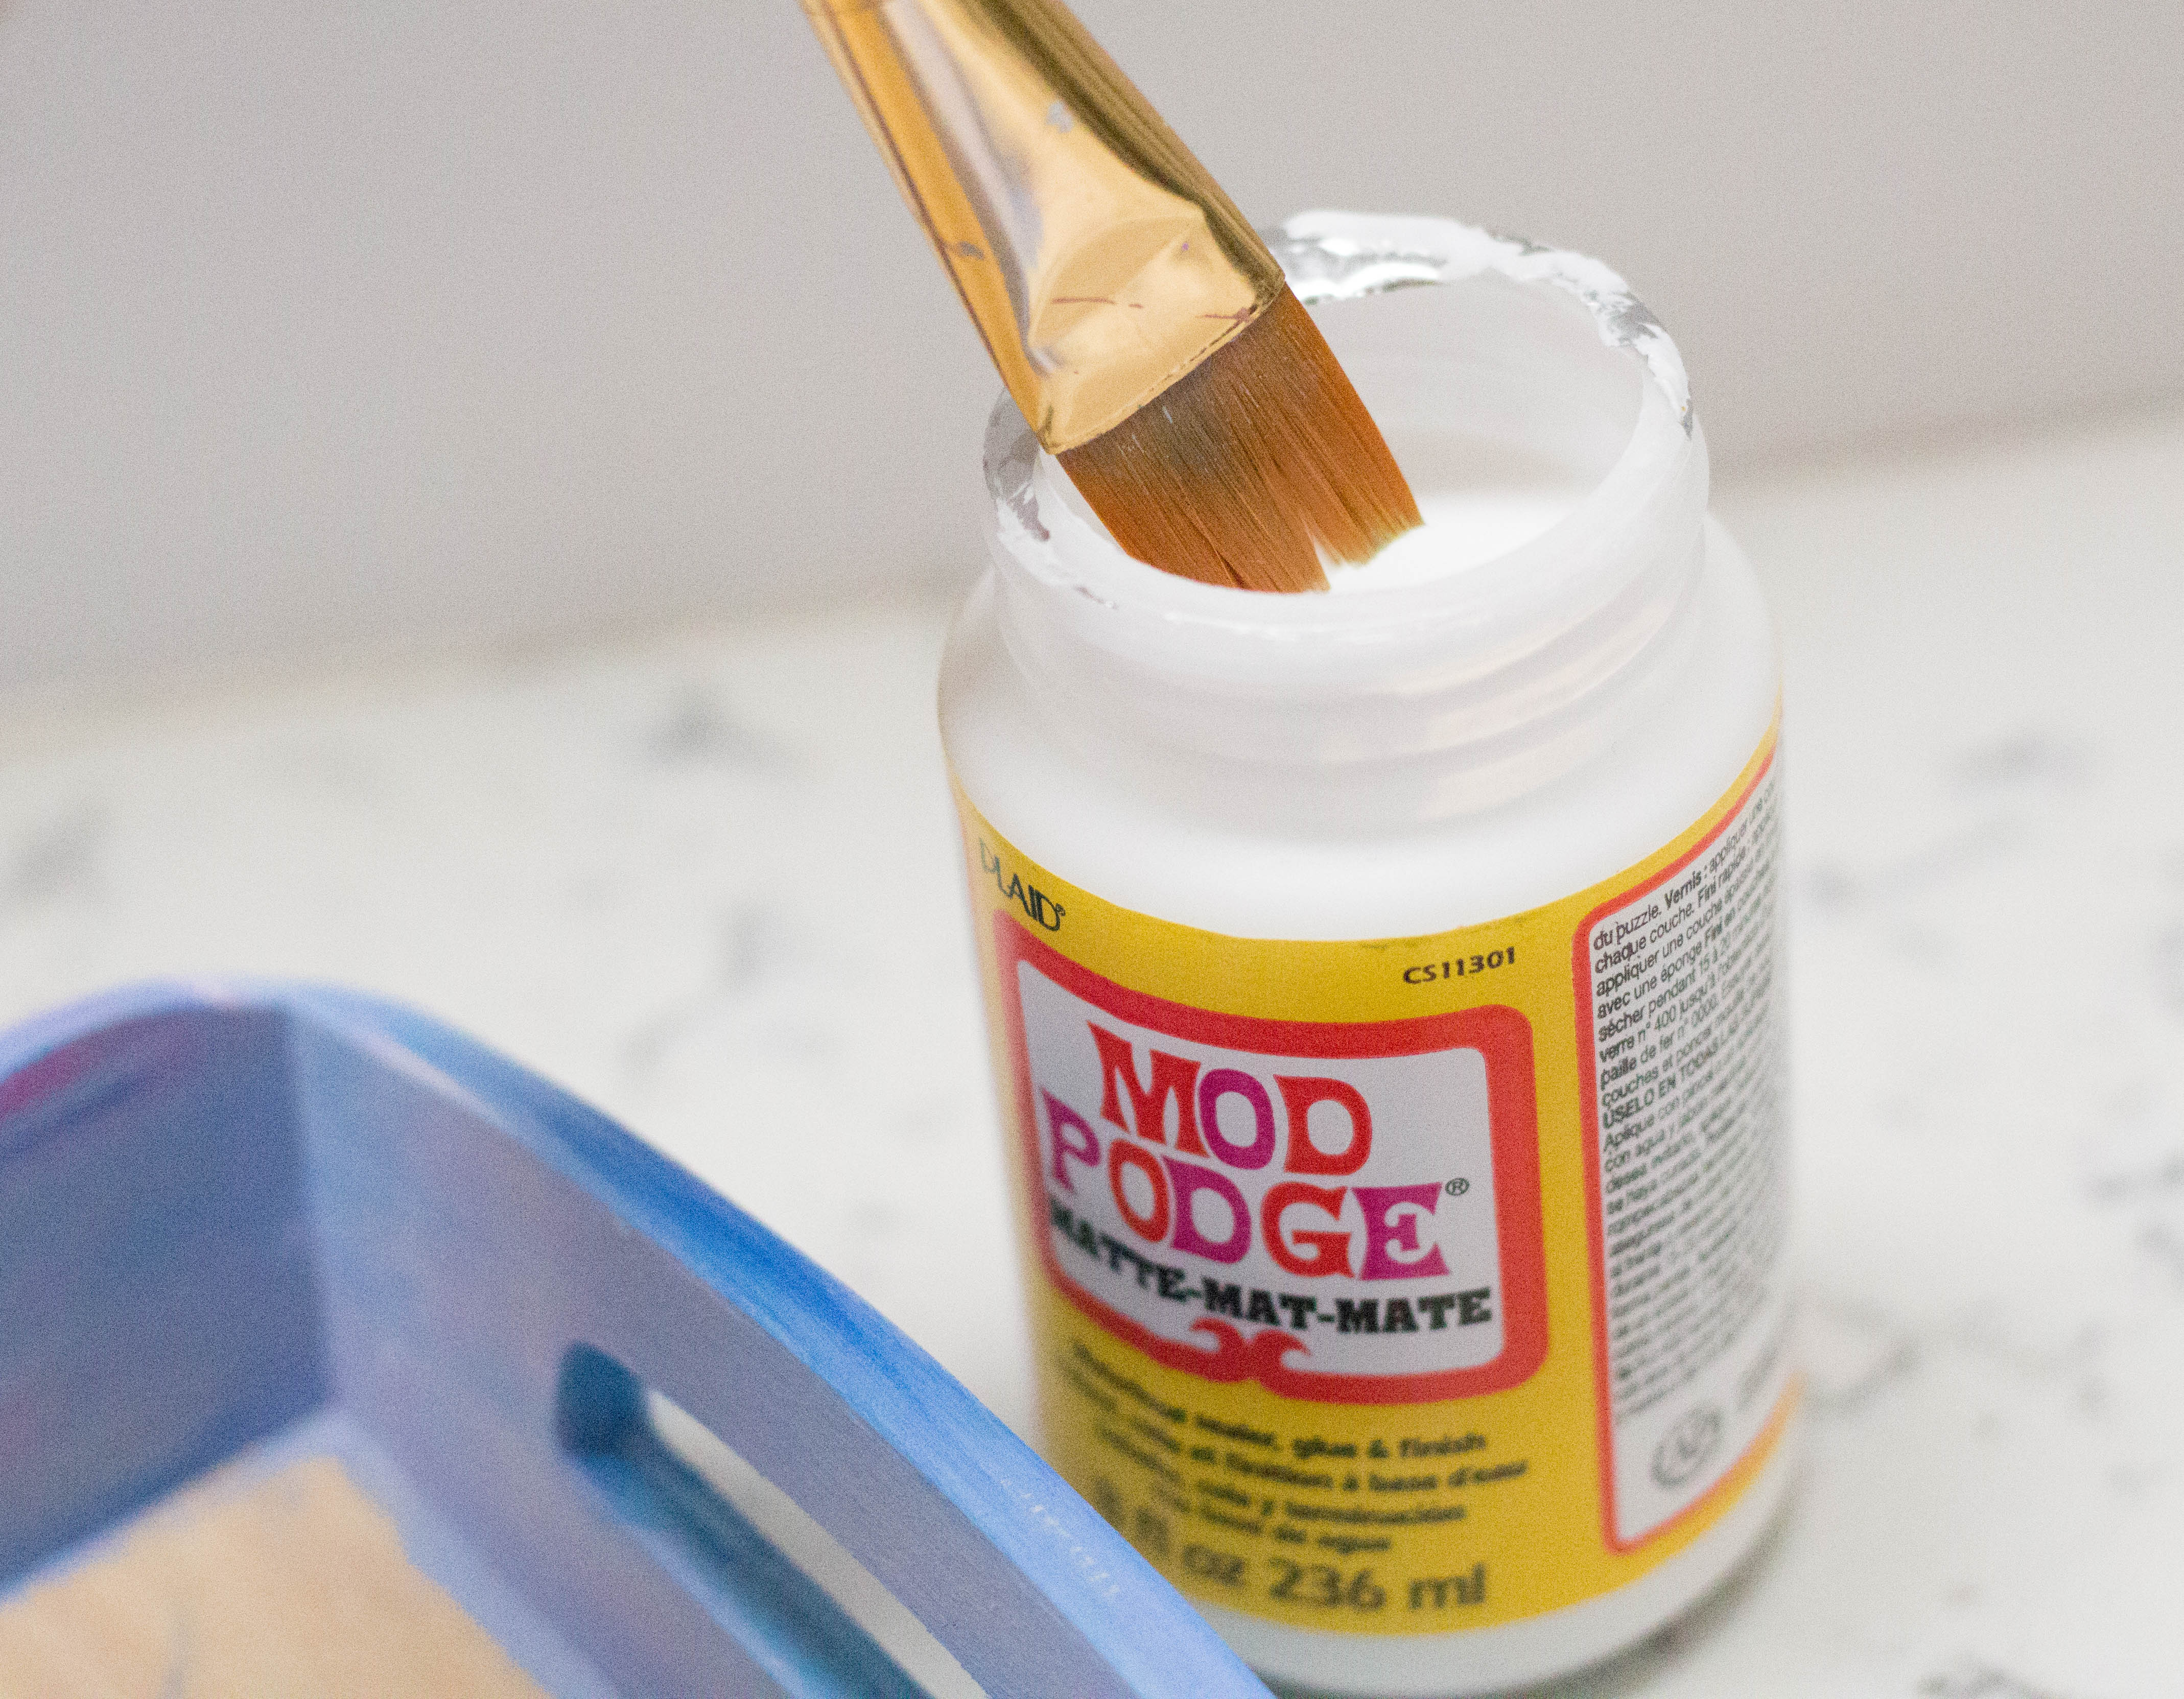
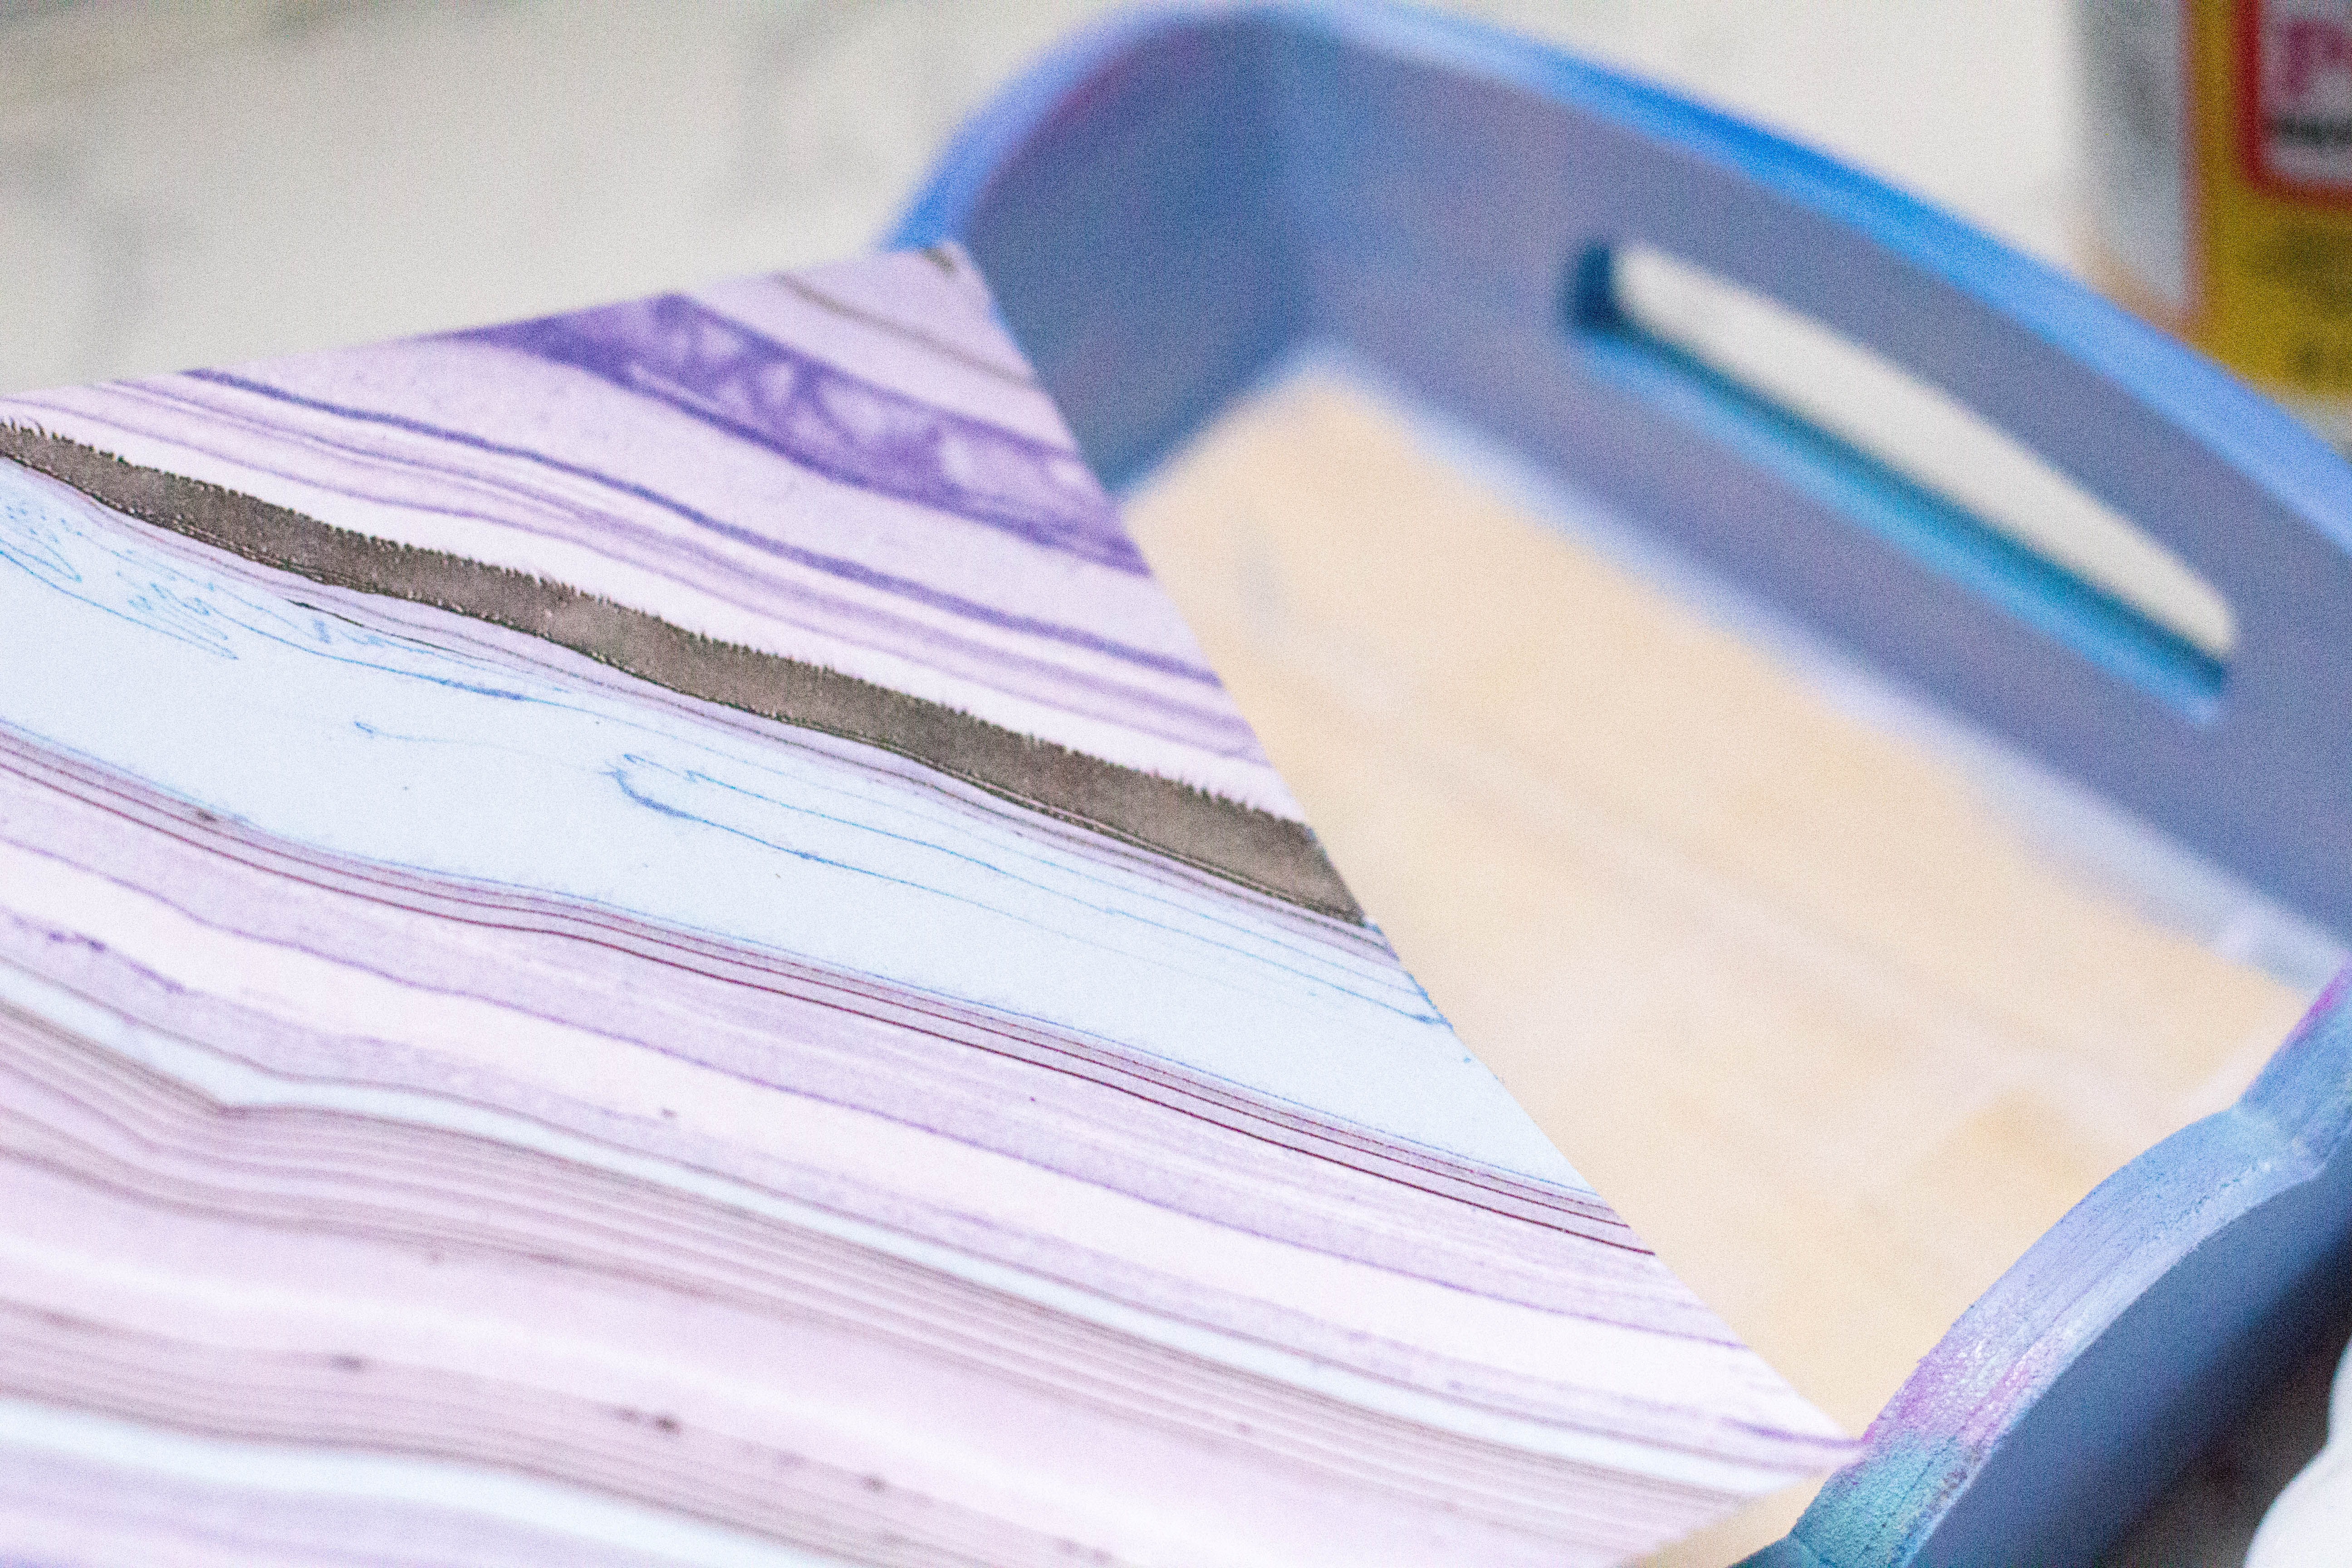
Step two
First, trim scrapbook paper to fit the inside of the tray. Then, apply Mod Podge to the base of the wood tray. This will provide an adherent surface. Next, place the patterned paper down into the base of the tray and smooth out to remove any bubbles.
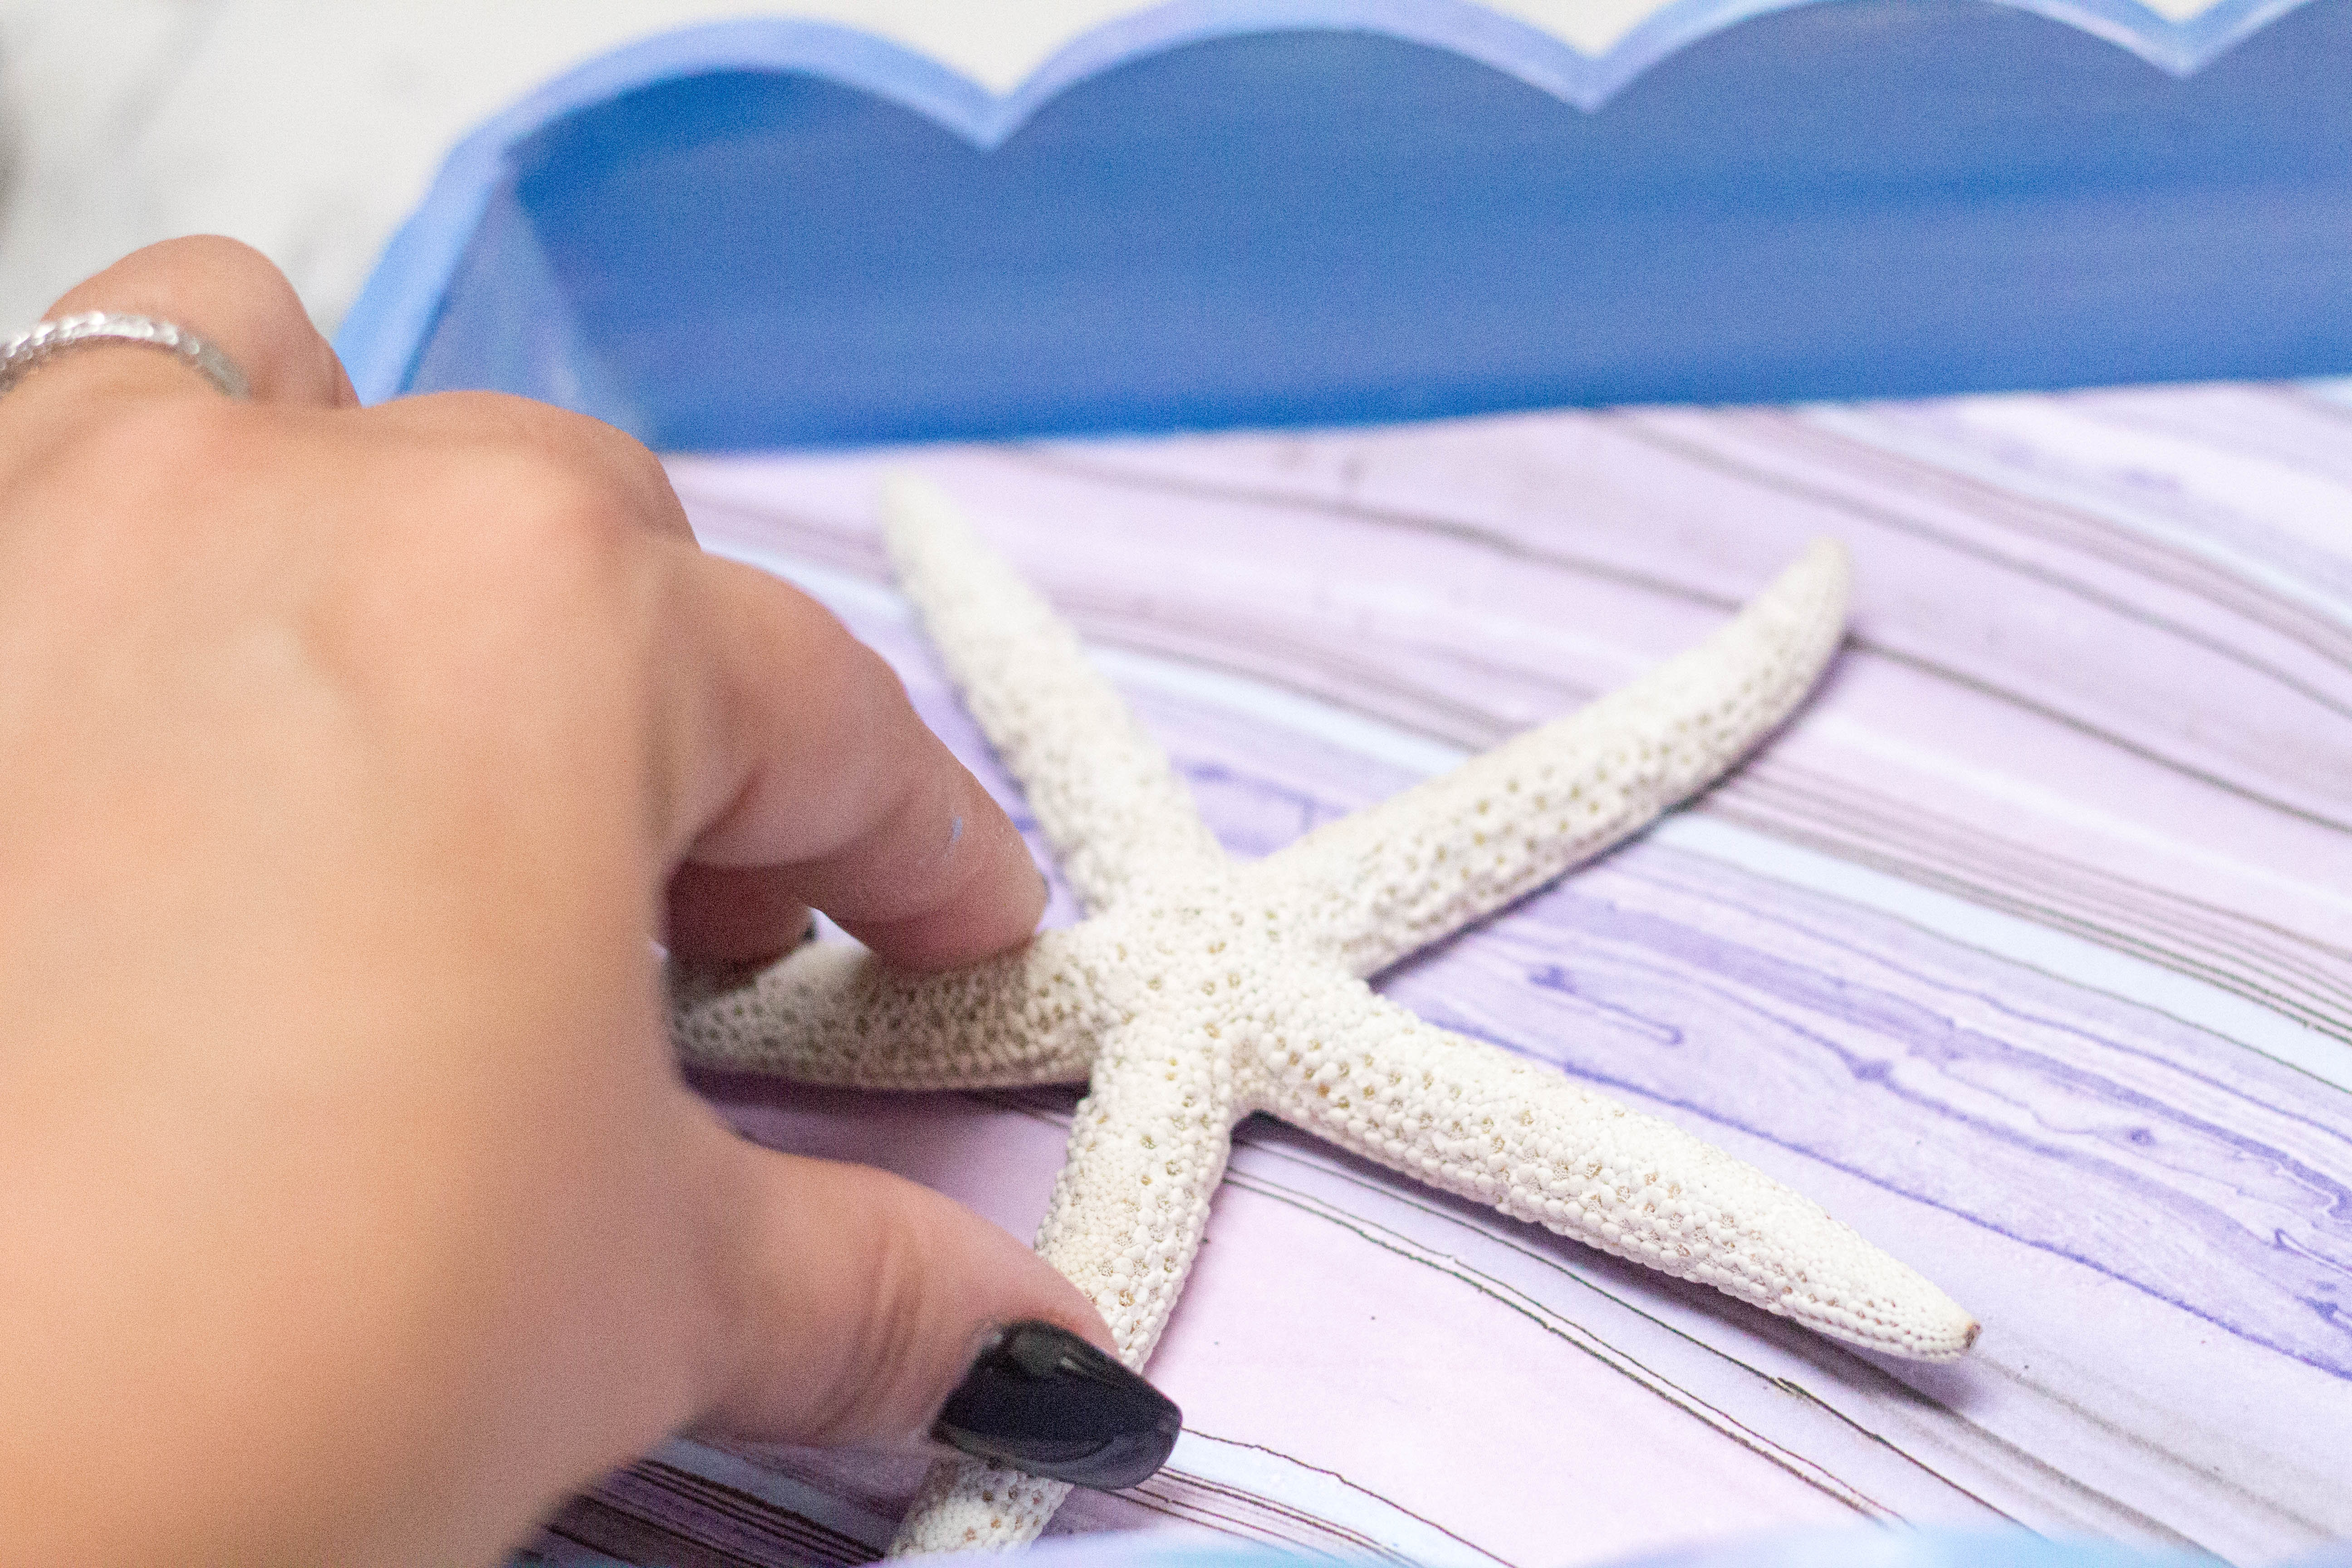
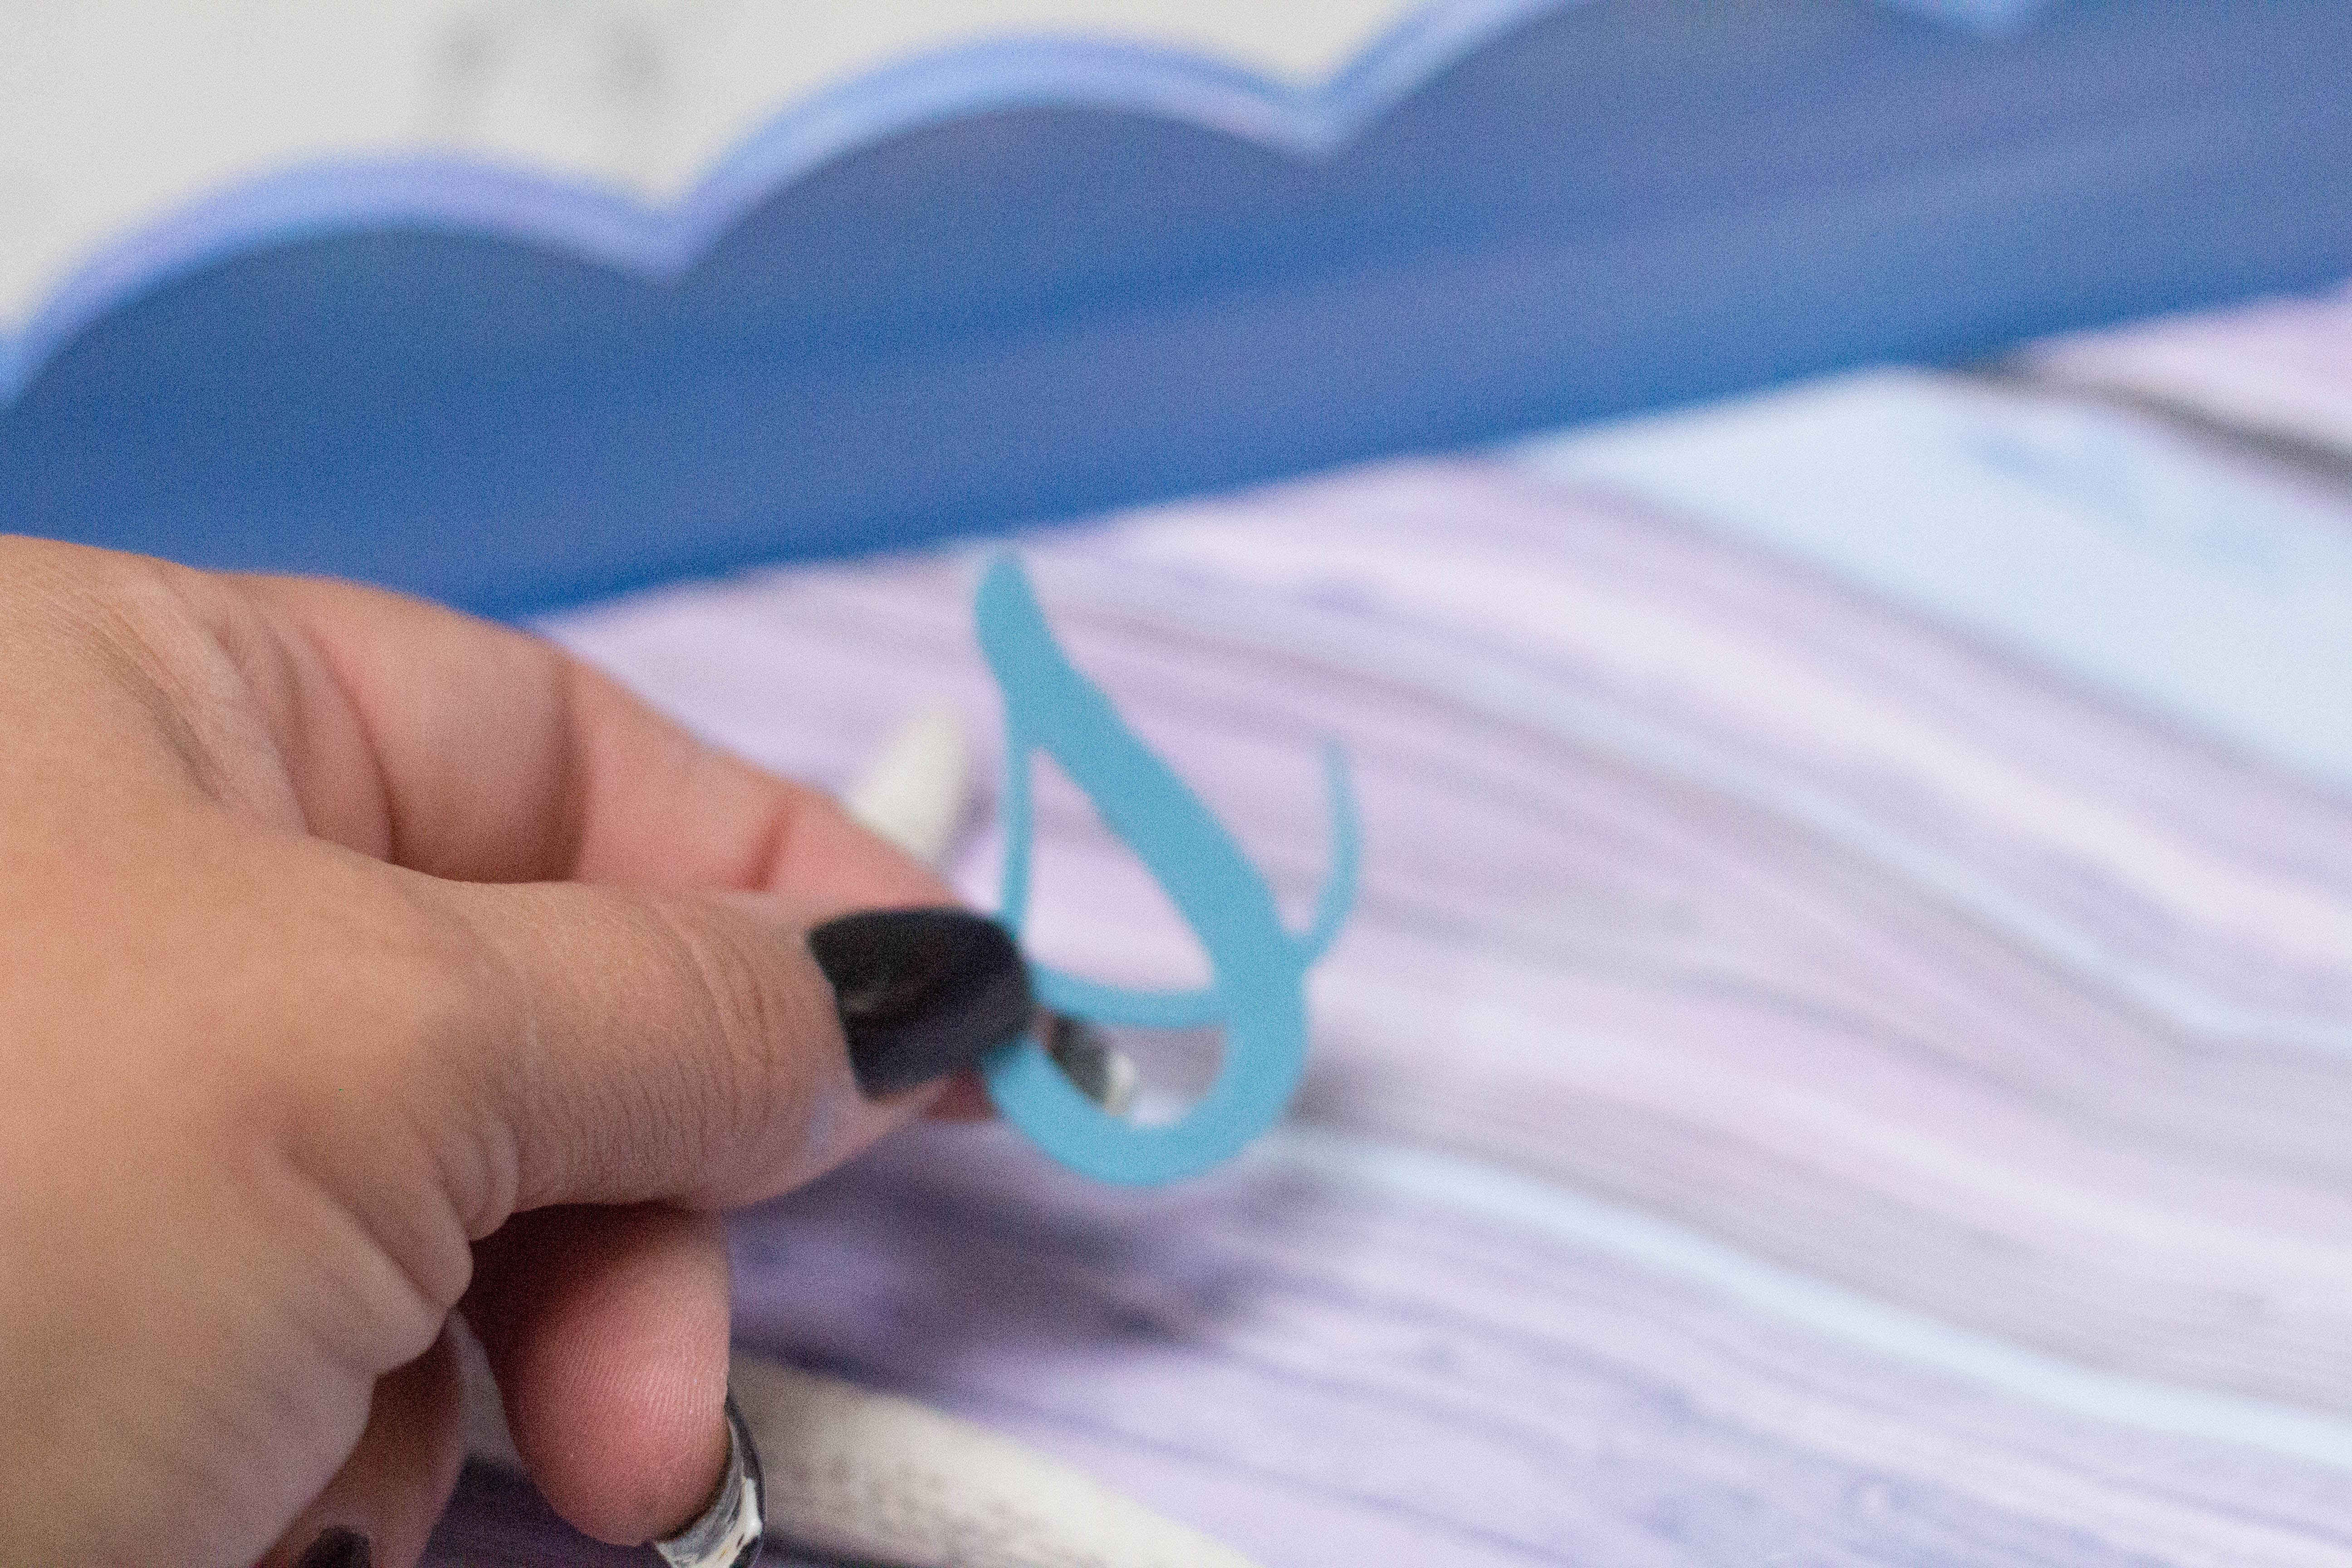
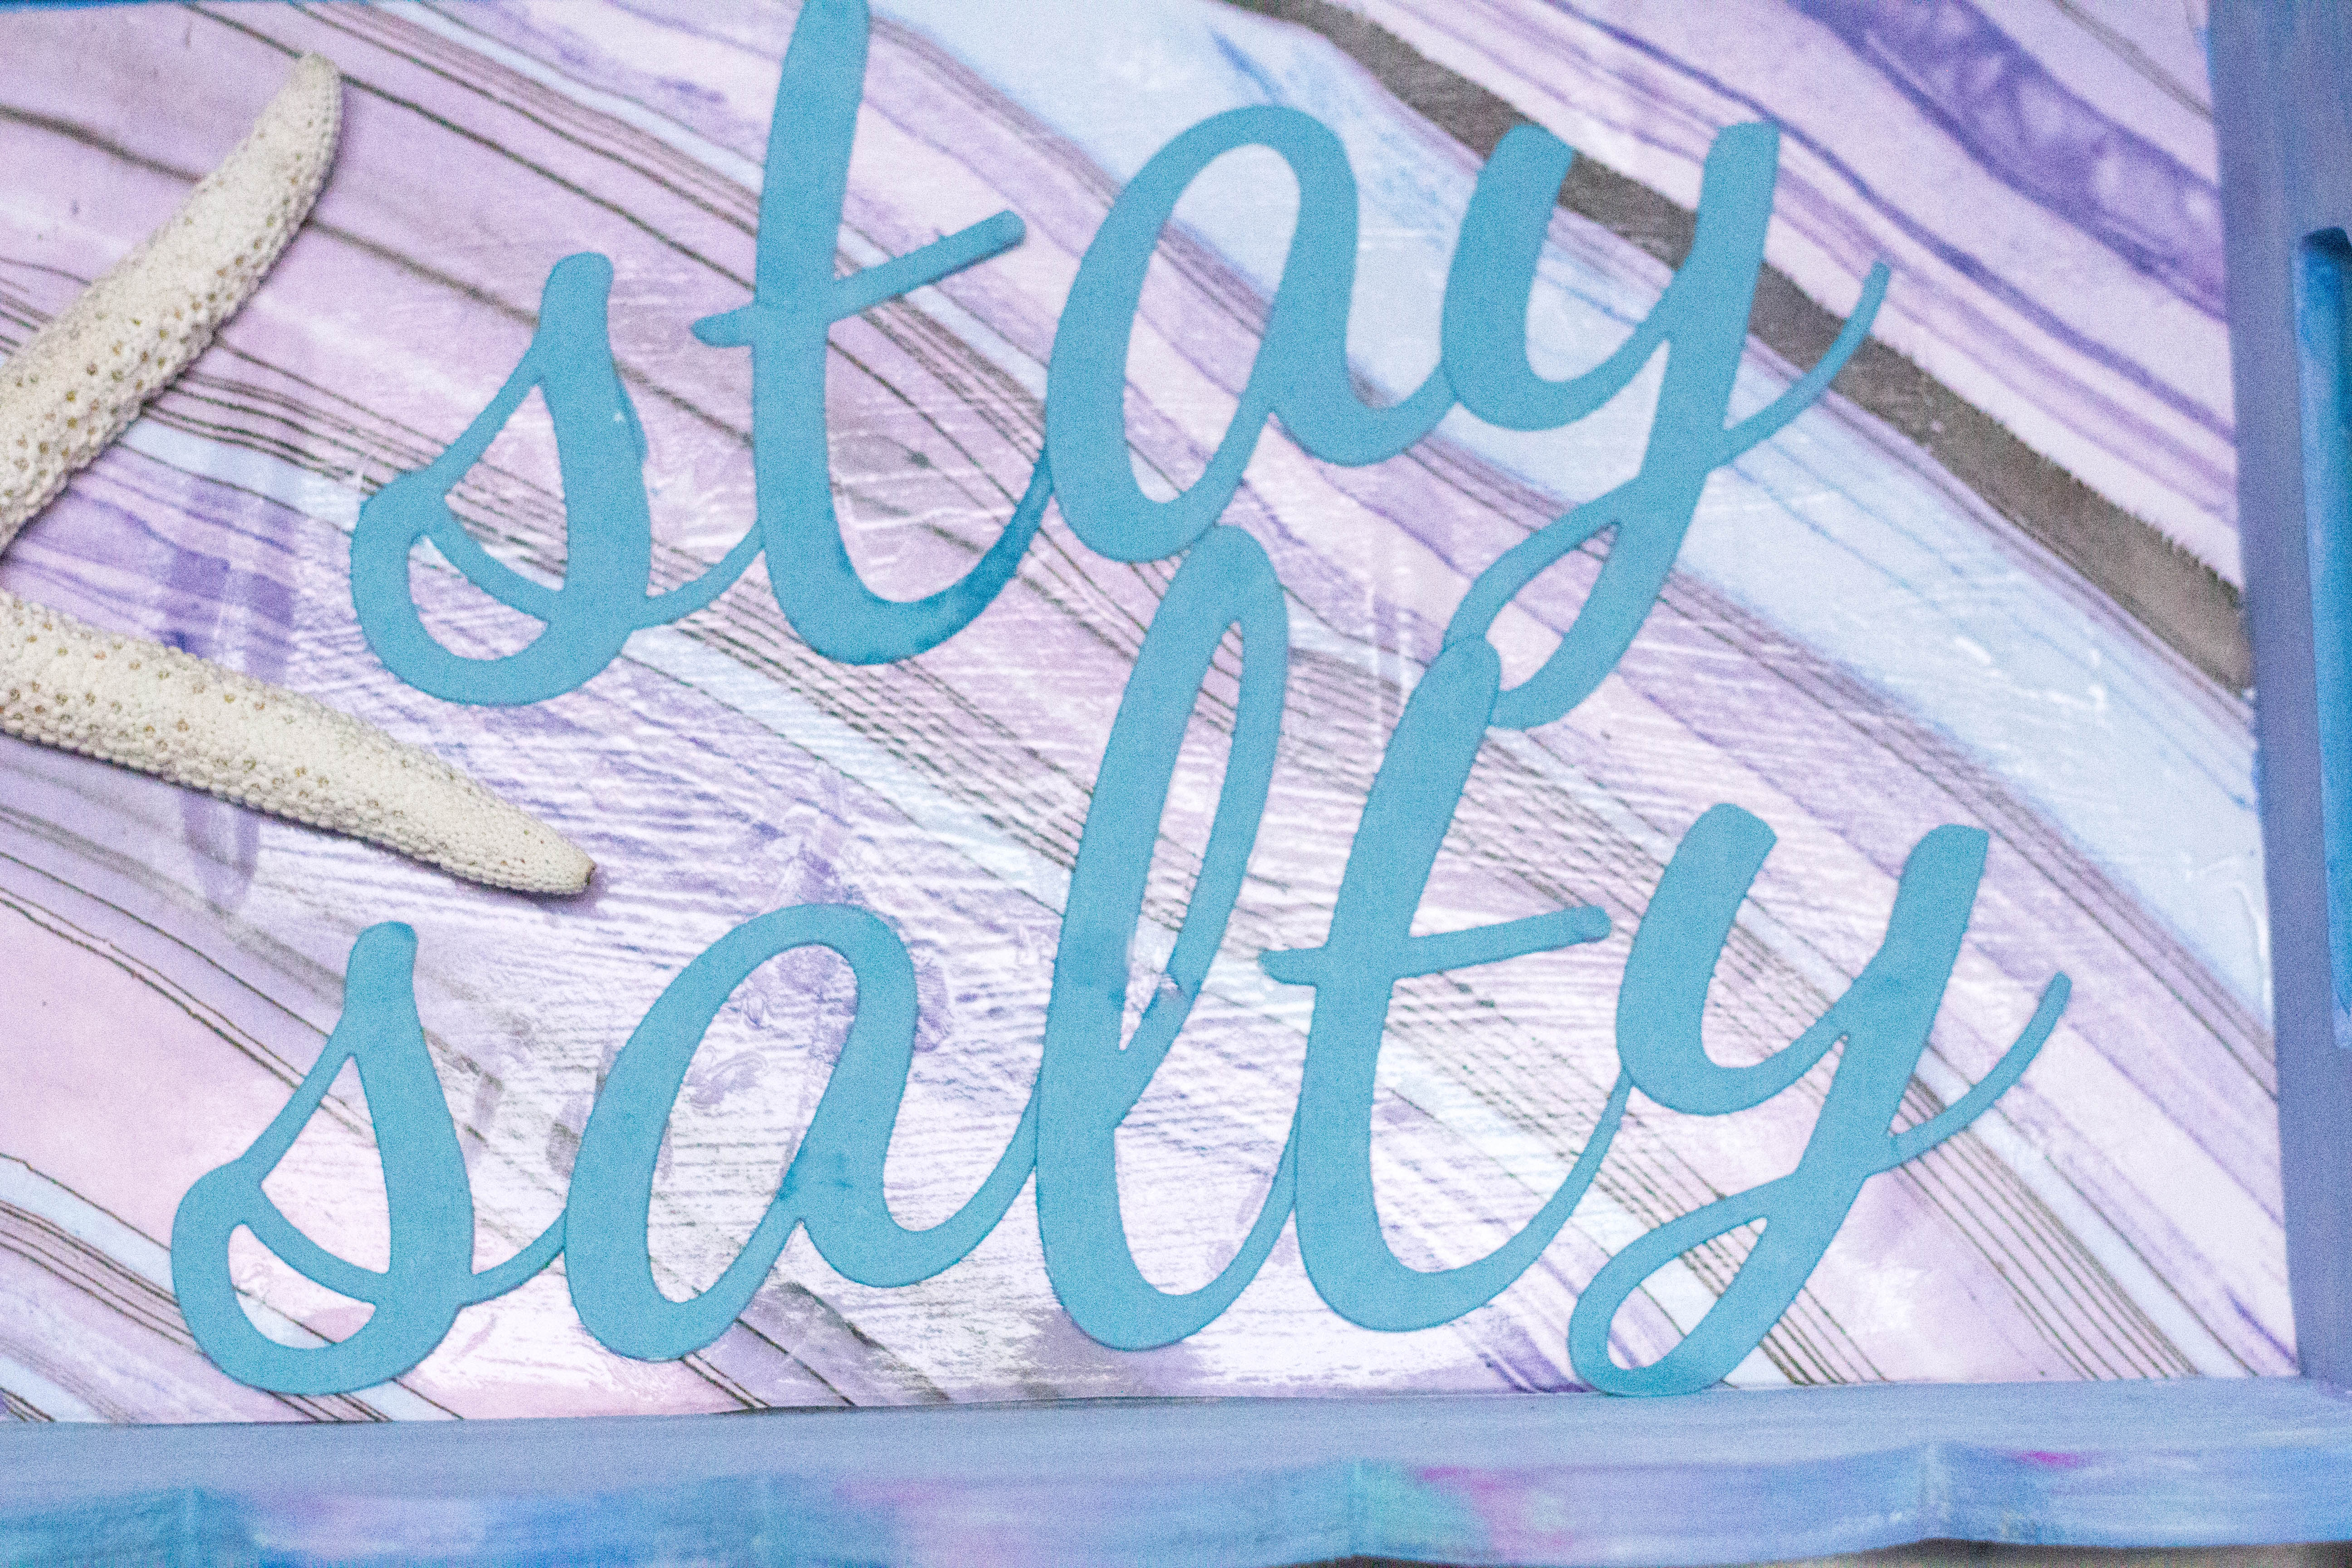
Step three
Place your largest decorative elements into the tray so that your letters can be arranged around them. Then, use more Mod Podge to place your letters.
Step Four
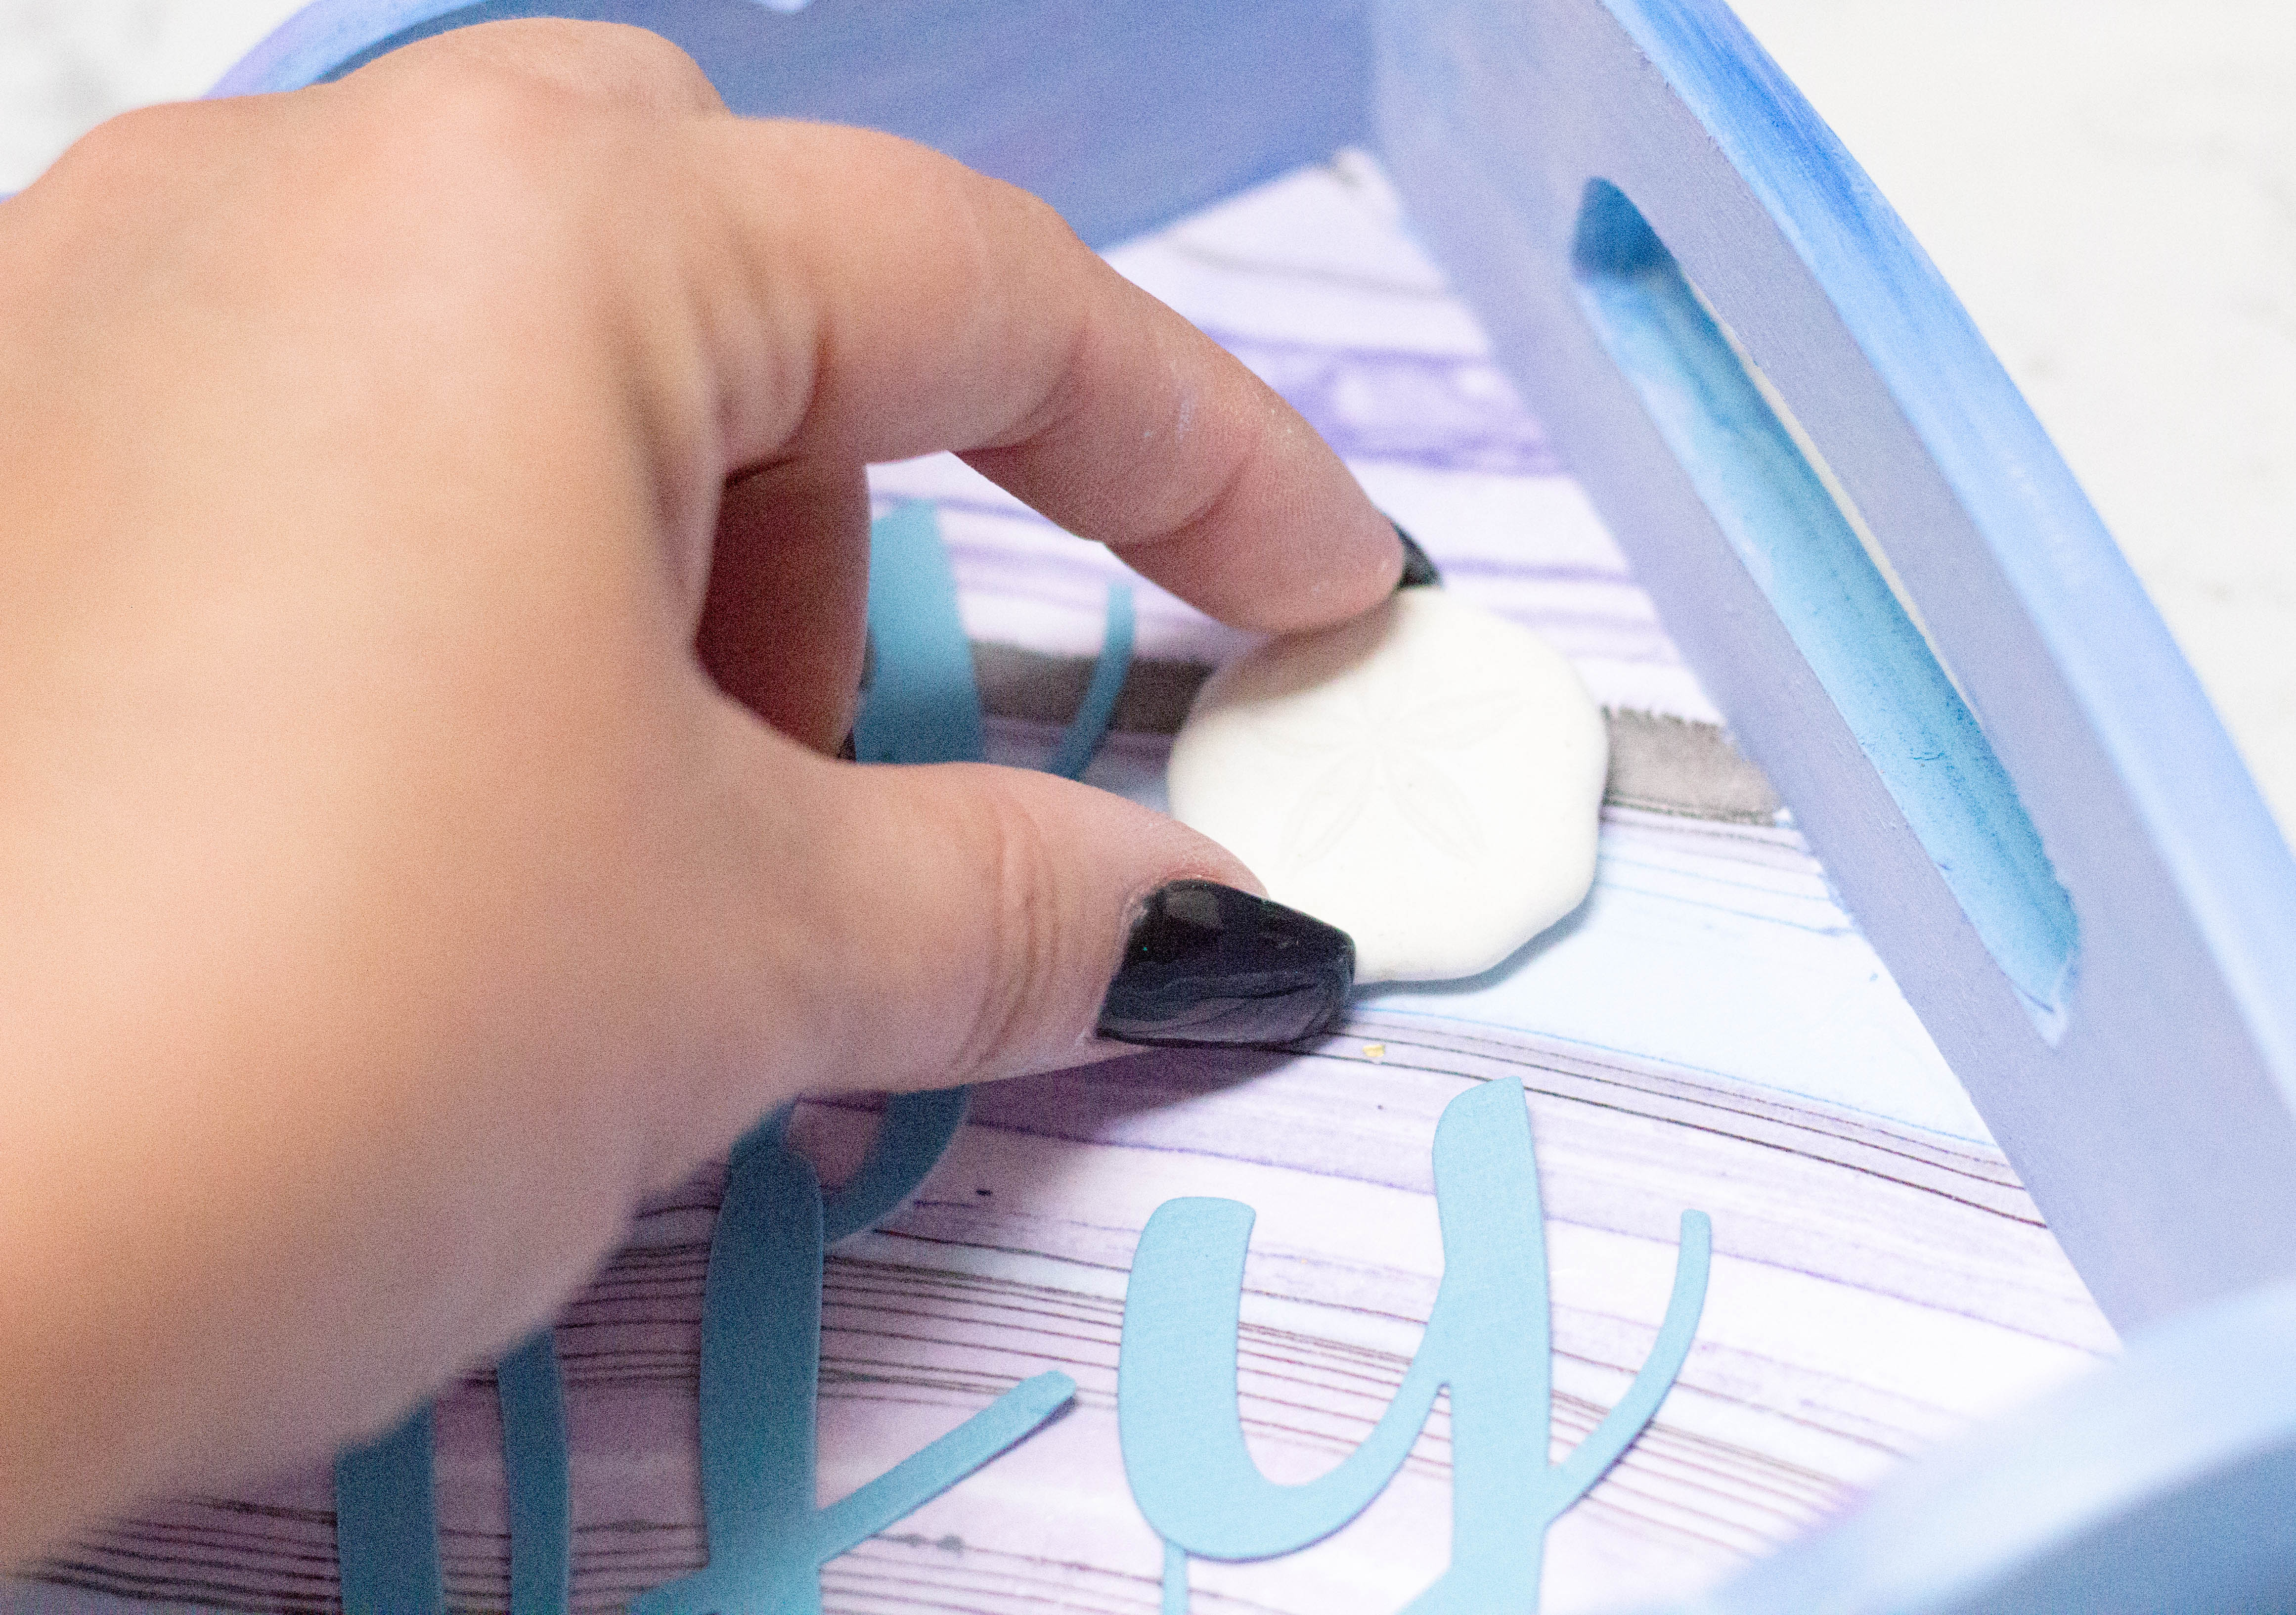
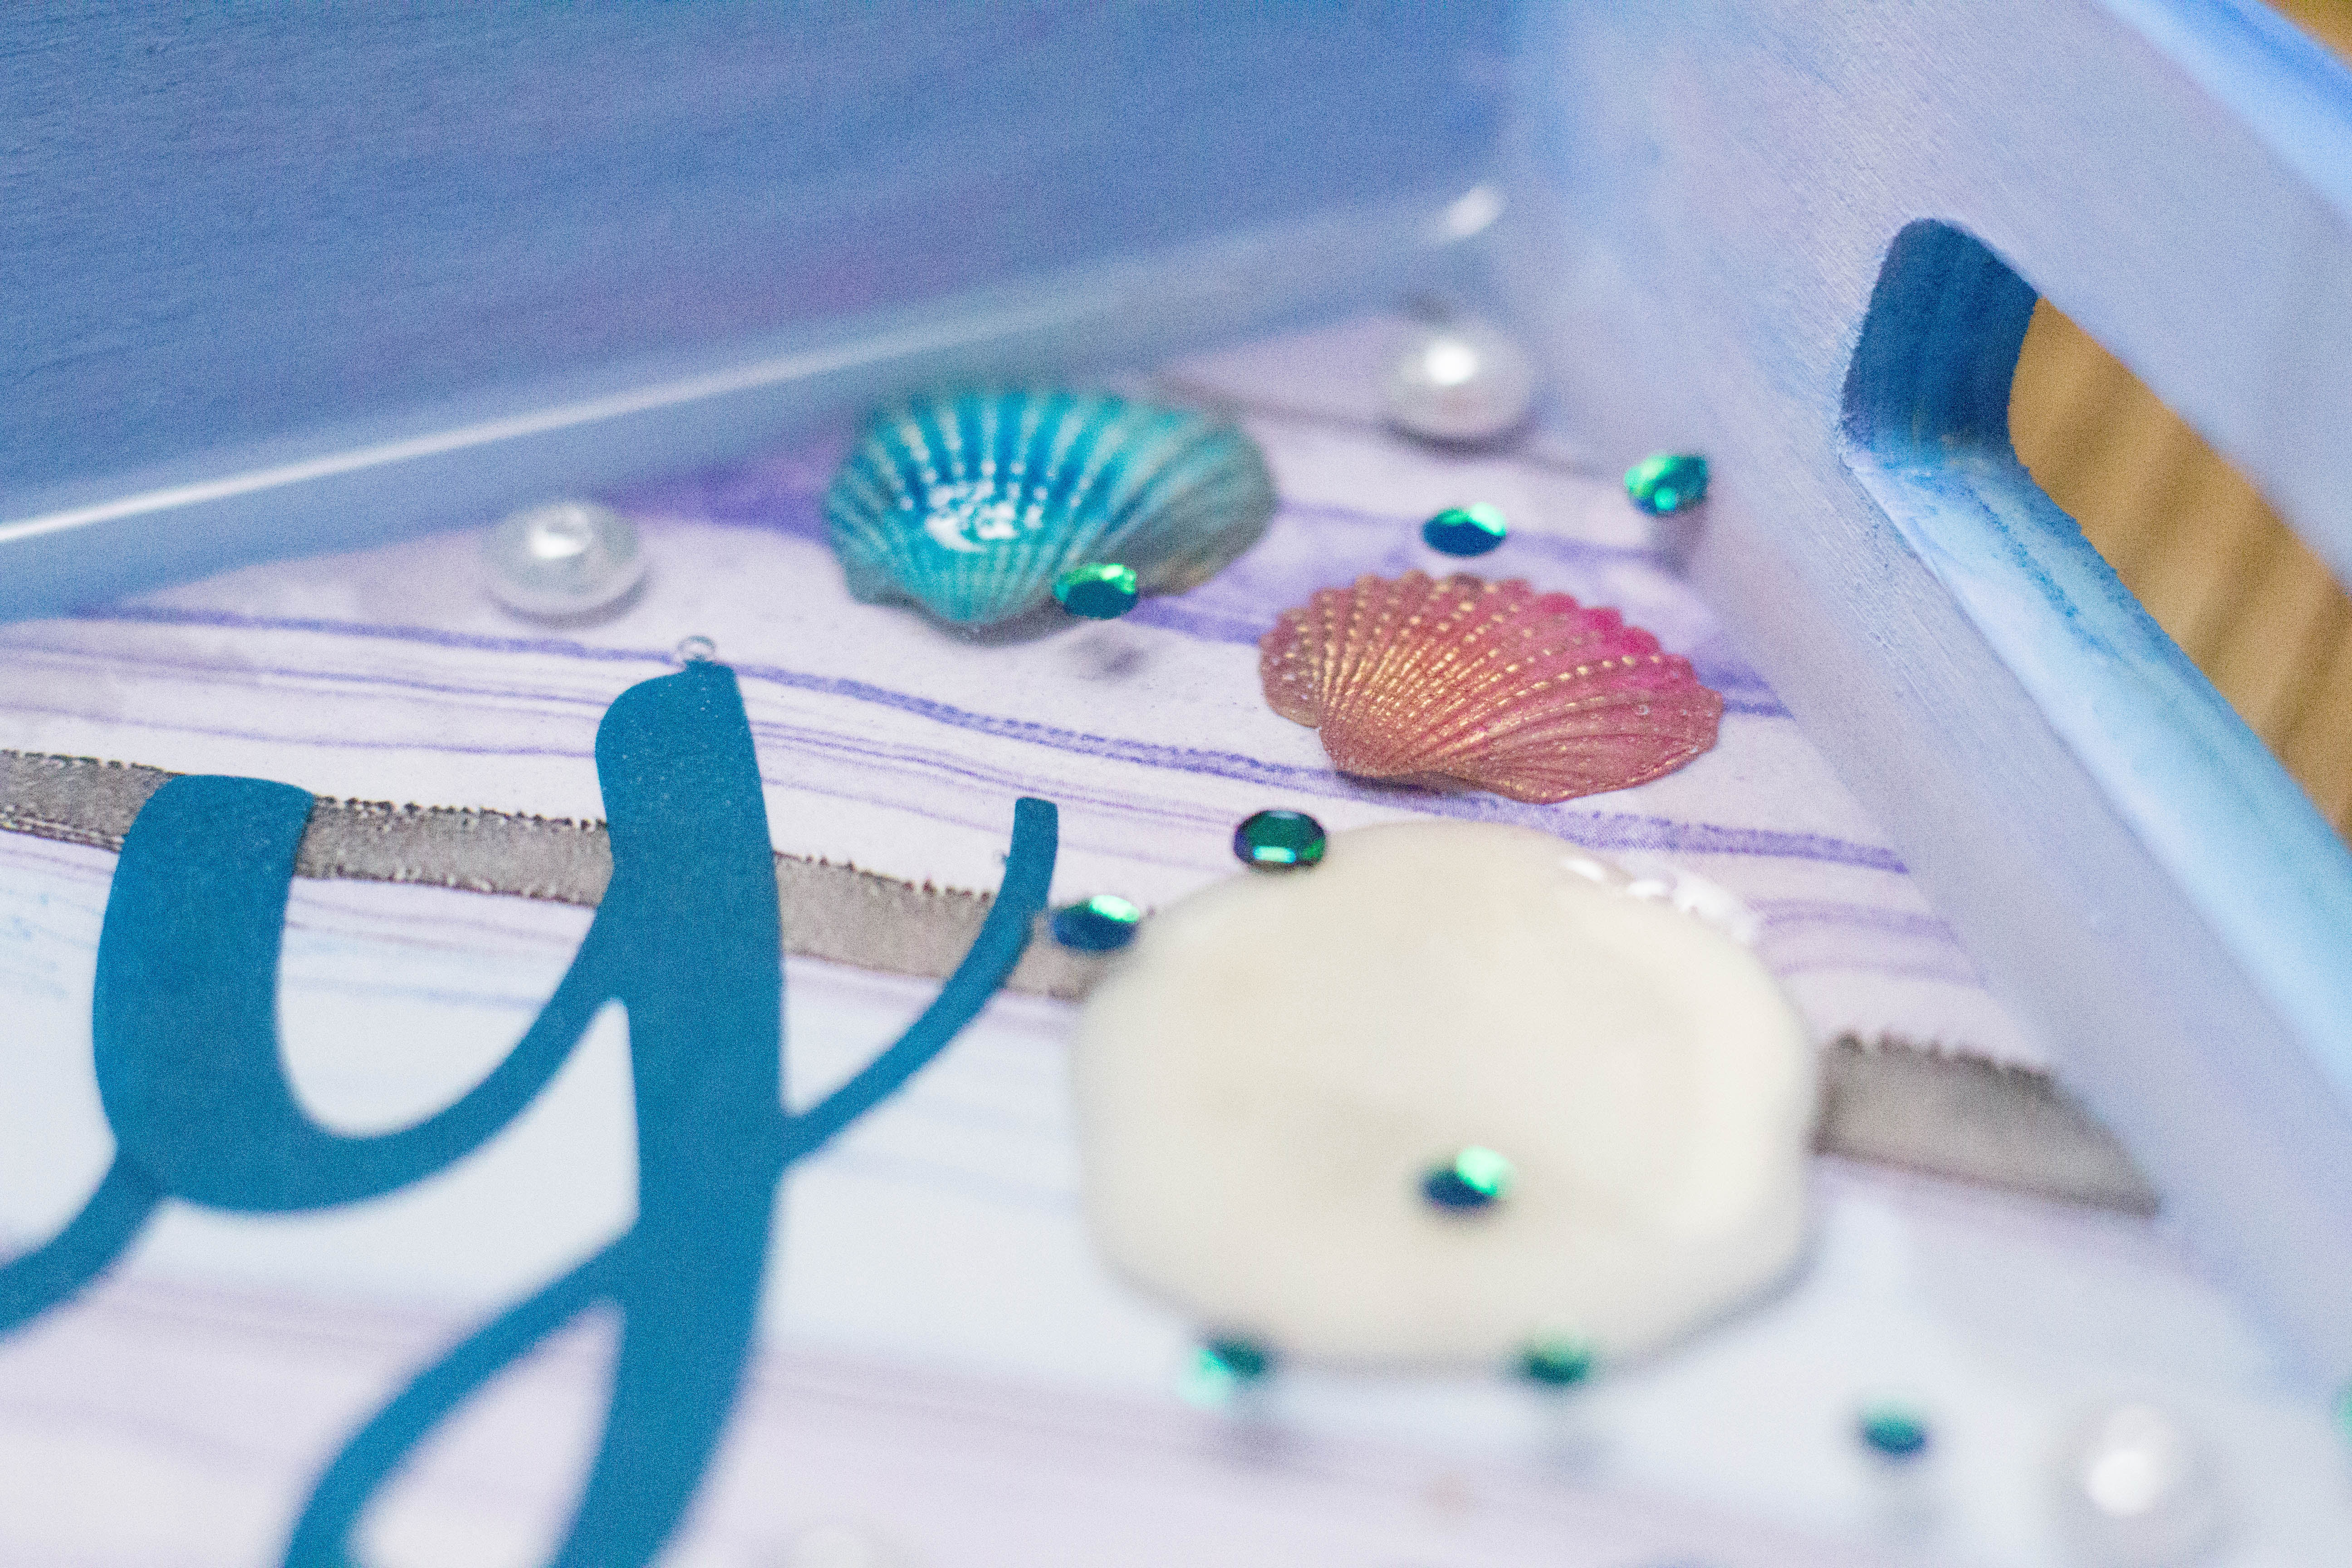
Add your heaviest items, such as sea shells and gems. Don’t you love this pretty sand dollar I found?
Step 5
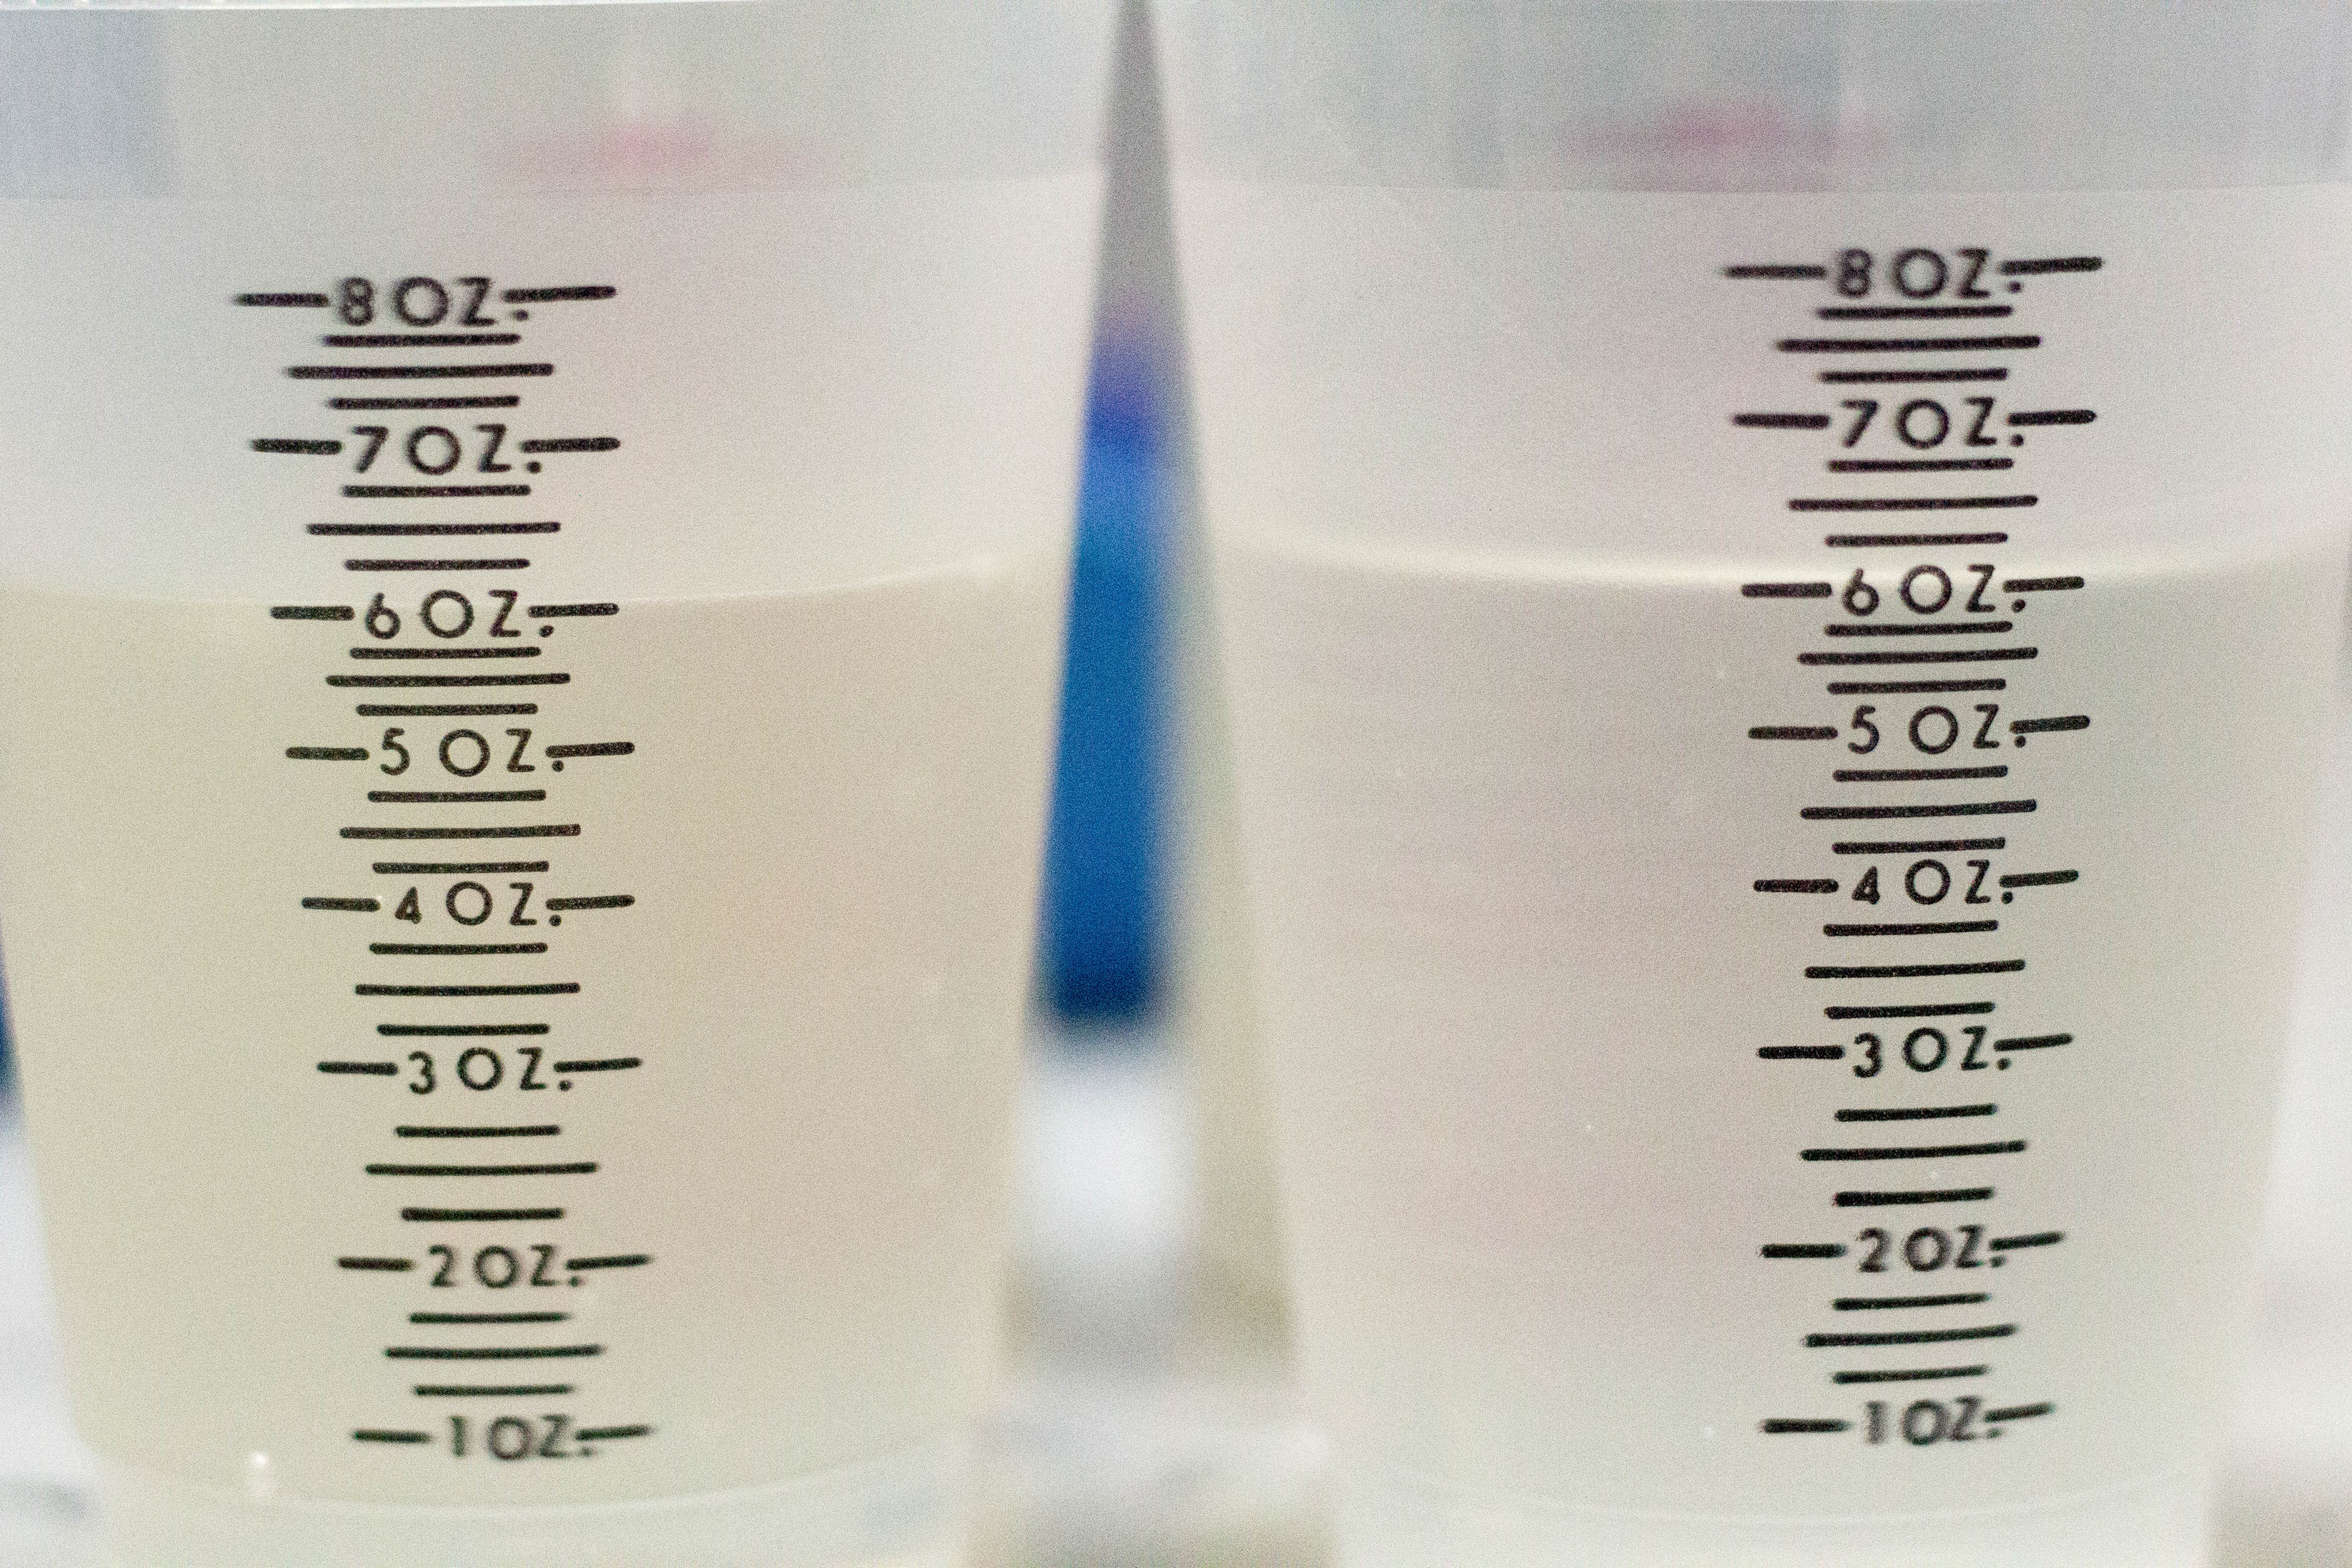
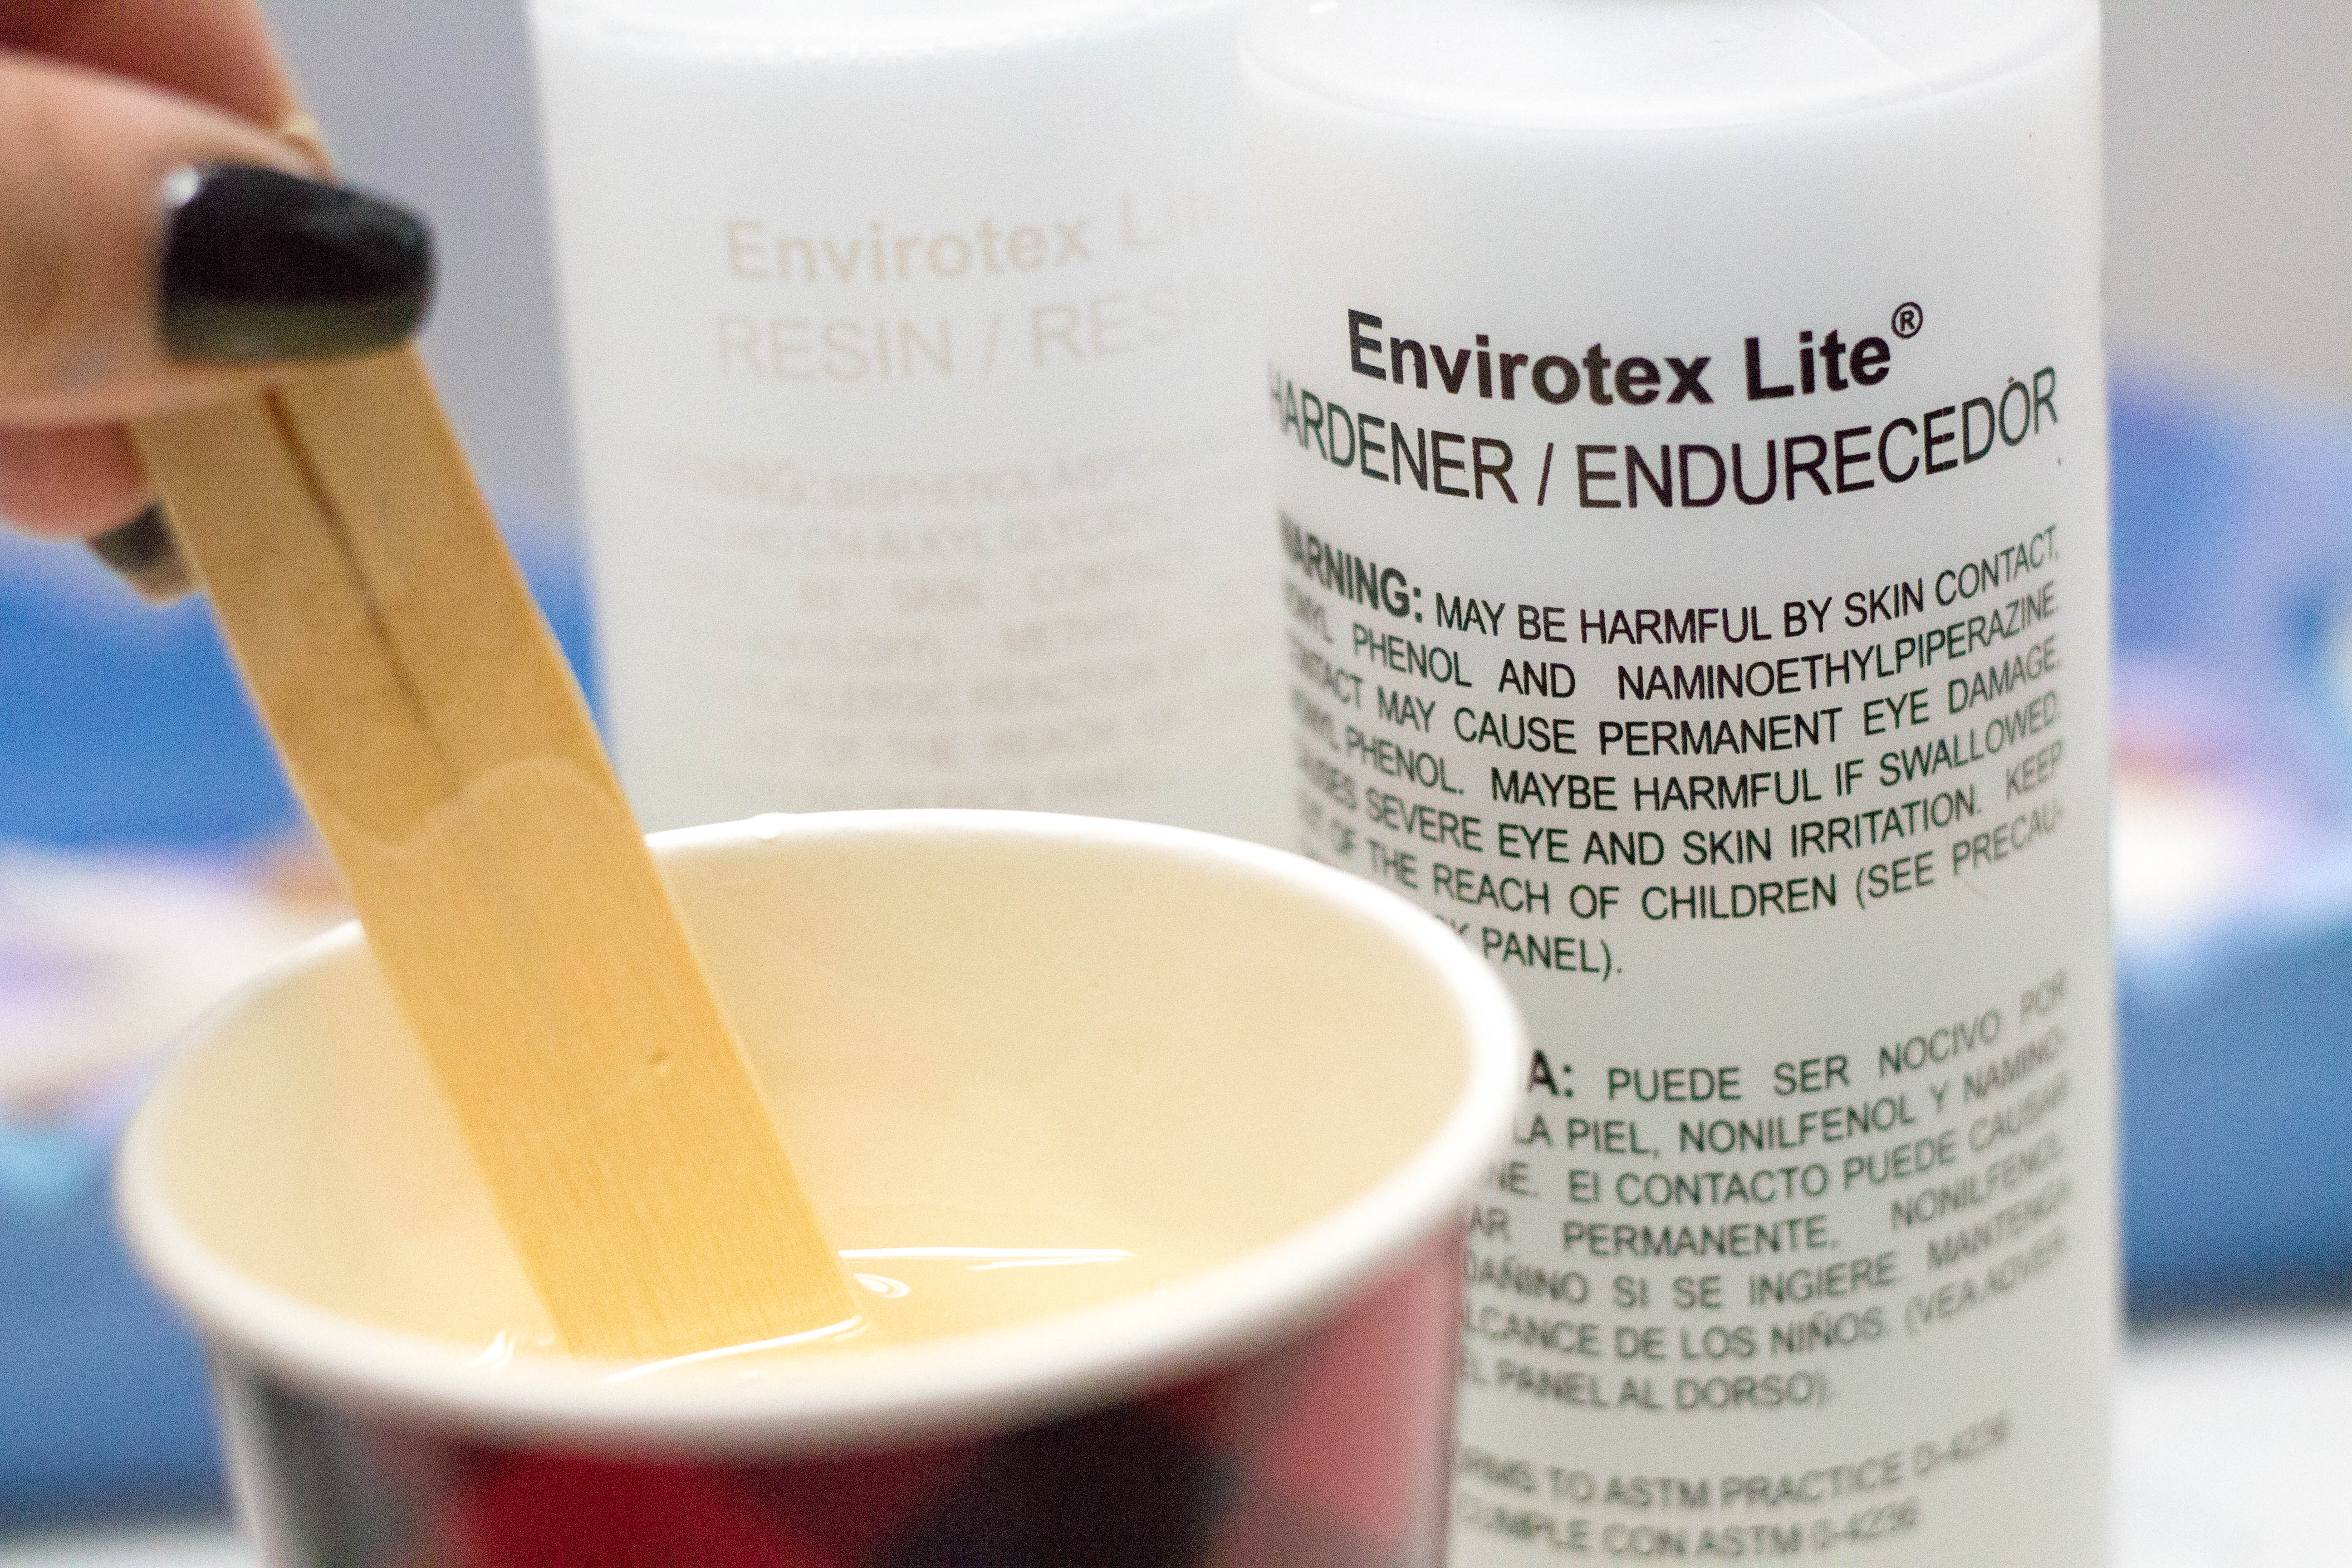
It’s time to measure, mix and pour to create the water for this mermaid tray. Everything you need is right in the Envirotex Lite kit, including measuring cups and stir sticks. The kit contains two bottles; one is the resin, and the other is the hardener. When mixed, they activate one another to create the finished high gloss resin. It’s vital to measure properly, as shown in these images.
Step 6
Once you’ve mixed according the instructions, it’s time to pour the resin over your project. Here goes!
Step 7
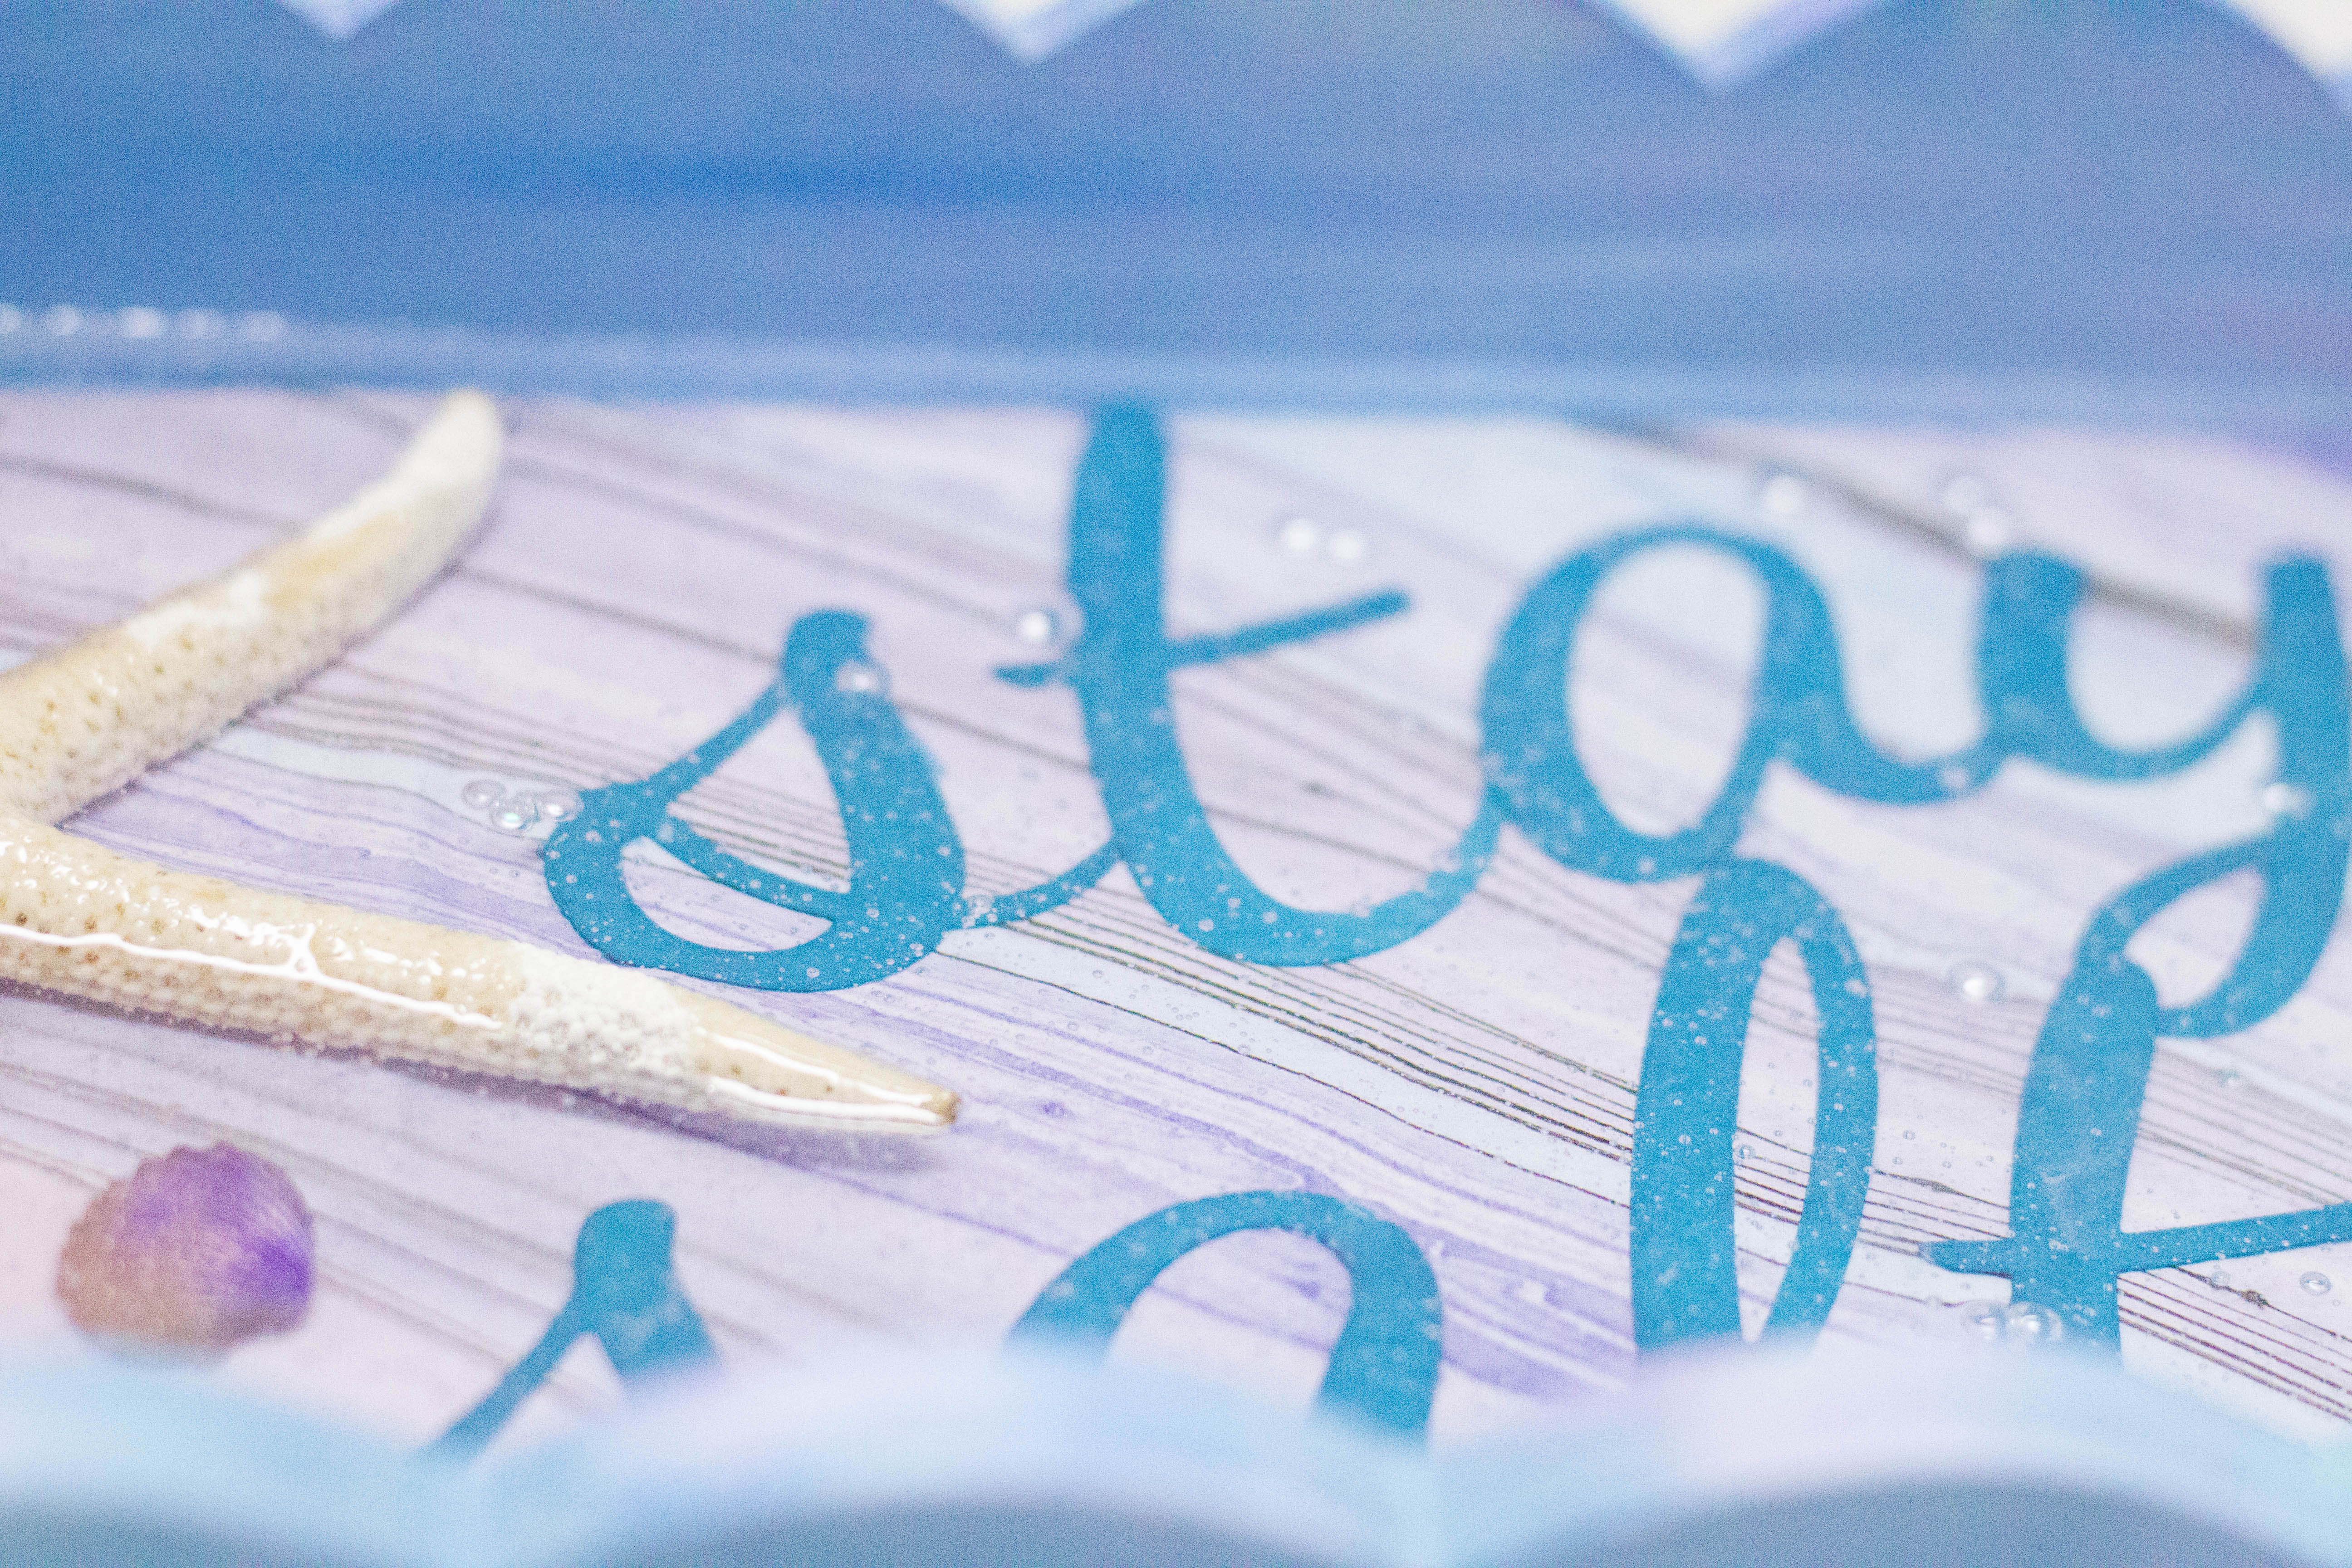
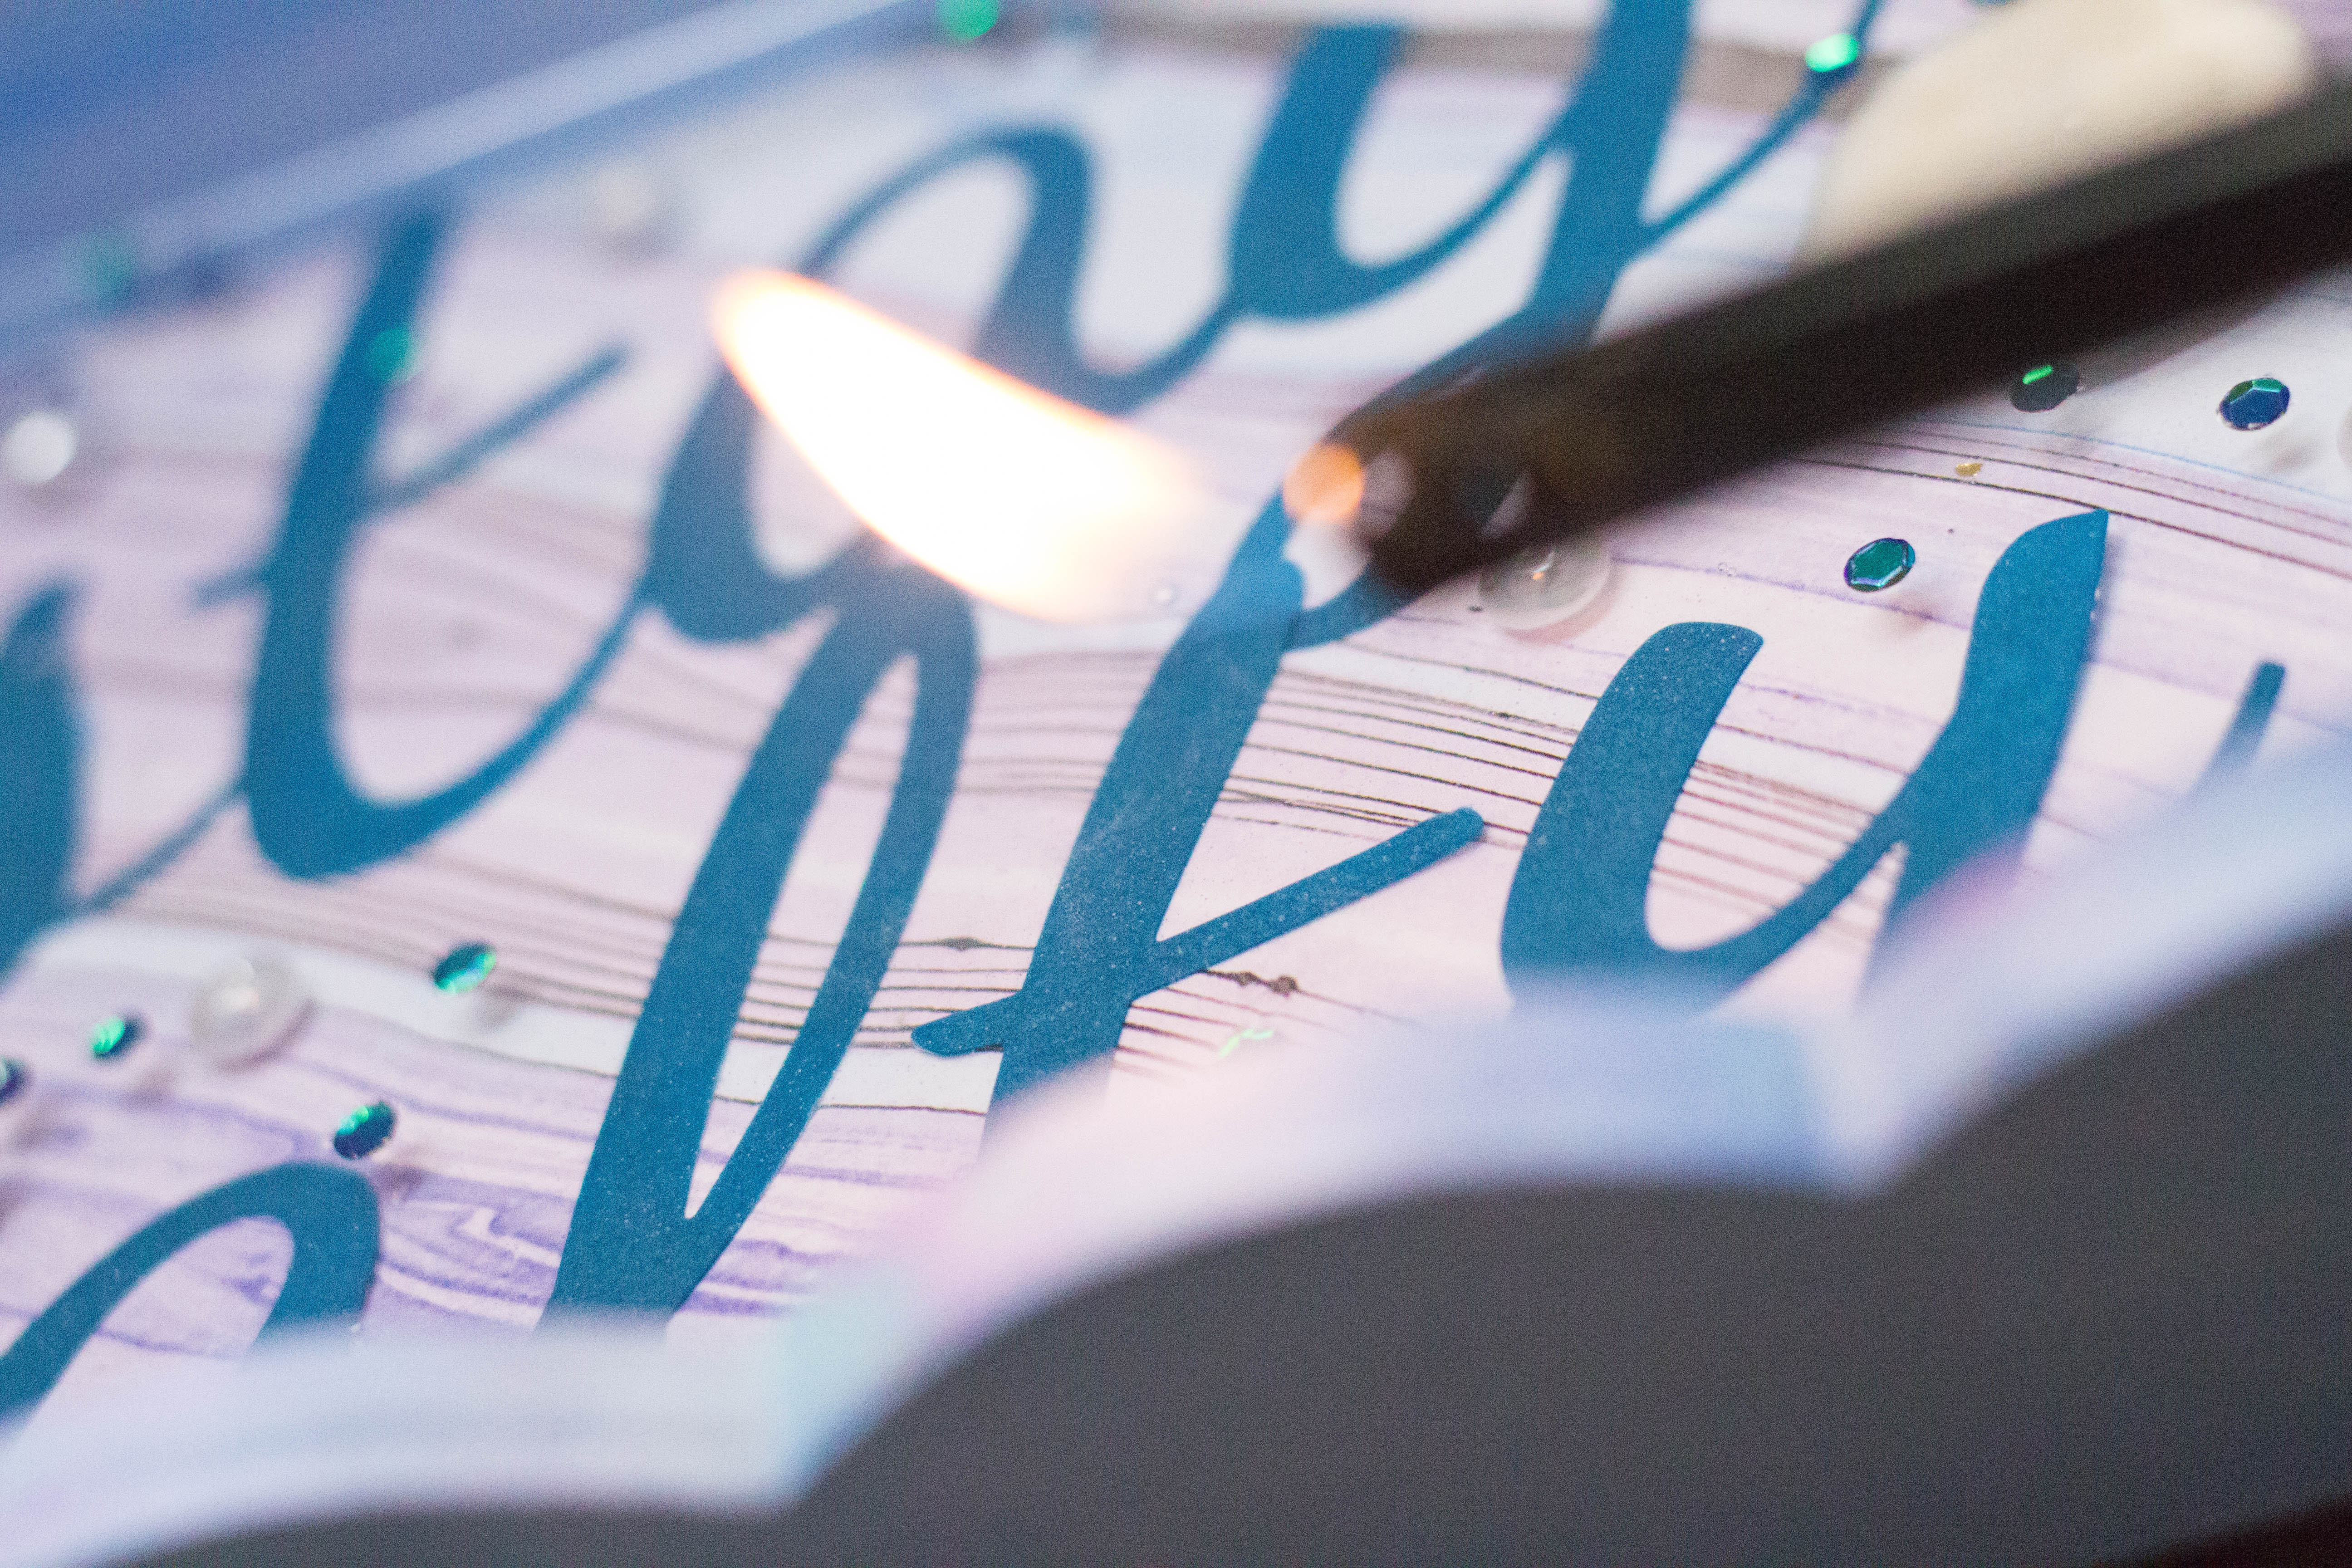
Level the project and use the included brush to remove any excess. A you can see in the above photo, as the mixture settles, lots of tiny bubbles rise to the surface. While that might be perfect for a mermaid tray, I really prefer a smooth finish. This is easily achieved by using a standard kitchen lighter to pop the bubbles. (It’s also kind of fun to do!)
While the resin was freshly poured, I added in a few pearls and some pretty iridescent glitter. The result is pretty shimmer and shine for my mermaid tray.
Step 8
The final step is to cover the piece so that no dust can settle on that perfect finish you’ve just created, and allow it to cure as specified in the instructions. I let my project set for 24 hours and it turned out beautifully!

You’ll love this short video demonstrating how to use this fantastic High Gloss Finish. It’s easy, I promise!
Hope you’ve enjoyed this fun tutorial for creating a fabulous Mermaid Tray!
Don’t miss the projects from the other contest participants here.