

Pom poms, tassels, and chunky knits are rocking the socks off the crafty community these days; fiber art is HOT right now, and the trend is spreading like wildfire! You may have seen some of these and wondered, “How hard is that to make?”
I love a trend, and I love getting my hands on a new crafting material, don’t you? When I was presented with the opportunity to work with yarns from Premier Yarns, I jumped at the chance! They’ve given me a discount code on their DIY Yarns, so you can get in on the fun too!
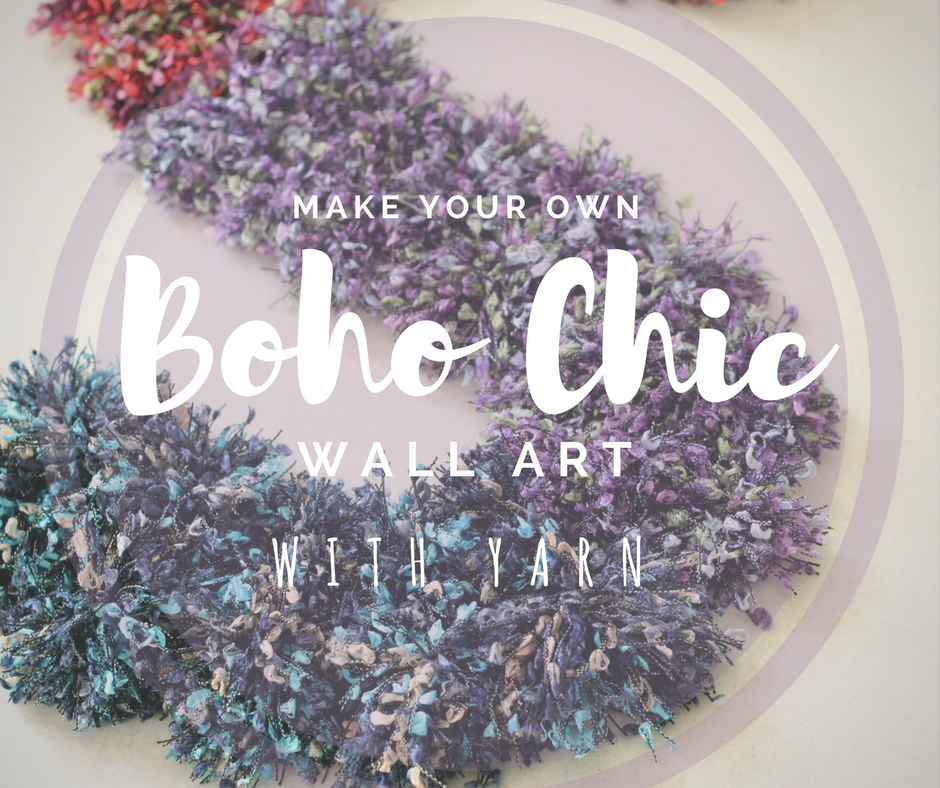
My personal style is a structured version of bohemian chic. I wanted to try my hand at making yarn pom poms, and make them into a small wall hanging for my teenage daughter’s room. I created this simple to follow tutorial that anyone can try. My daughter loved the finished wall art piece, and now displays it with her other cool teenager room decorations. (I’m fairly certain this makes me super cool, too.)
Pom Pom Yarn Wall Art
What You’ll Need:
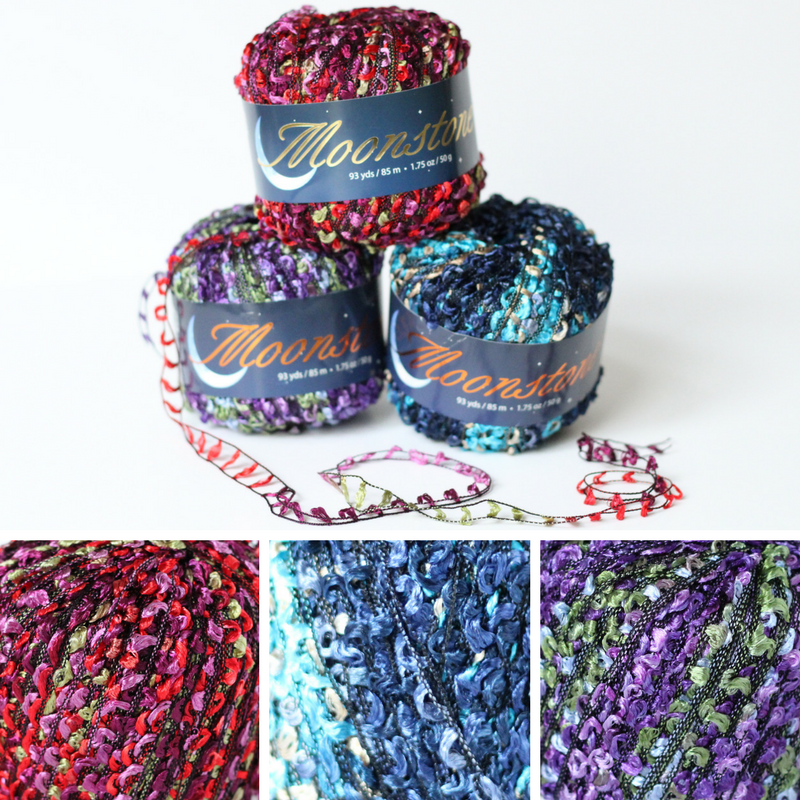
- 2 rolls Moonstone Yarn, in Fairy Rose
- 2 rolls Moonstone Yarn, in Bacchus
- 2 rolls Moonstone Yarn, in Andromeda
- 1 large sheet of foam board or cardboard, approximately 18″ x 24″
- Hot Glue
- Fabric Scissors
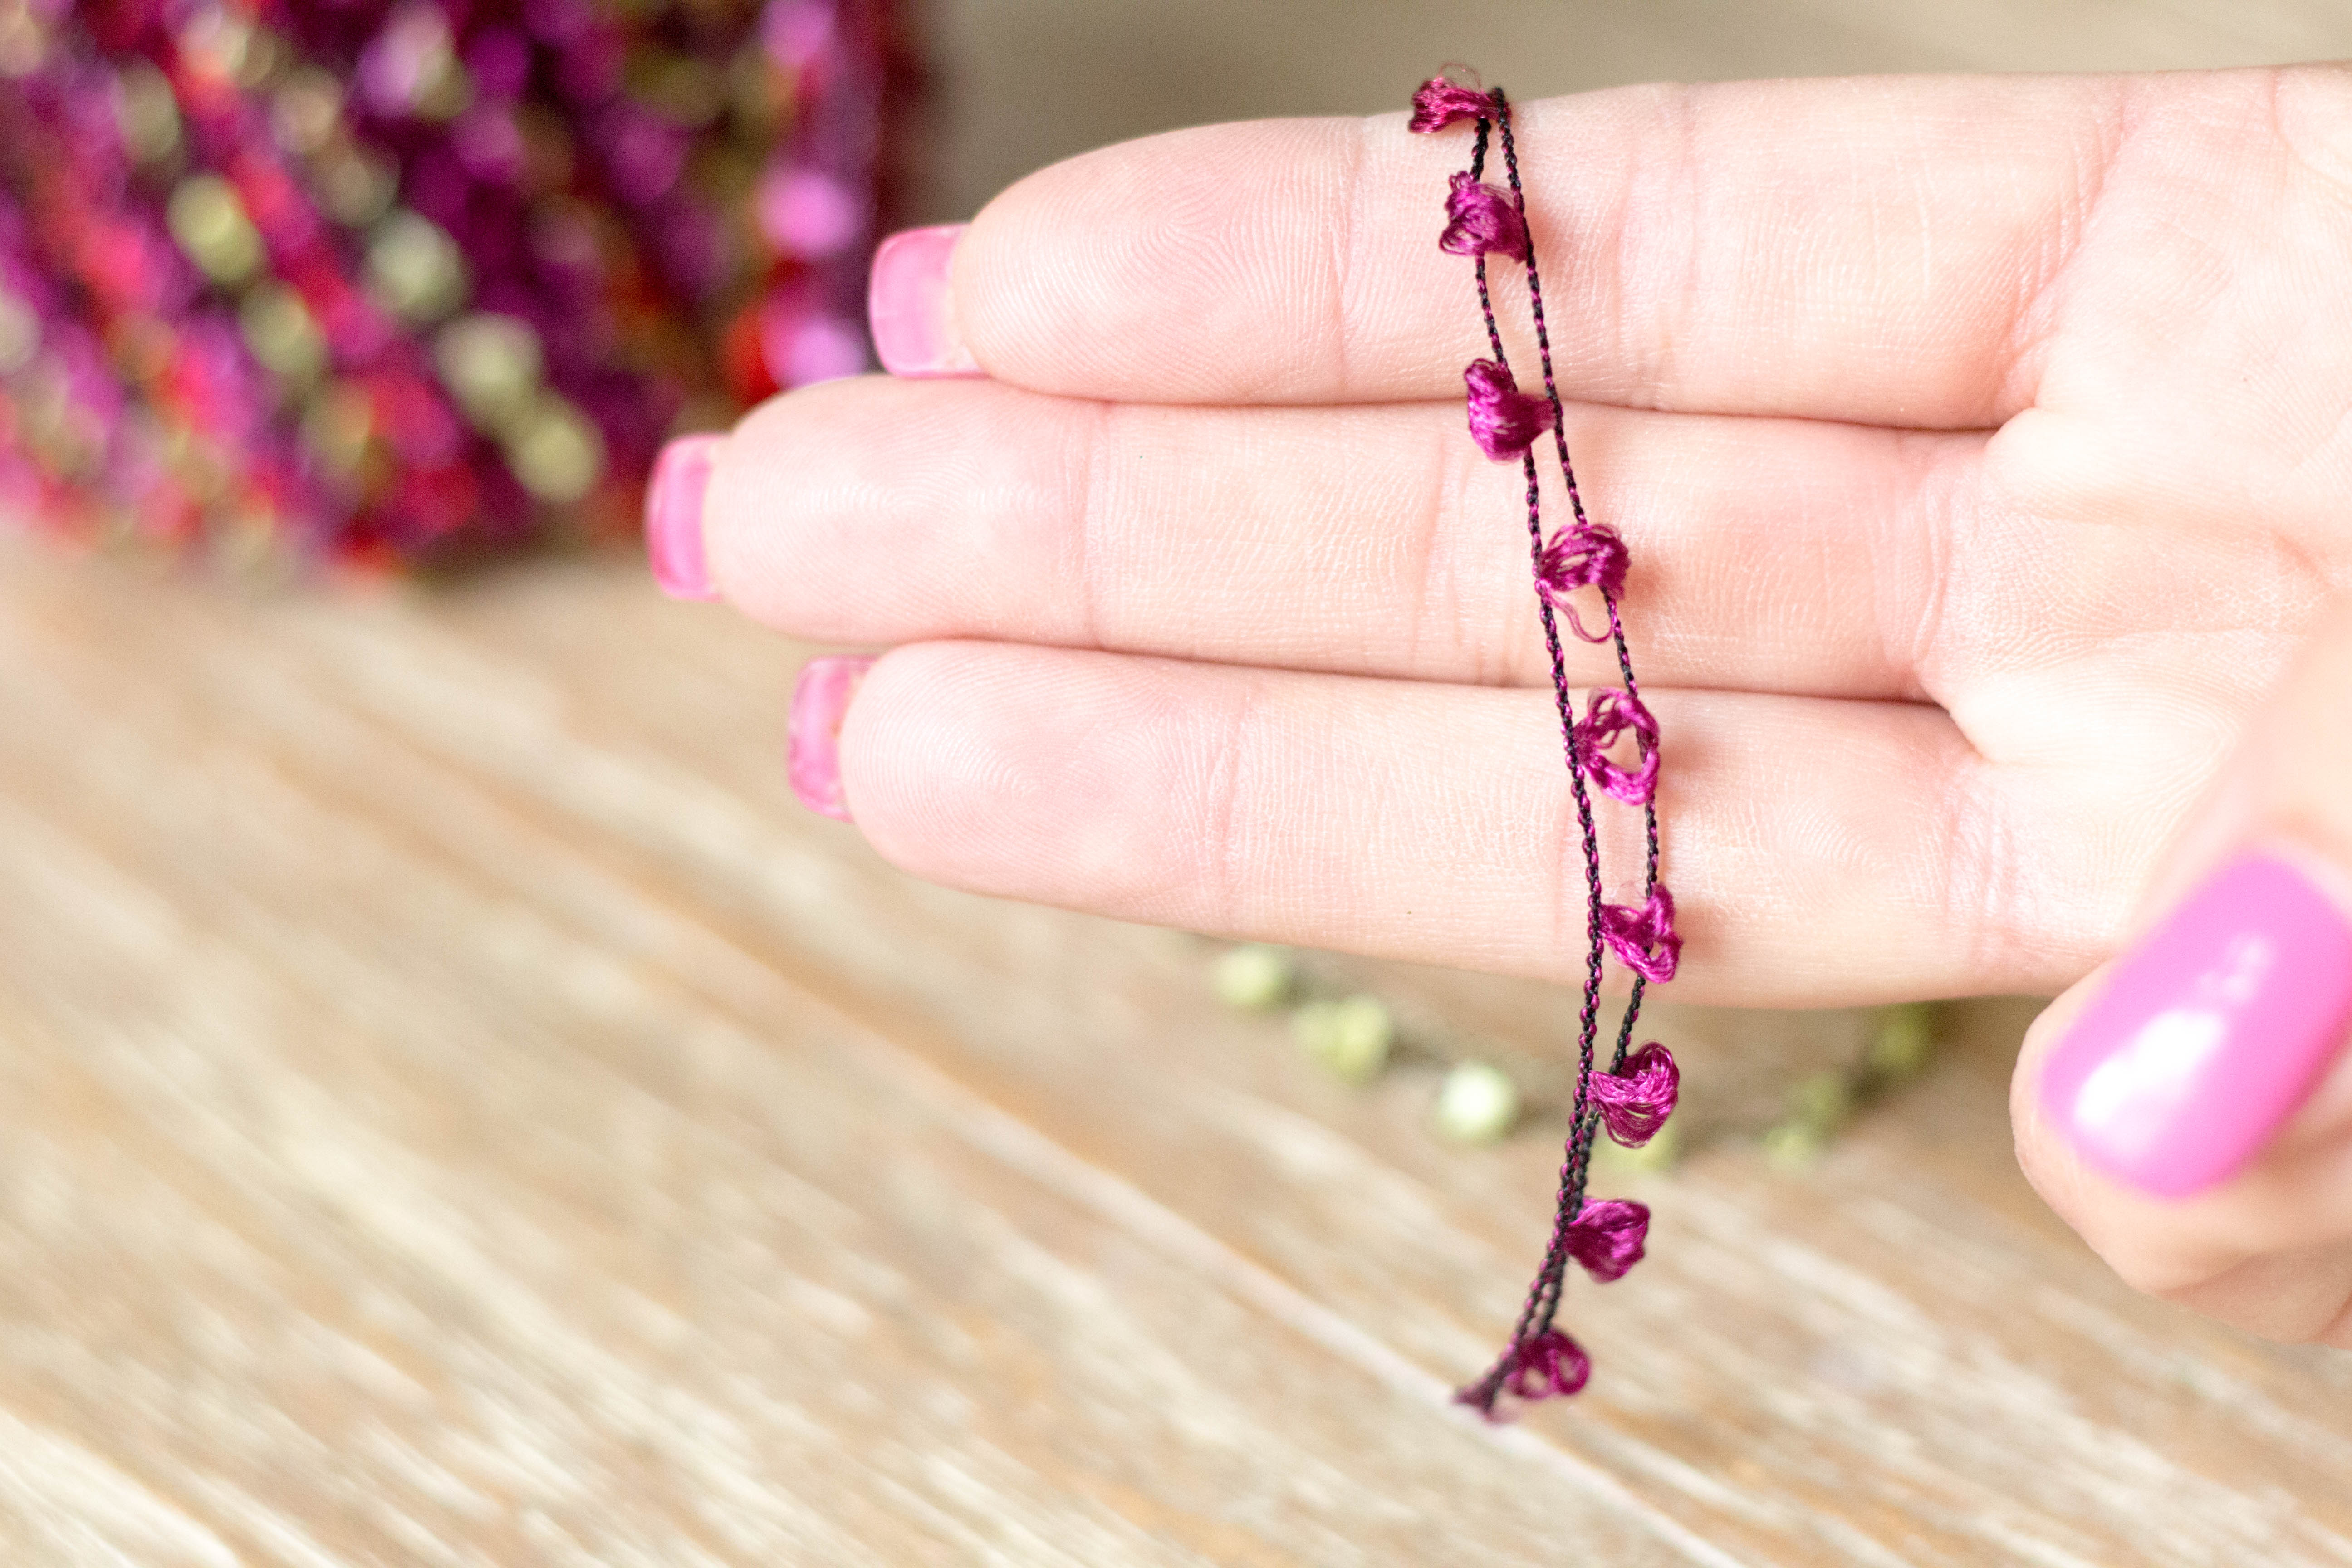
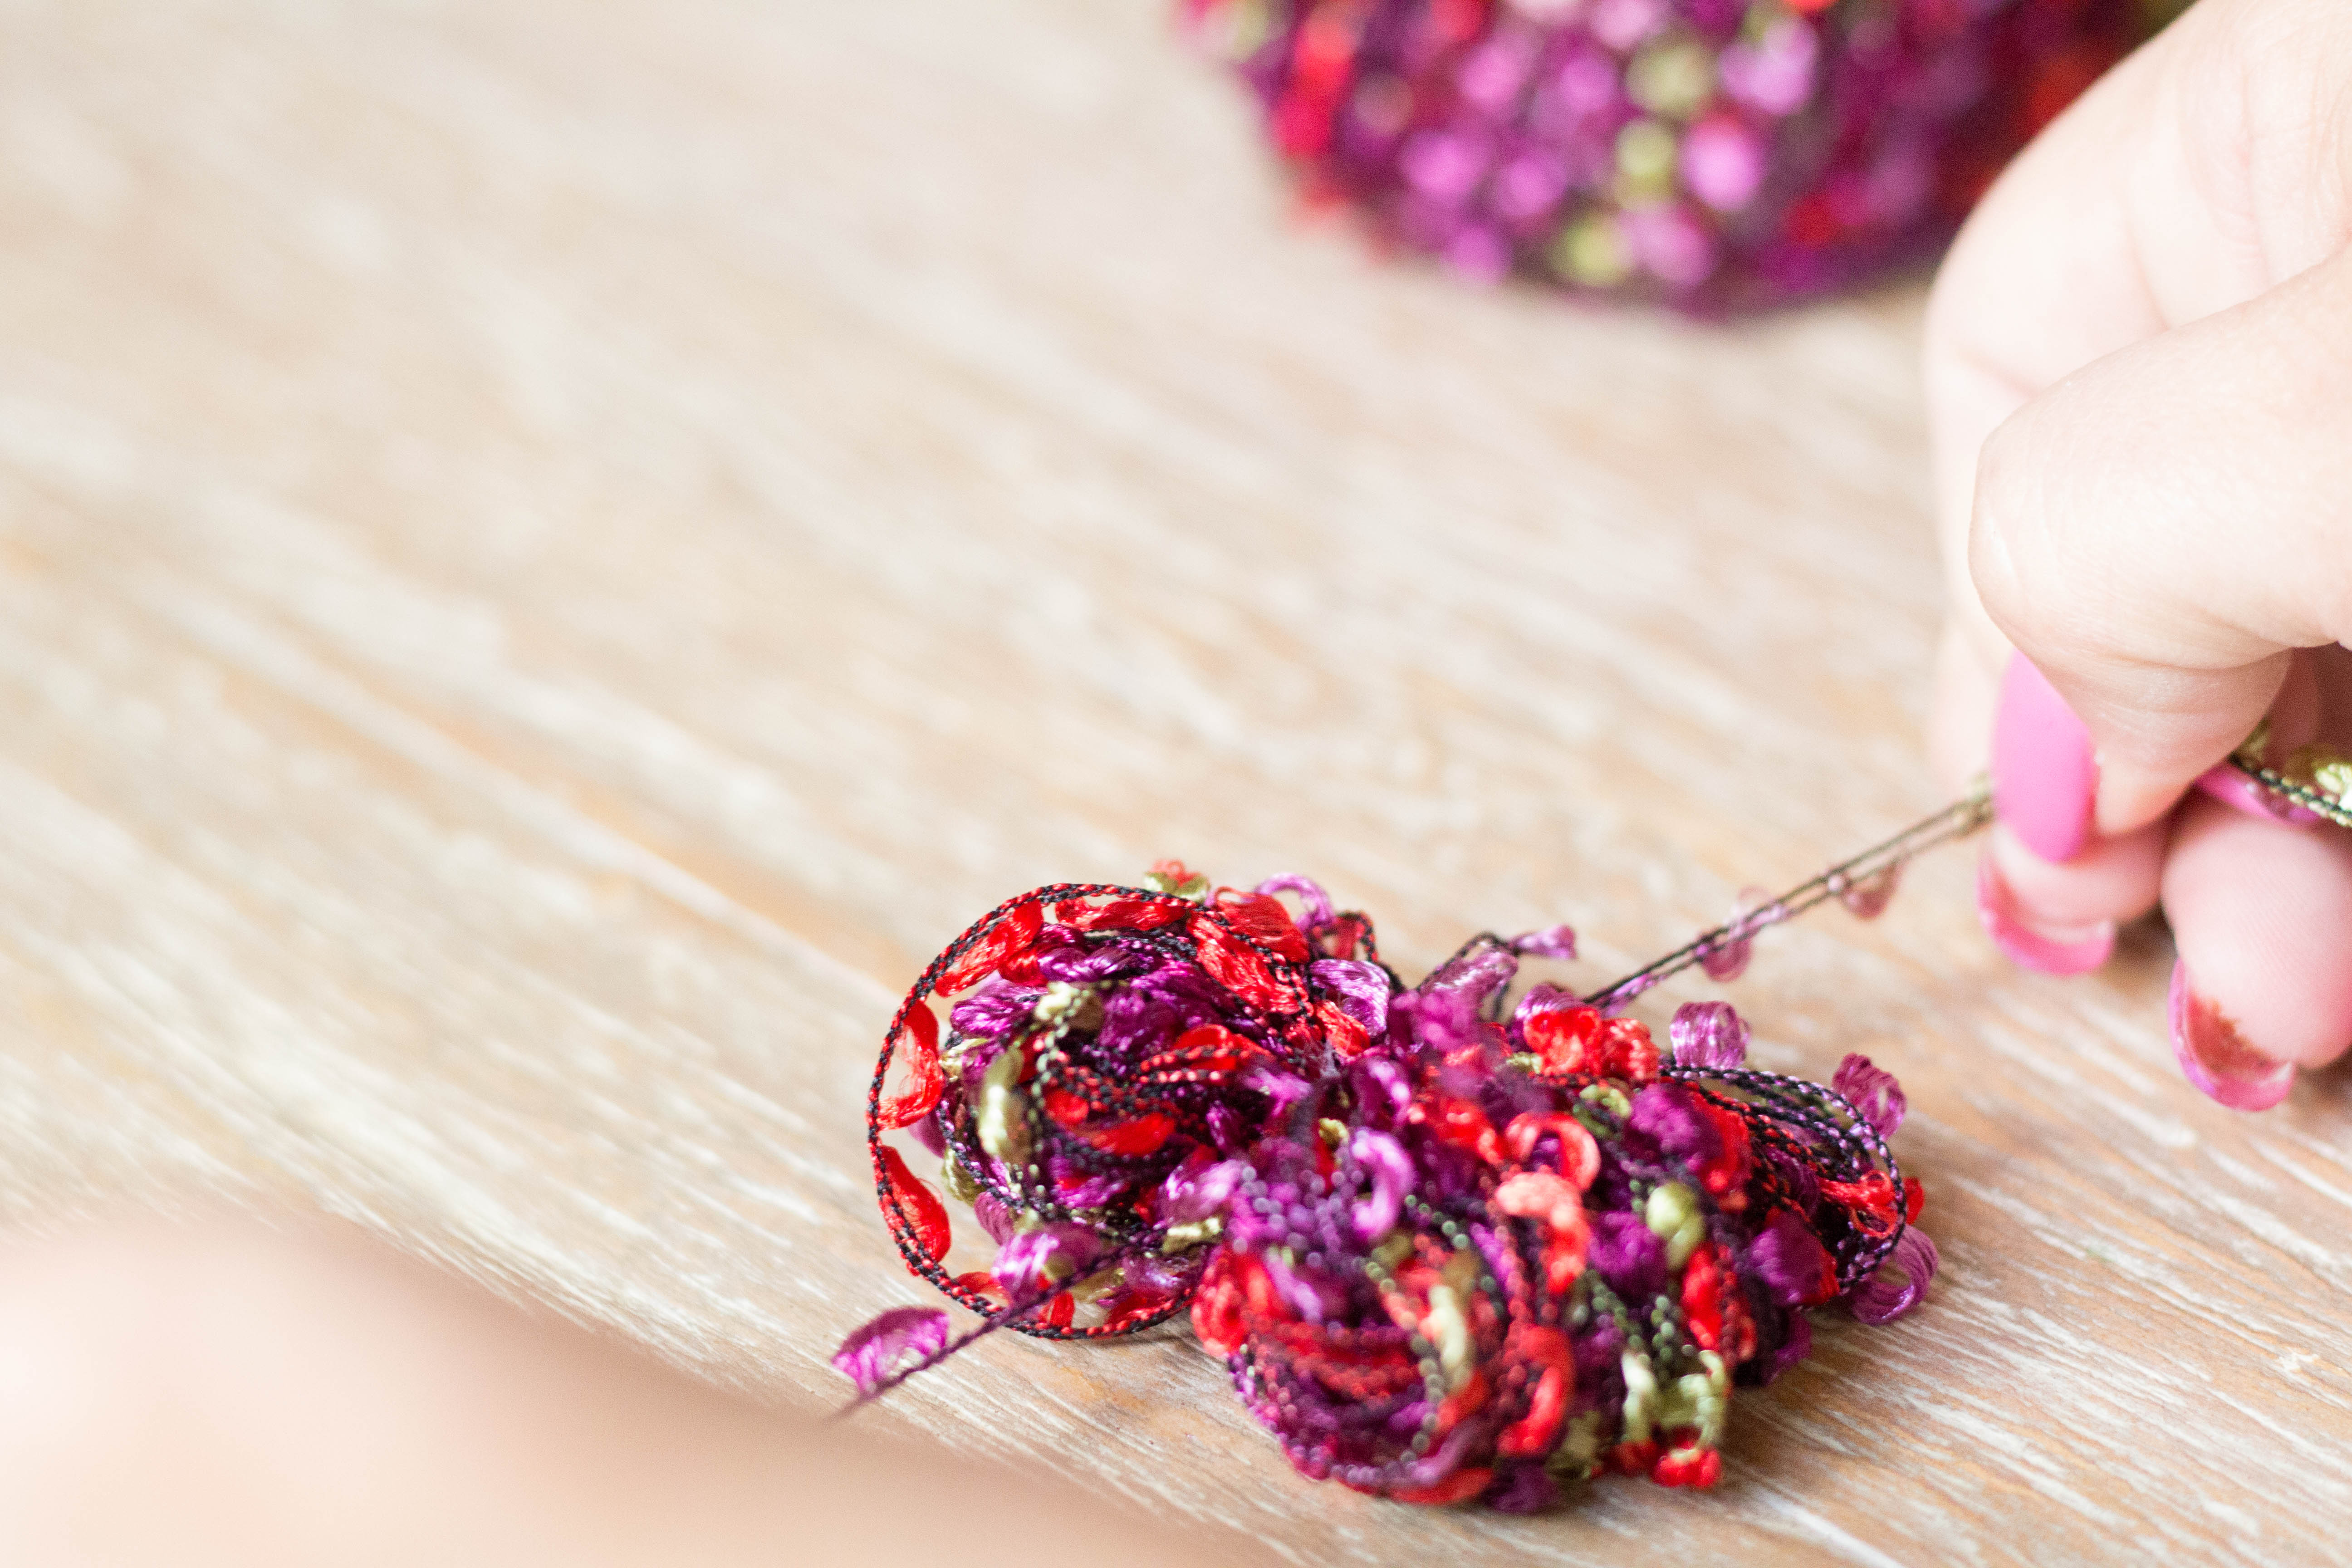
Step 1: Unroll a length of yarn from the roll, and lay it over three fingers of your hand, allowing a bit to hang below, as shown.
 Step 2: Begin loosely wrapping the yarn around your three fingers, in one direction. Continue wrapping, counting each revolution, until you have wrapped the yarn fifty times. (Yes, fifty times!) You’ll end up with a loop of yarn, as pictured. Trim the end from the roll, ensuring a firm hold on the loops, and gently remove it from your fingers.
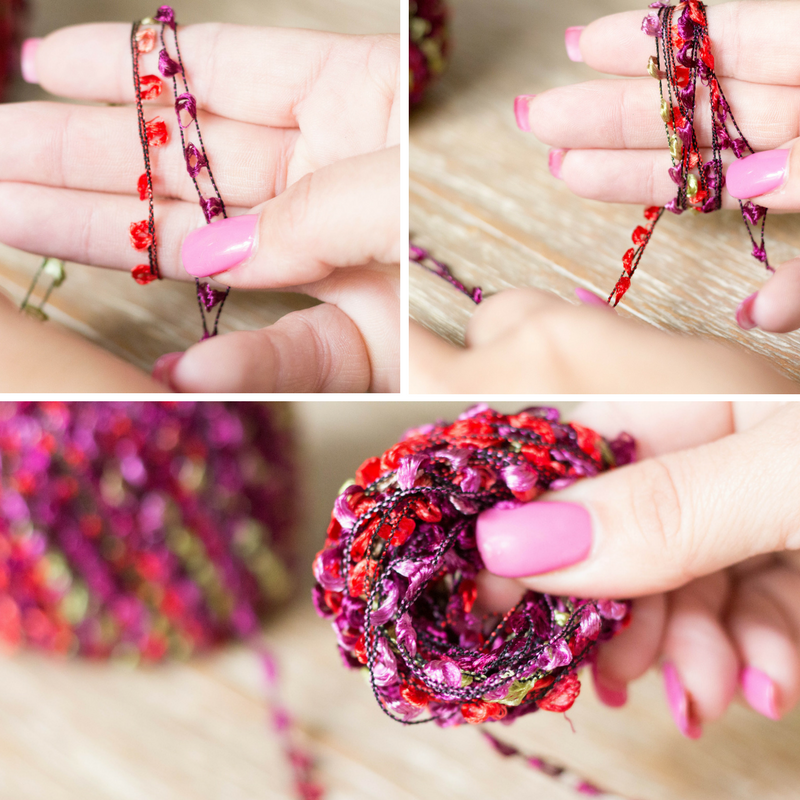 Step 3: Cut a 5″ section of the same yarn from the roll, and lay horizontally on your work surface.
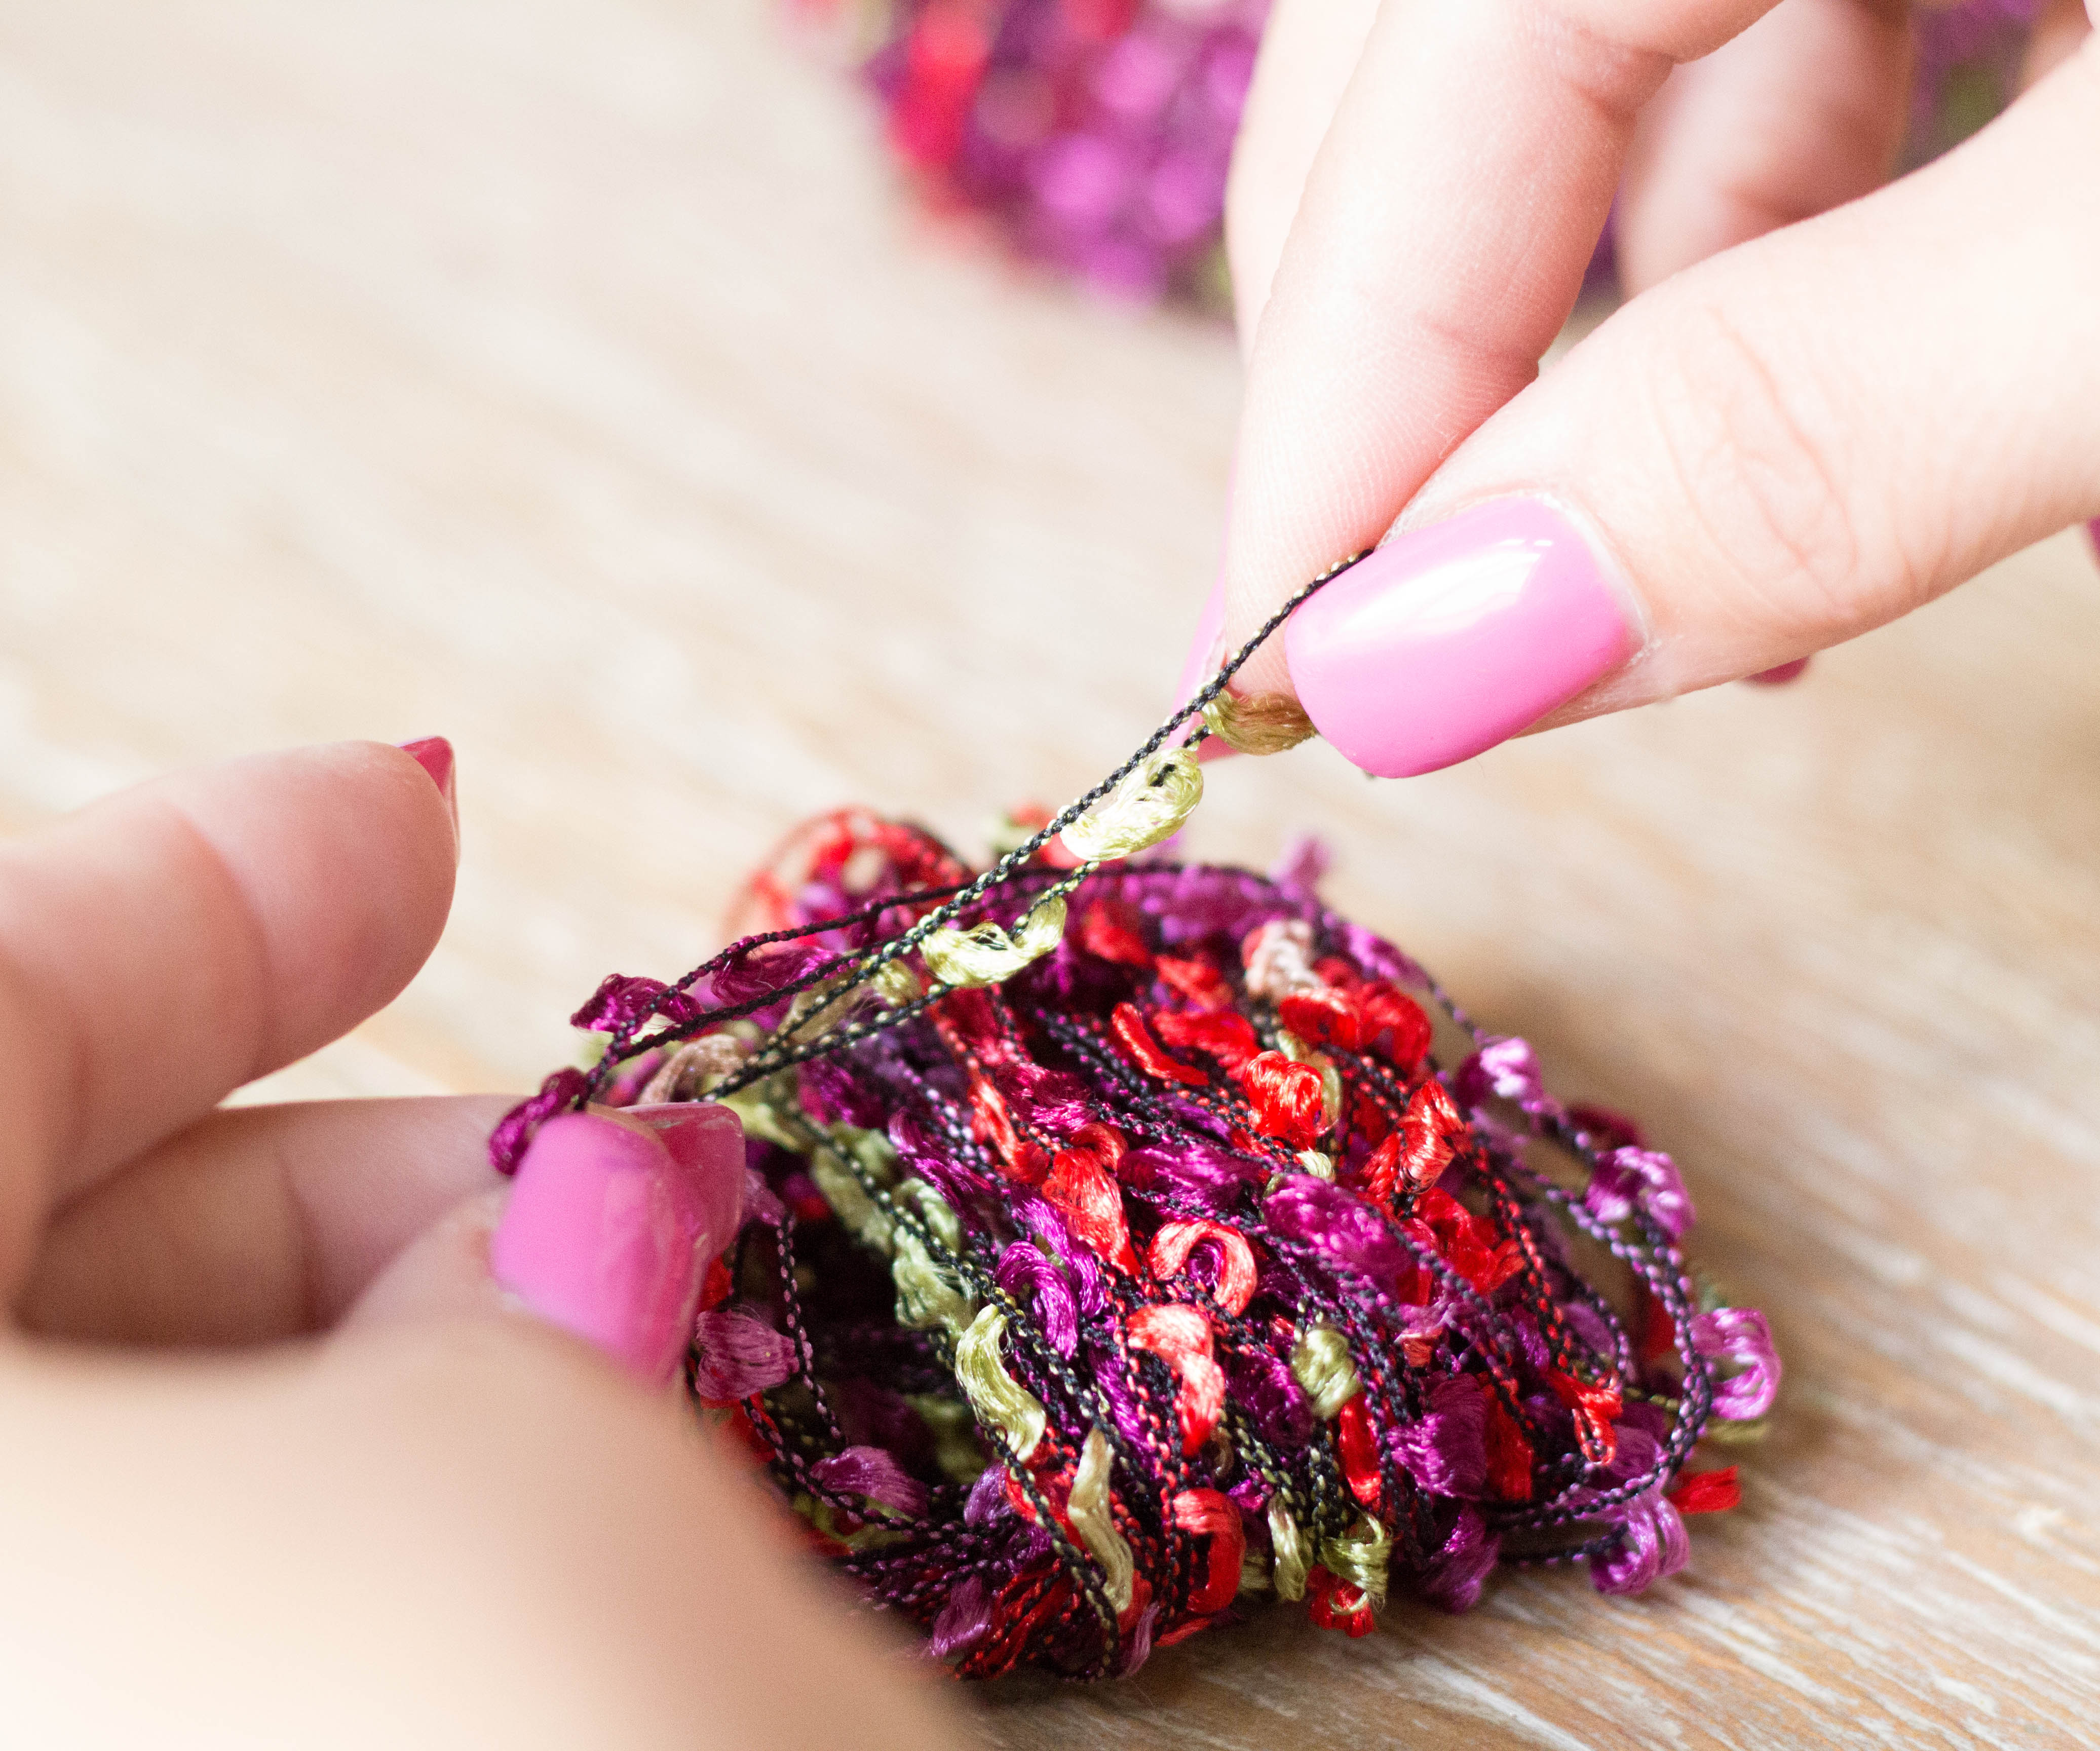
 Step 4: Center the looped yarn on the single strand of yarn, then tie the strand tightly around the center, as shown. Knot securely.
 Step 5: Hold the knot between your thumb and forefinger, then using fabric scissors, guide the blade through the loops on one side of the knot, and cut. Then flip the item and cut the loops on the other side of the knot, as well.
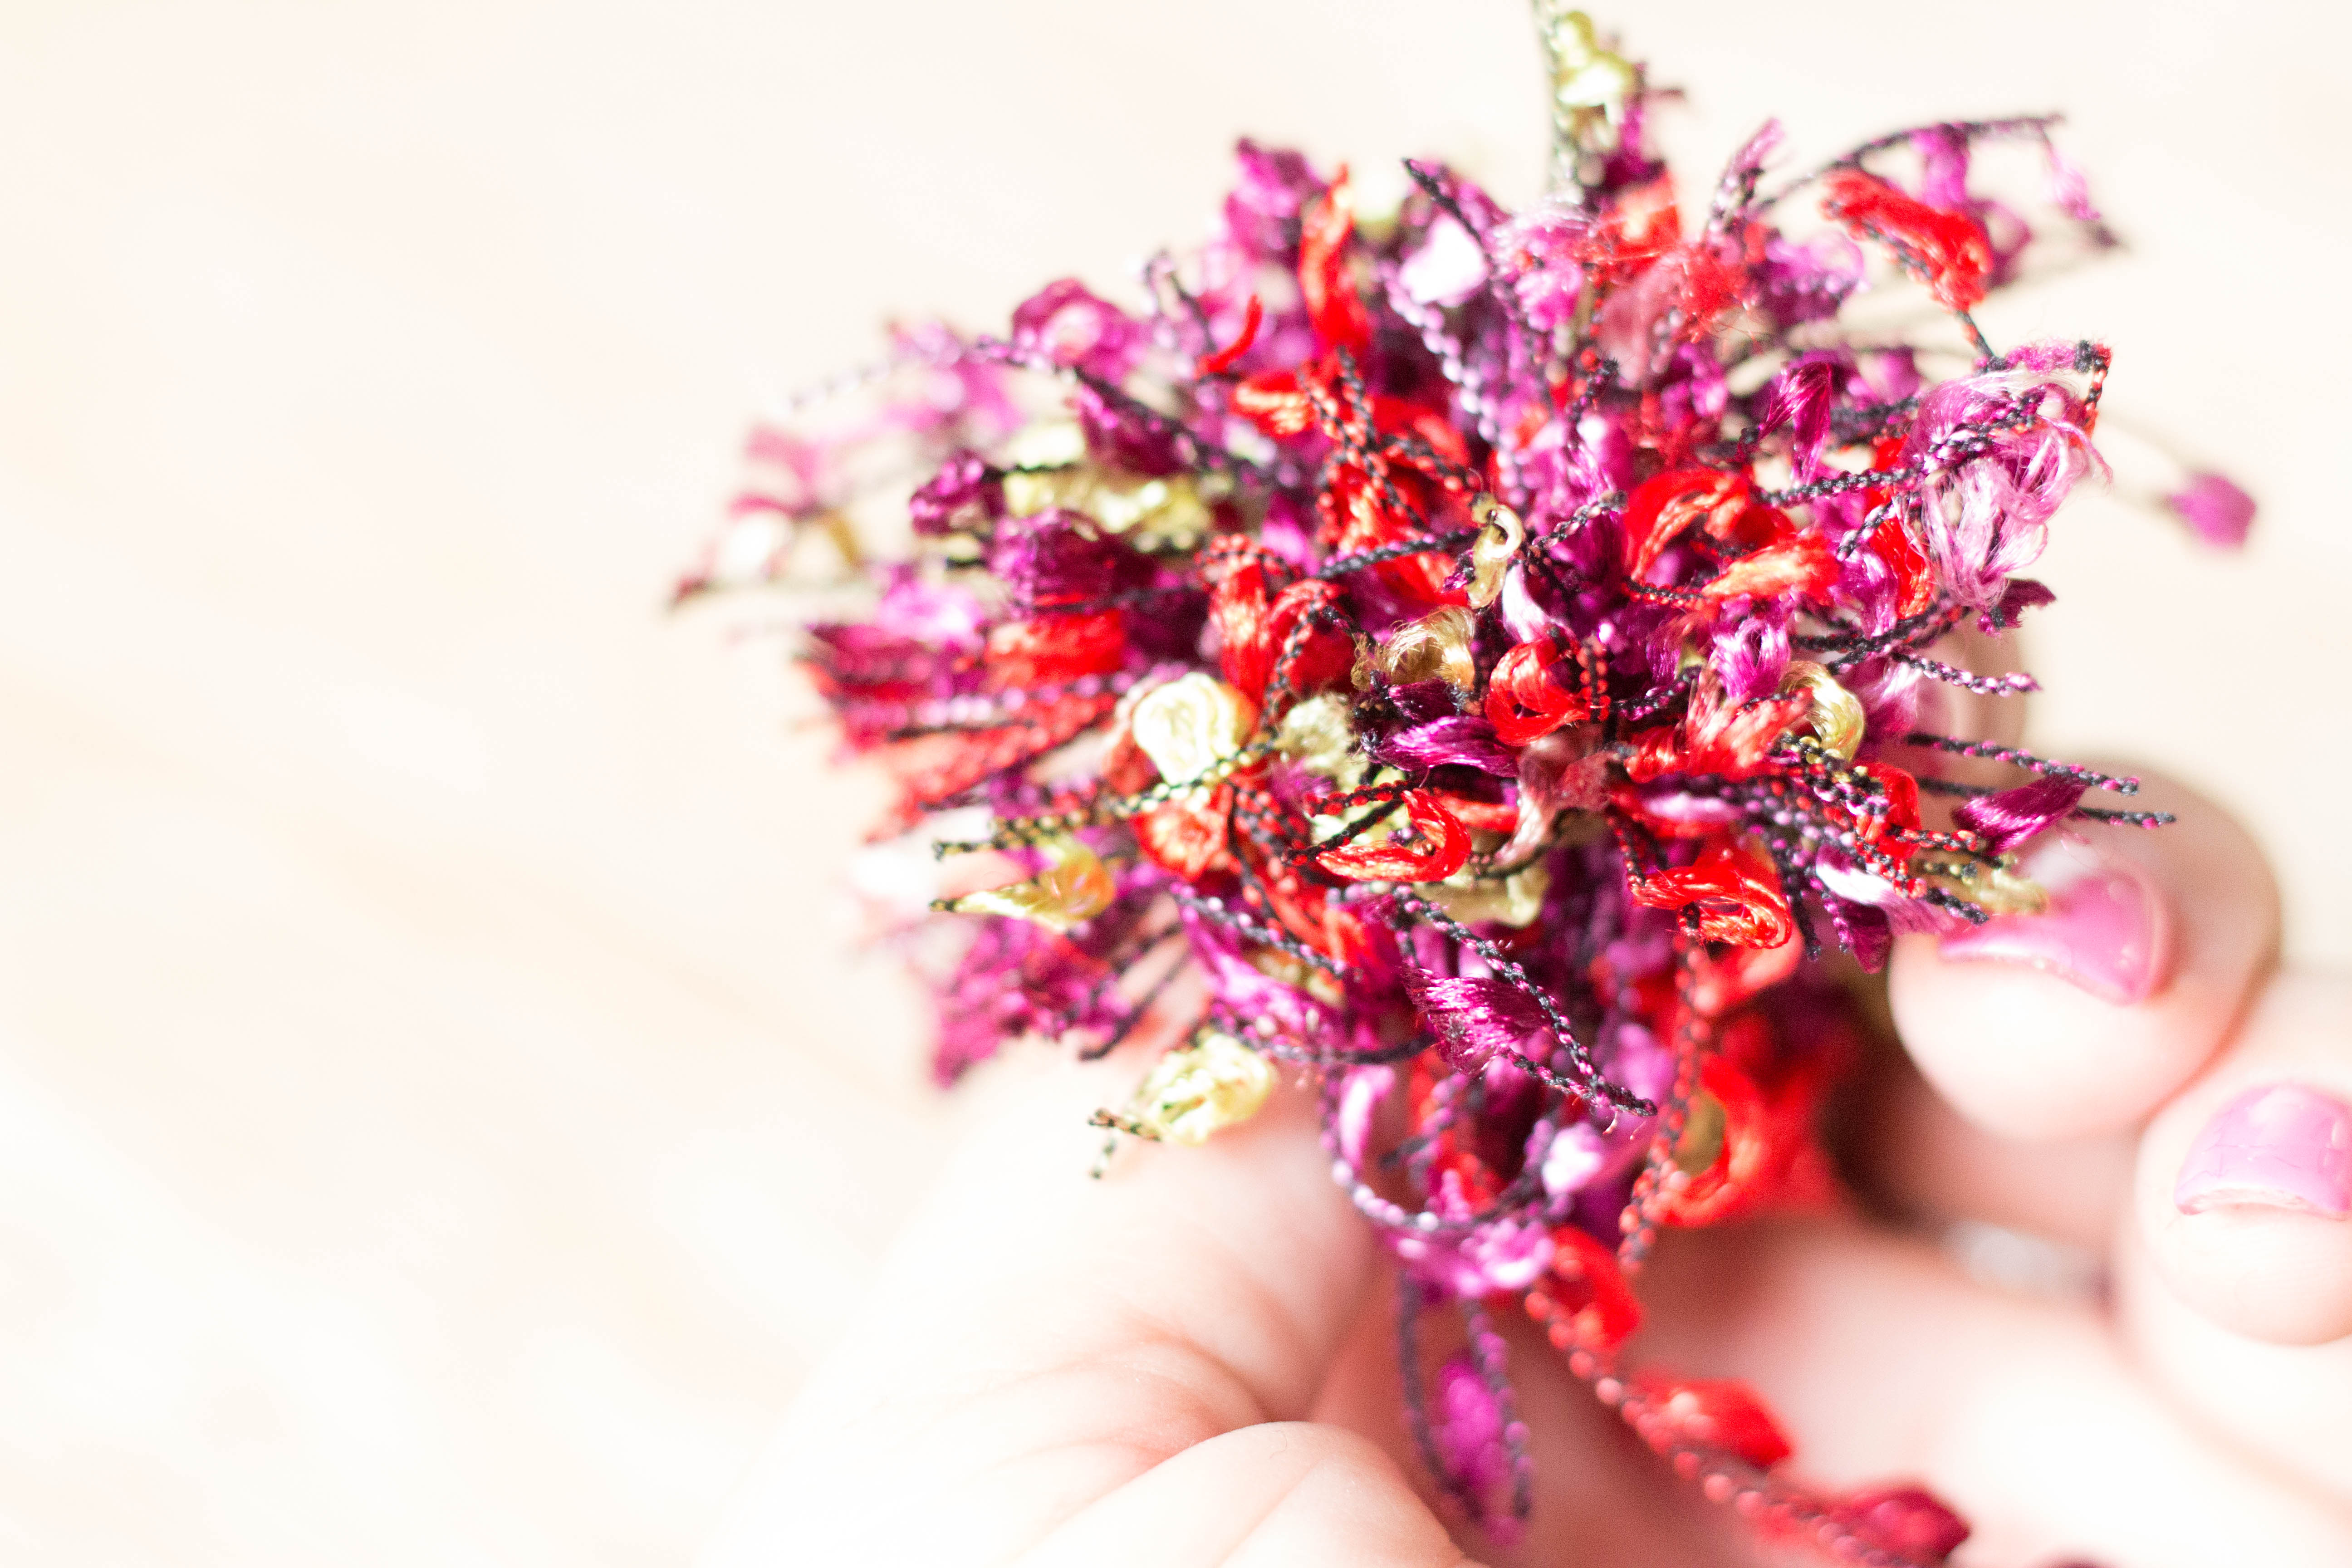
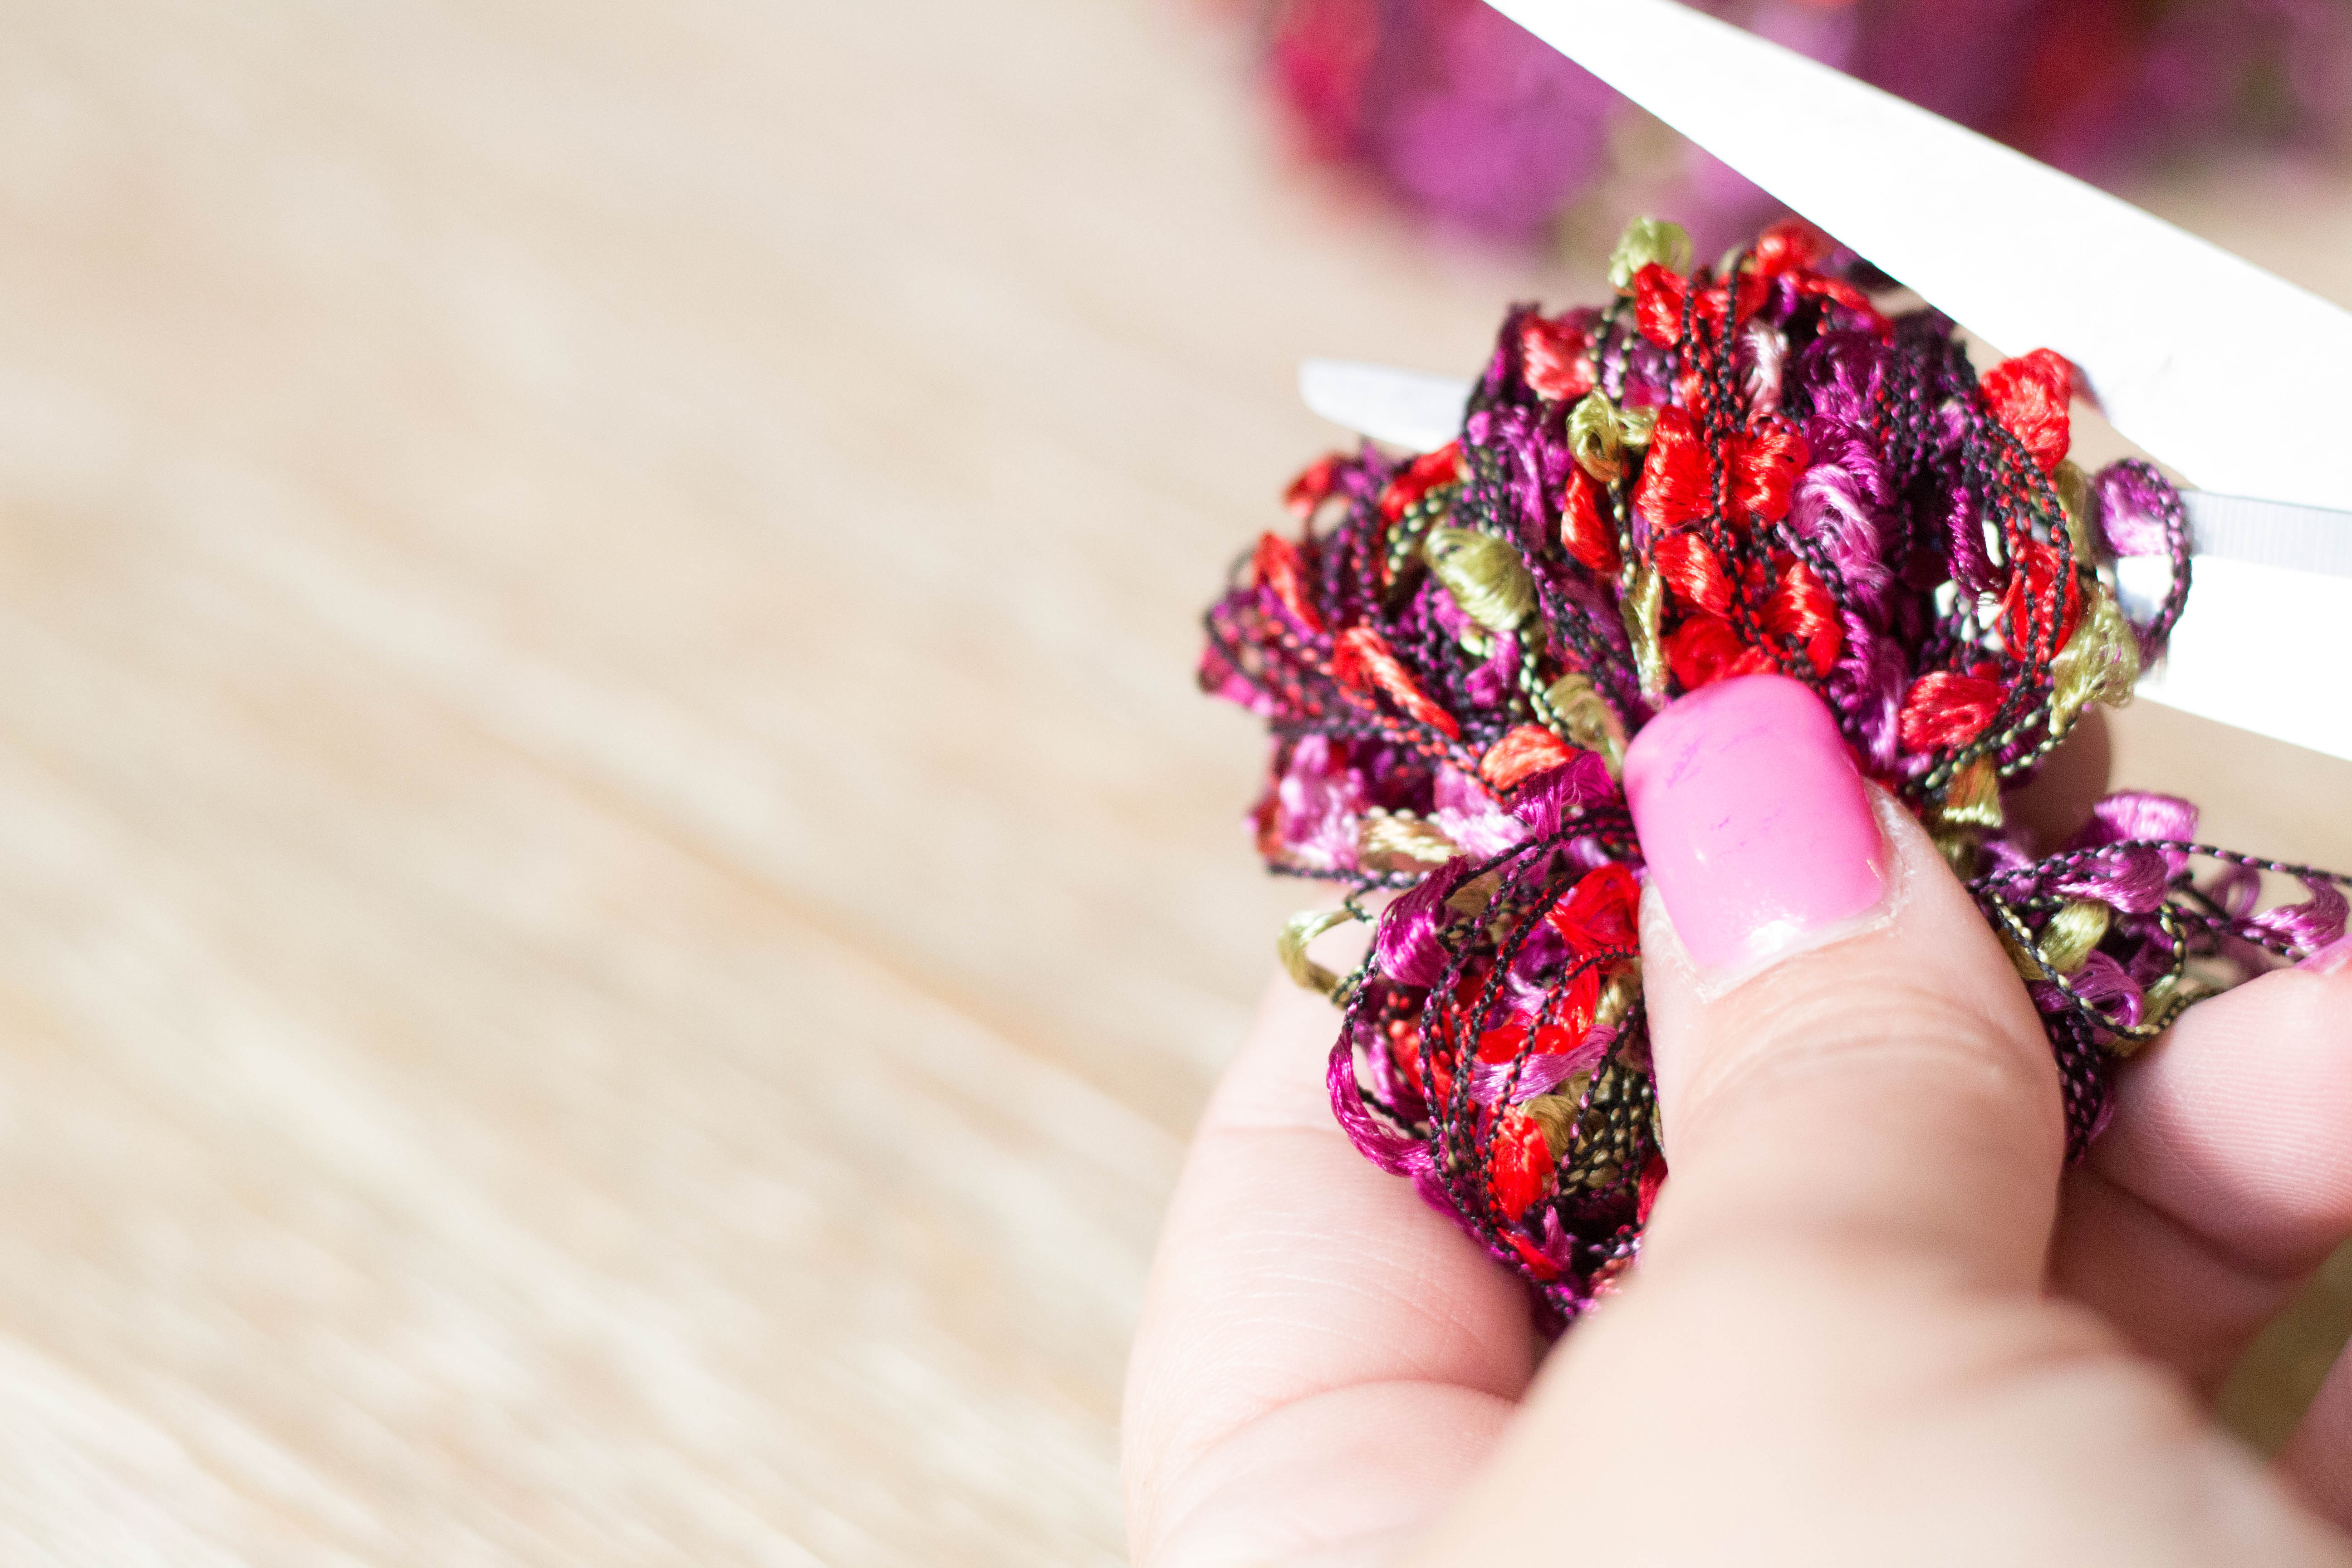 Can we talk about the gorgeous jewel tones in this yarn for just a second? This Fairy Rose is my favorite, combining a vibrant scarlet red with a deep magenta, and a zingy lime green. It has just the right amount of sheen in the thread, and when the poms are cut, all those colors blend together to make magic!
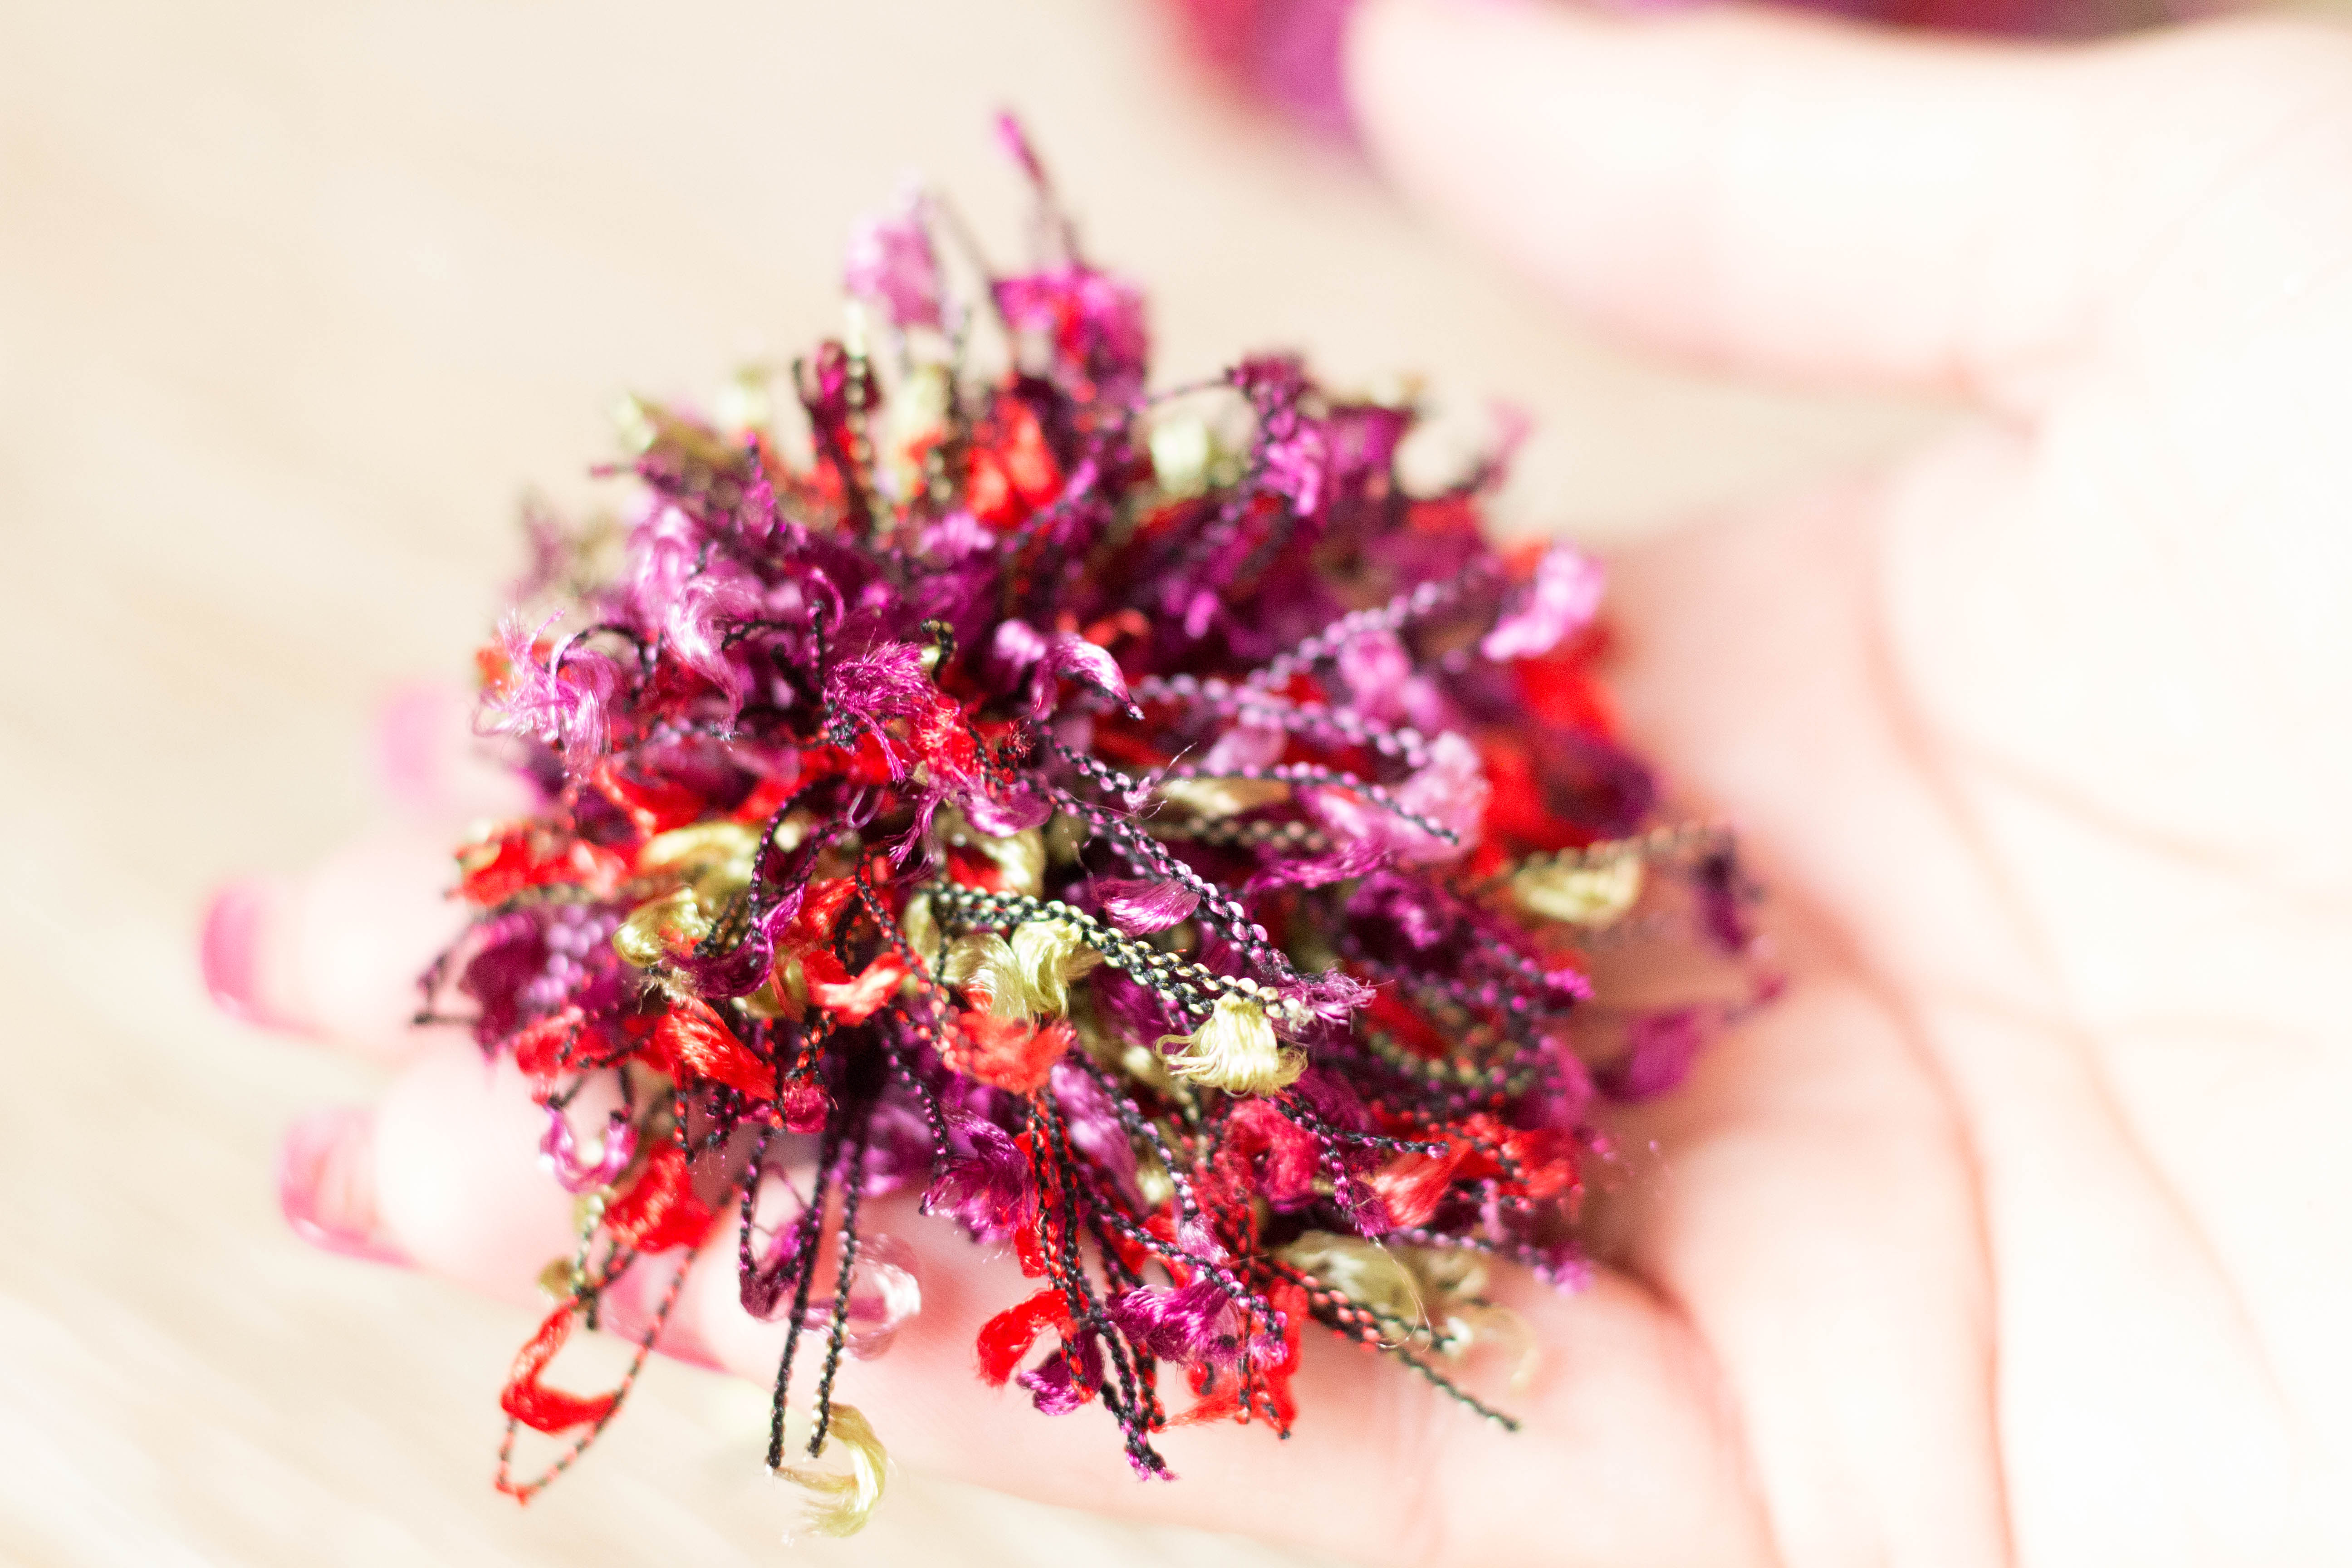
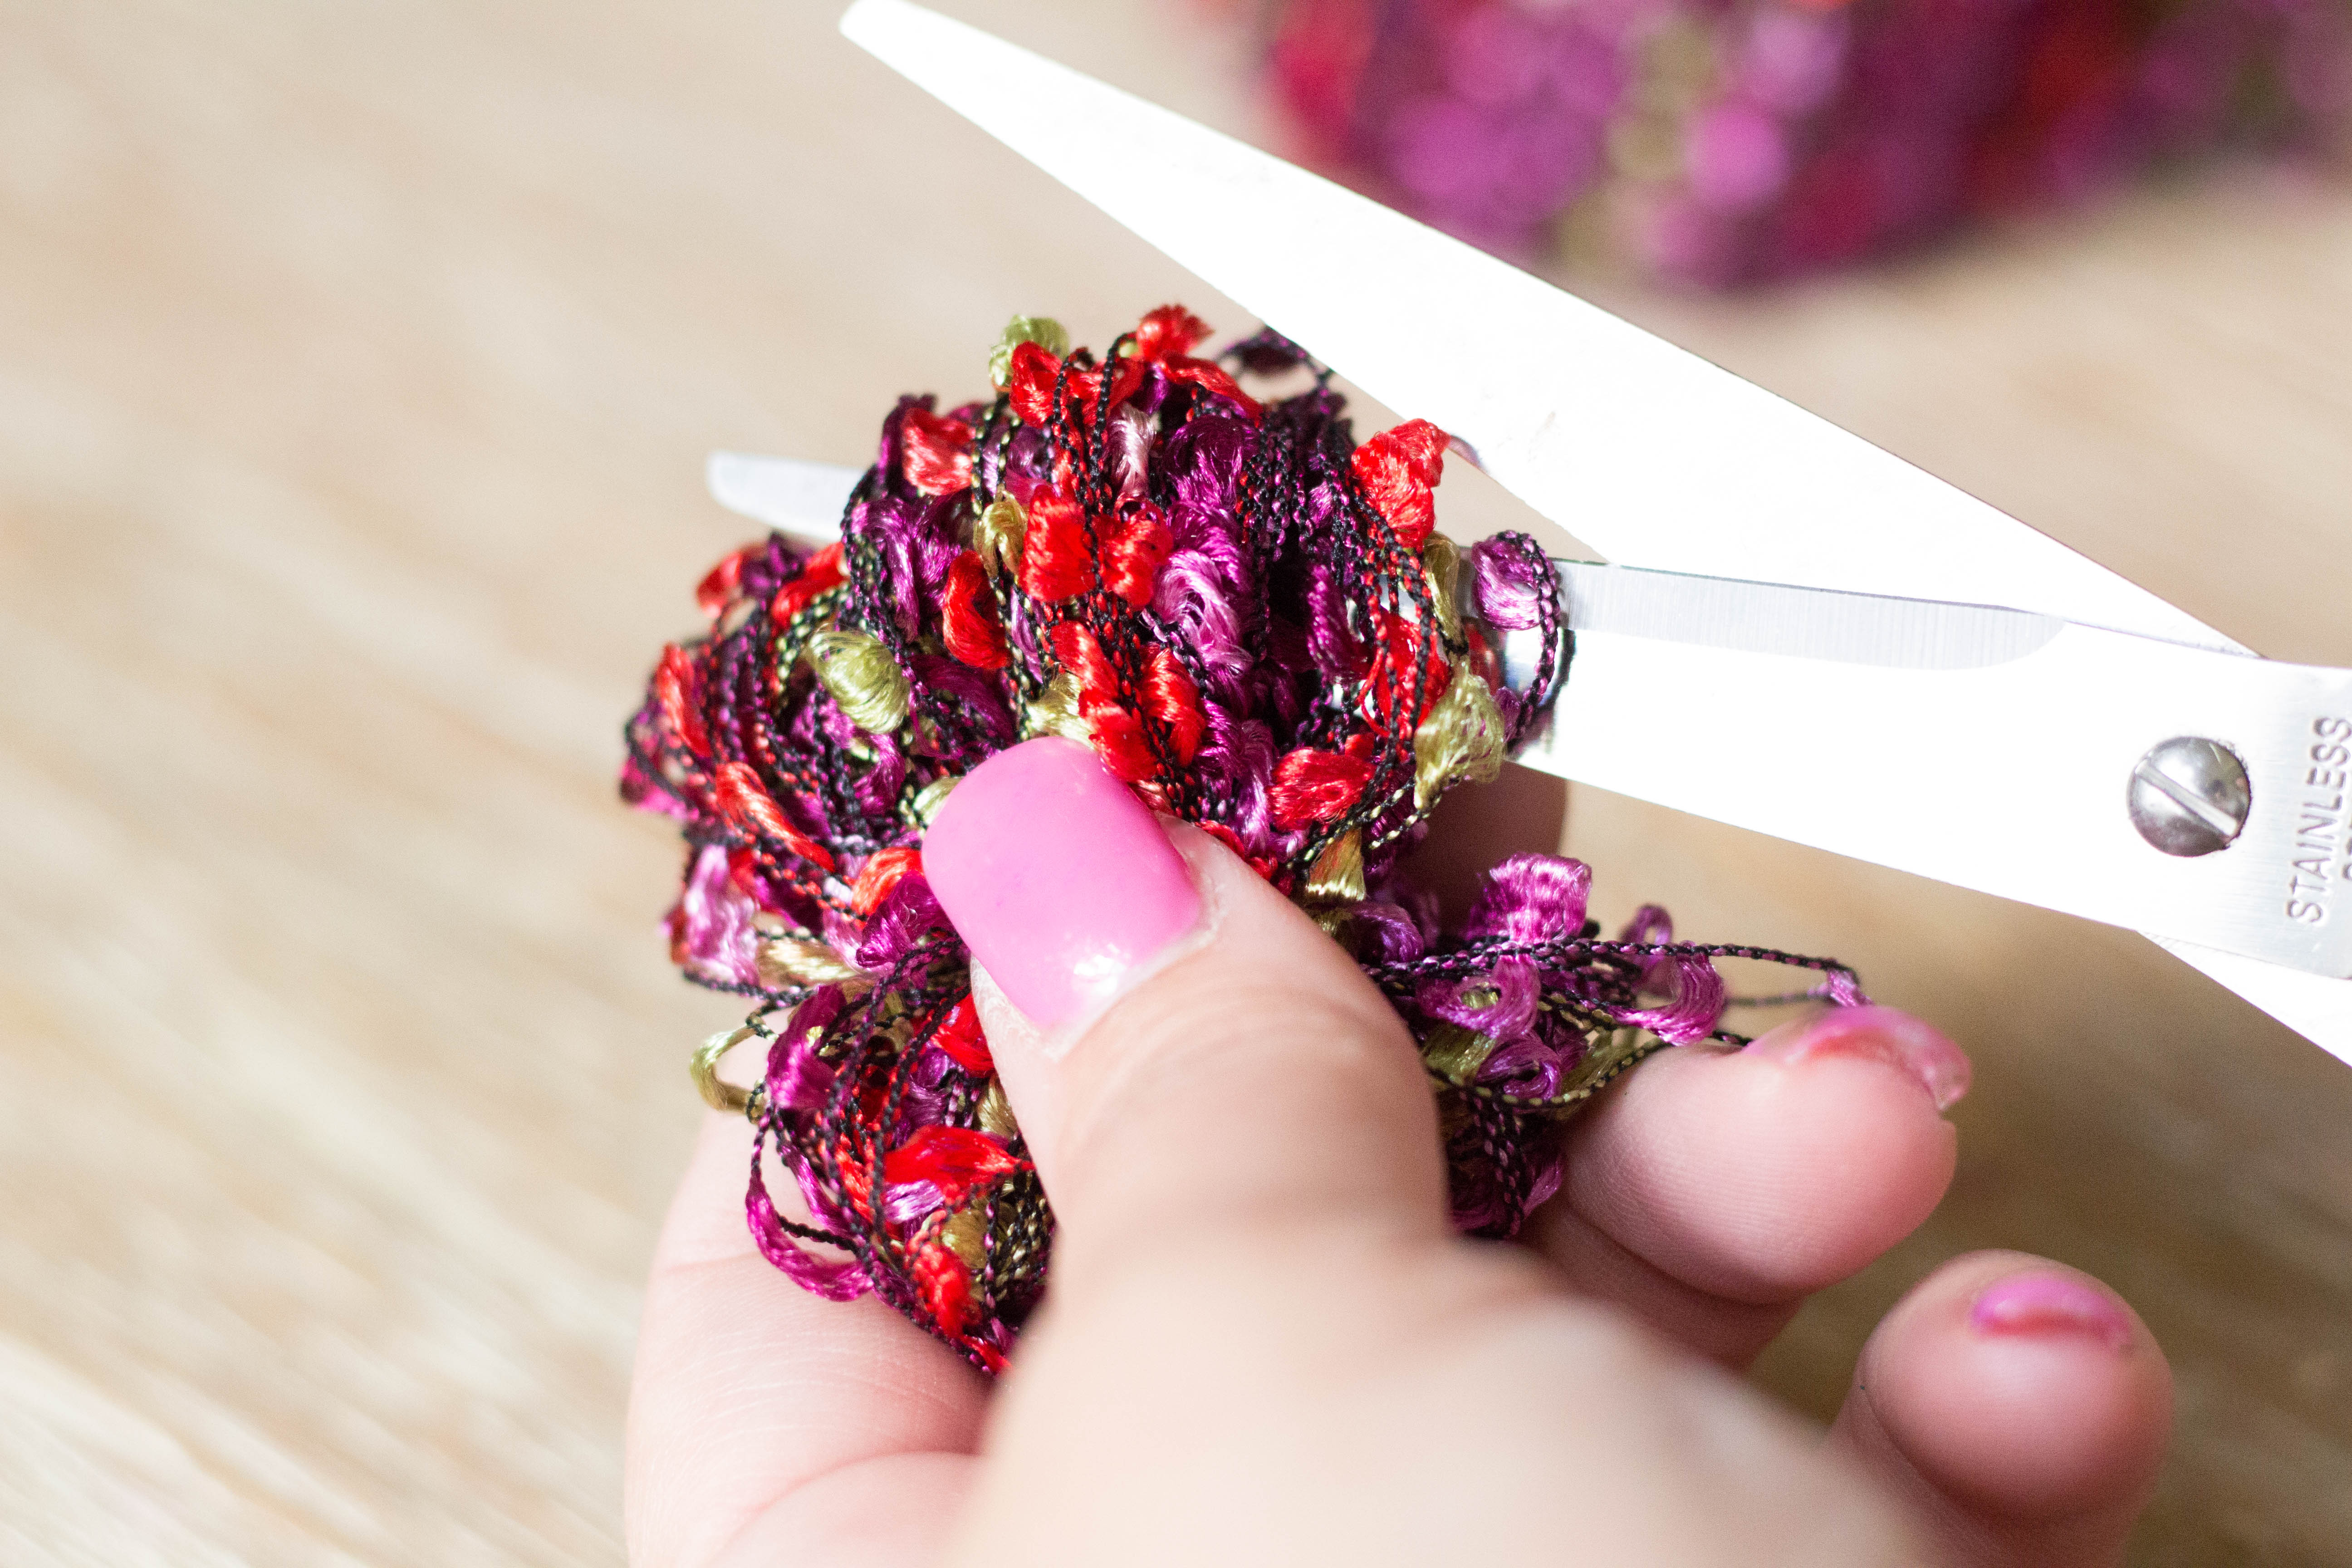 But I digress… back to the pom poms. After you’ve cut the loops on both sides, you’ve created your own yarn pom pom! Believe it or not, it’s that simple. (Didn’t I tell you this was easy?) The texture of this Moonstone variety of yarn is really amazing, and the finished pom poms are bursting with rich color; just look!
 Now that you’re an expert yarn pom pom maker, you’ll need to make more. Create about fifteen to twenty of these little cuties in each of the three colors of yarn. (Don’t worry, it goes quickly!)
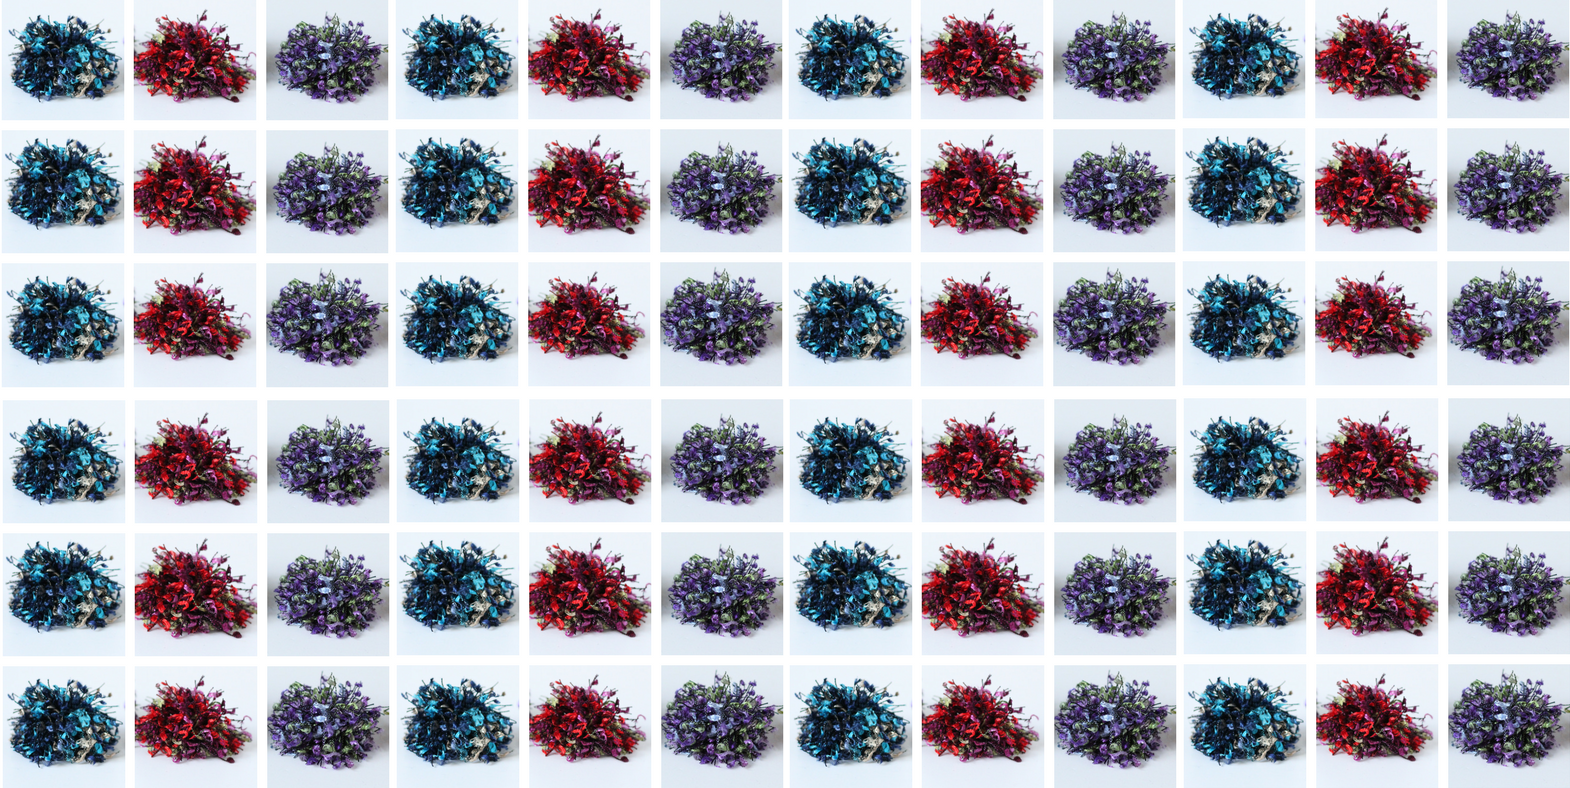
I’m not gonna lie. I played with the pom poms. Possibly with reckless abandon. They’re just… so… FLUFFY! There are so many amazing fiber art projects you can make with these. They can be sewn into a DIY yarn rug, attached to a cord for a cute garland, or arranged into just about any shape you like.
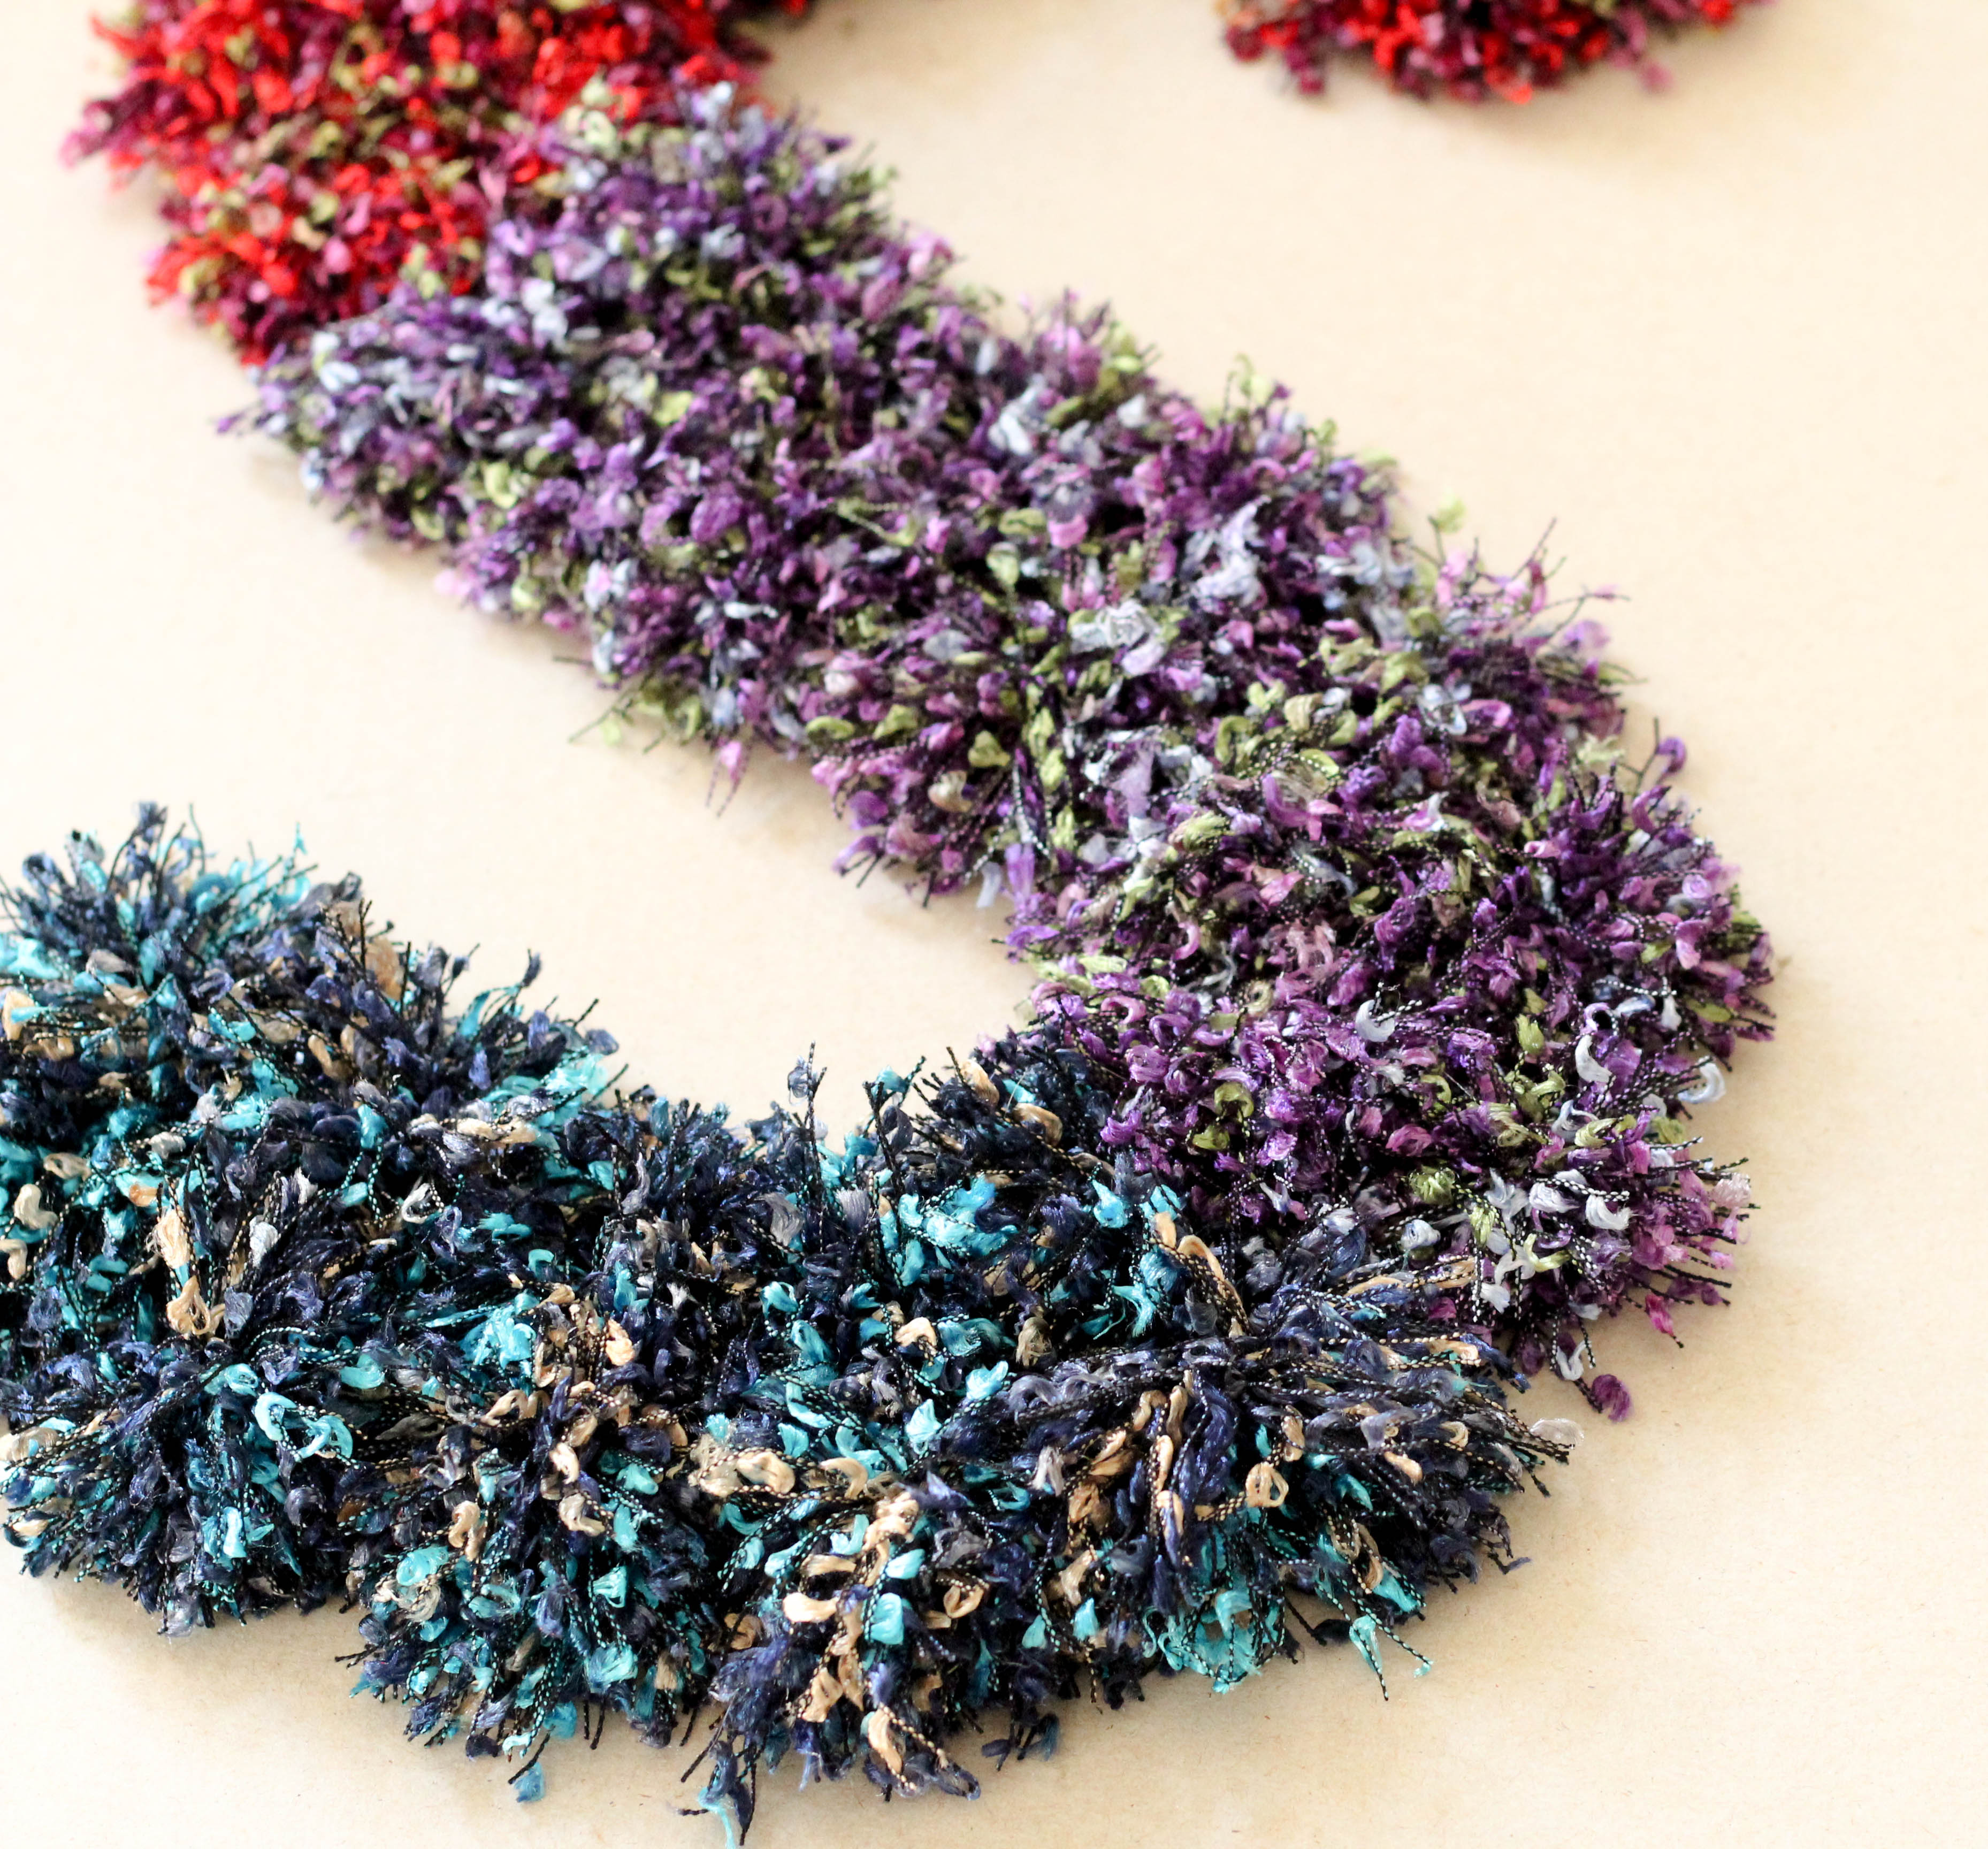
Ultimately, I got back to work, and arranged my yarn pom poms onto a large sheet of cardboard, in the shape of a very well manicured letter “S”. Which brings me back to the steps.
Step 6: Arrange the yarn pom poms two by two into the letter shape that you’d like to make. Pack them tightly together so that none of the backing shows through the top.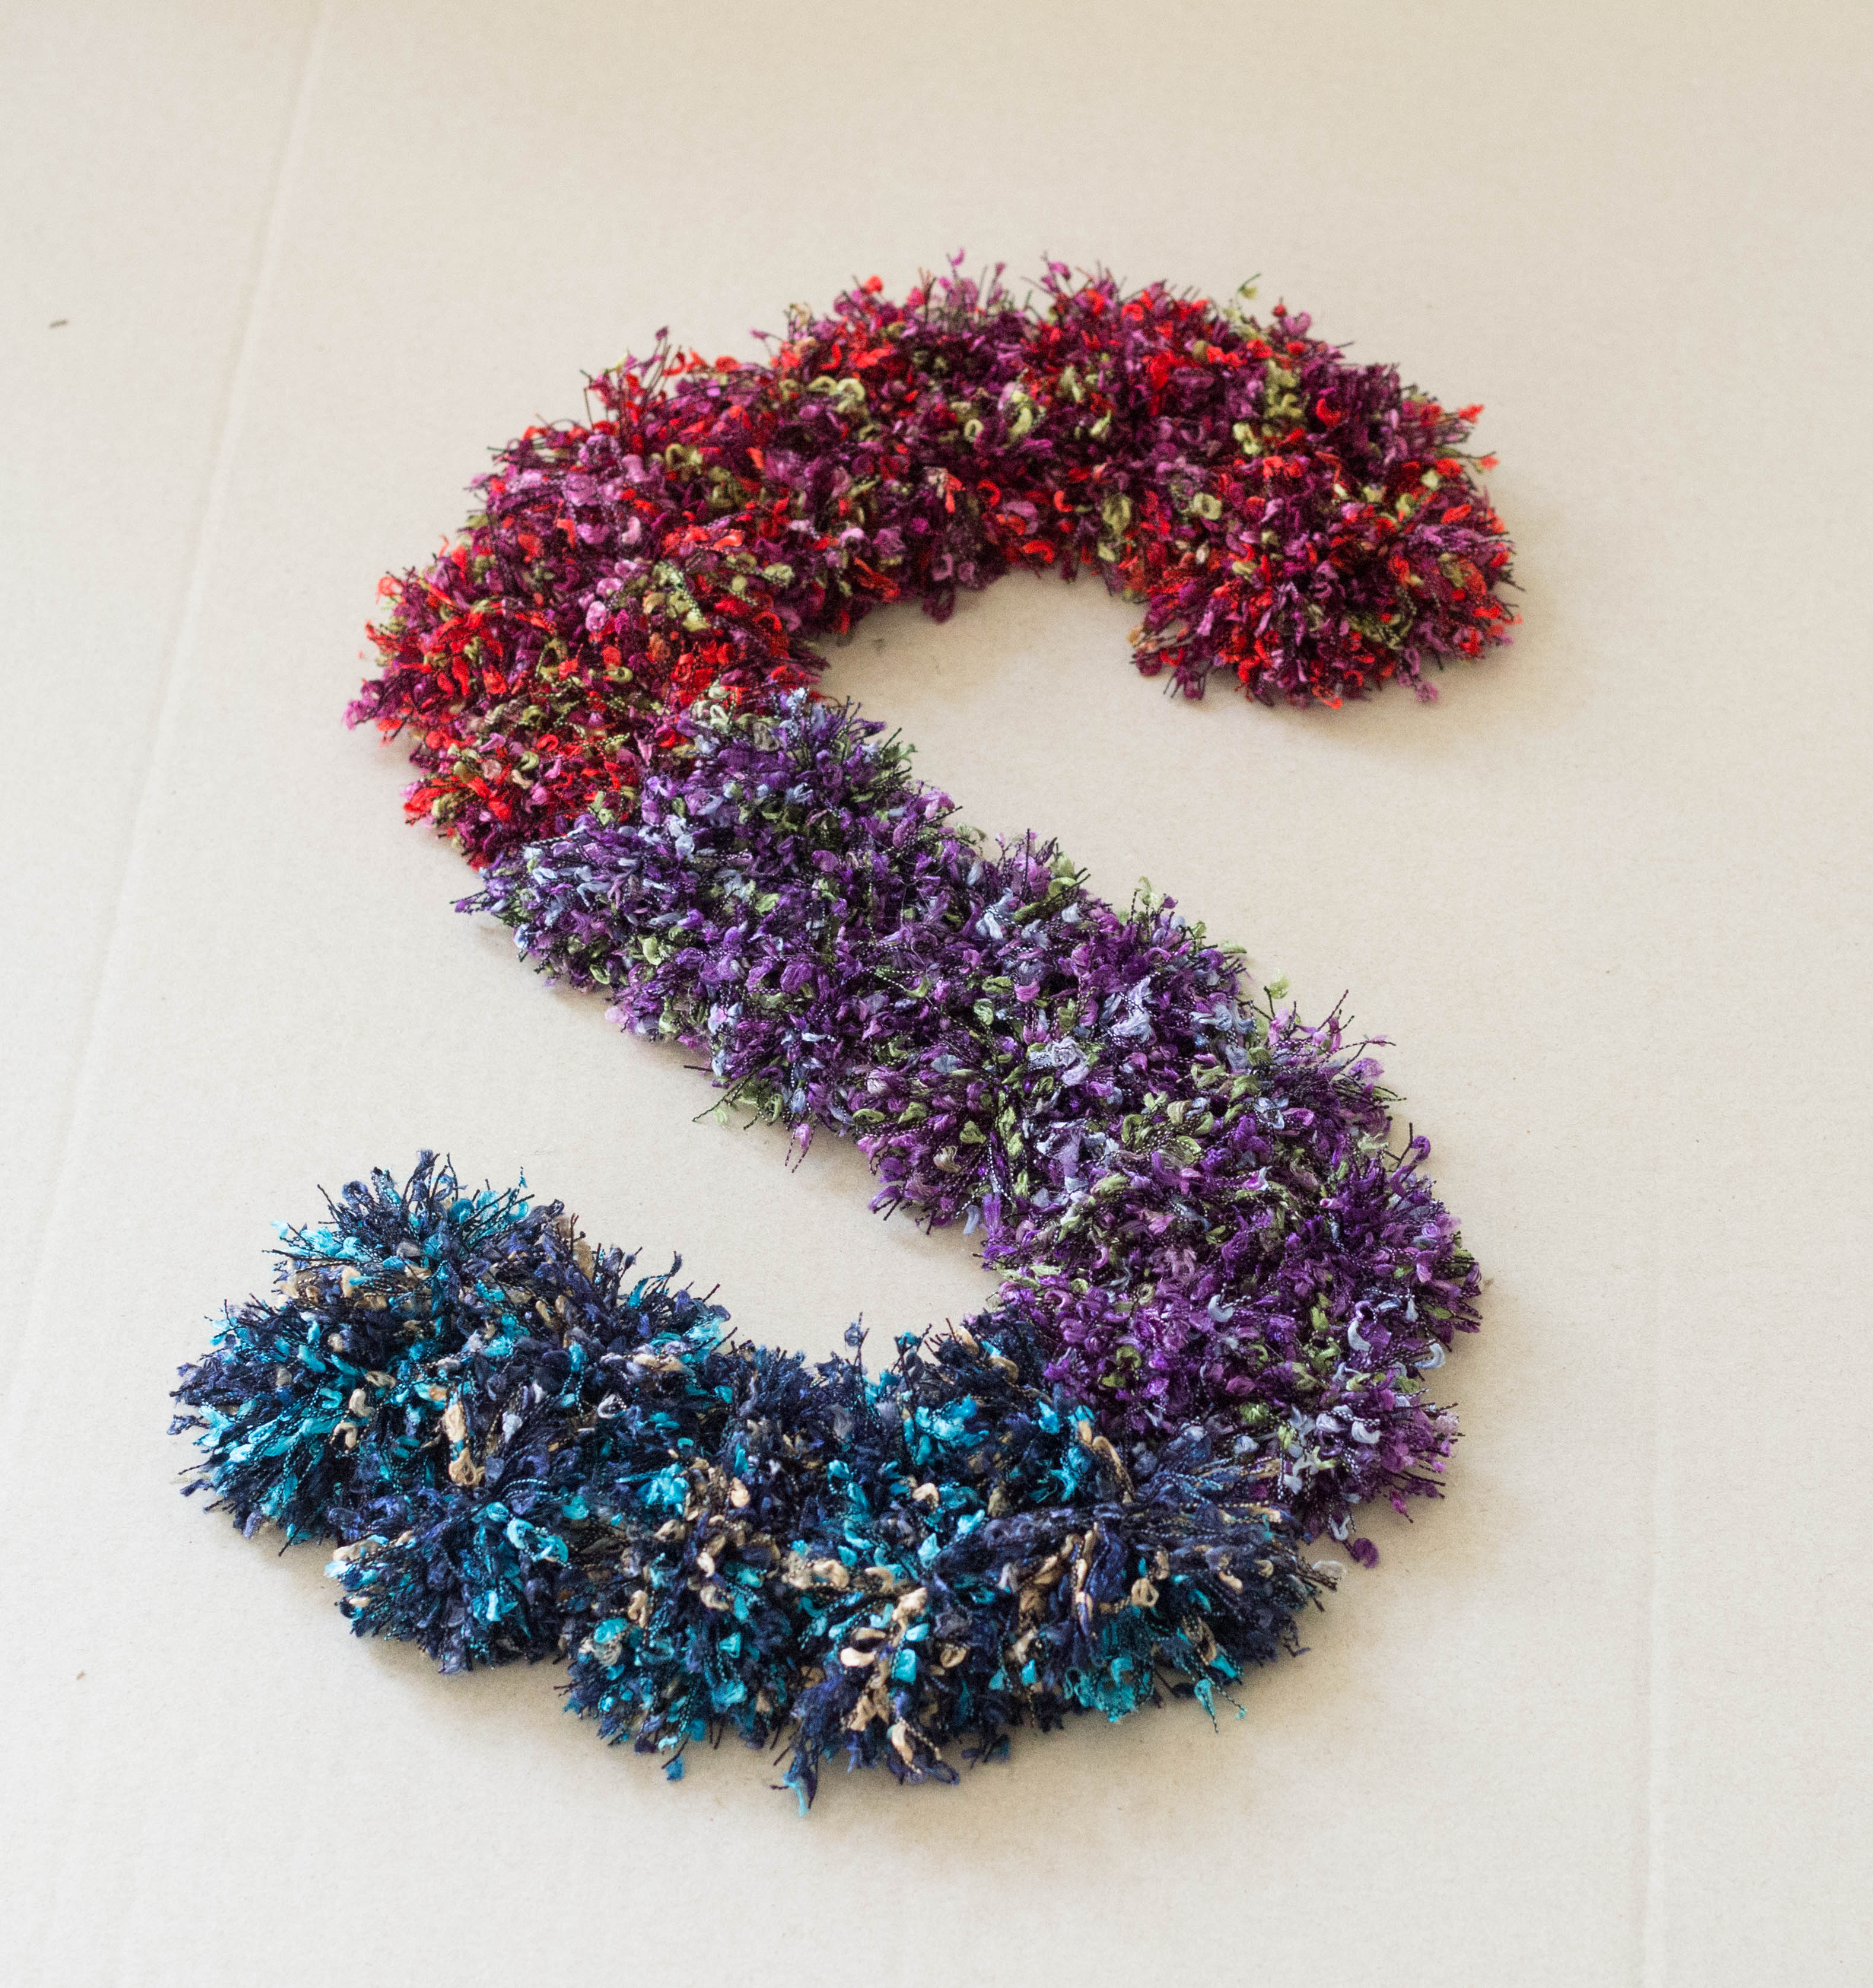 Step 7: Using a hot glue gun, lift one pom pom at a time and squeeze a generous amount of glue onto the cardboard backing, then press the pom pom directly back into place. Work diligently, keeping an eye on the form’s edges so that you don’t lose definition.When the glue has cooled, use regular scissors or a hand held cutting blade to trim out the shape. Add a store bought picture hanger to the back, and your yarn art creation is ready to display.
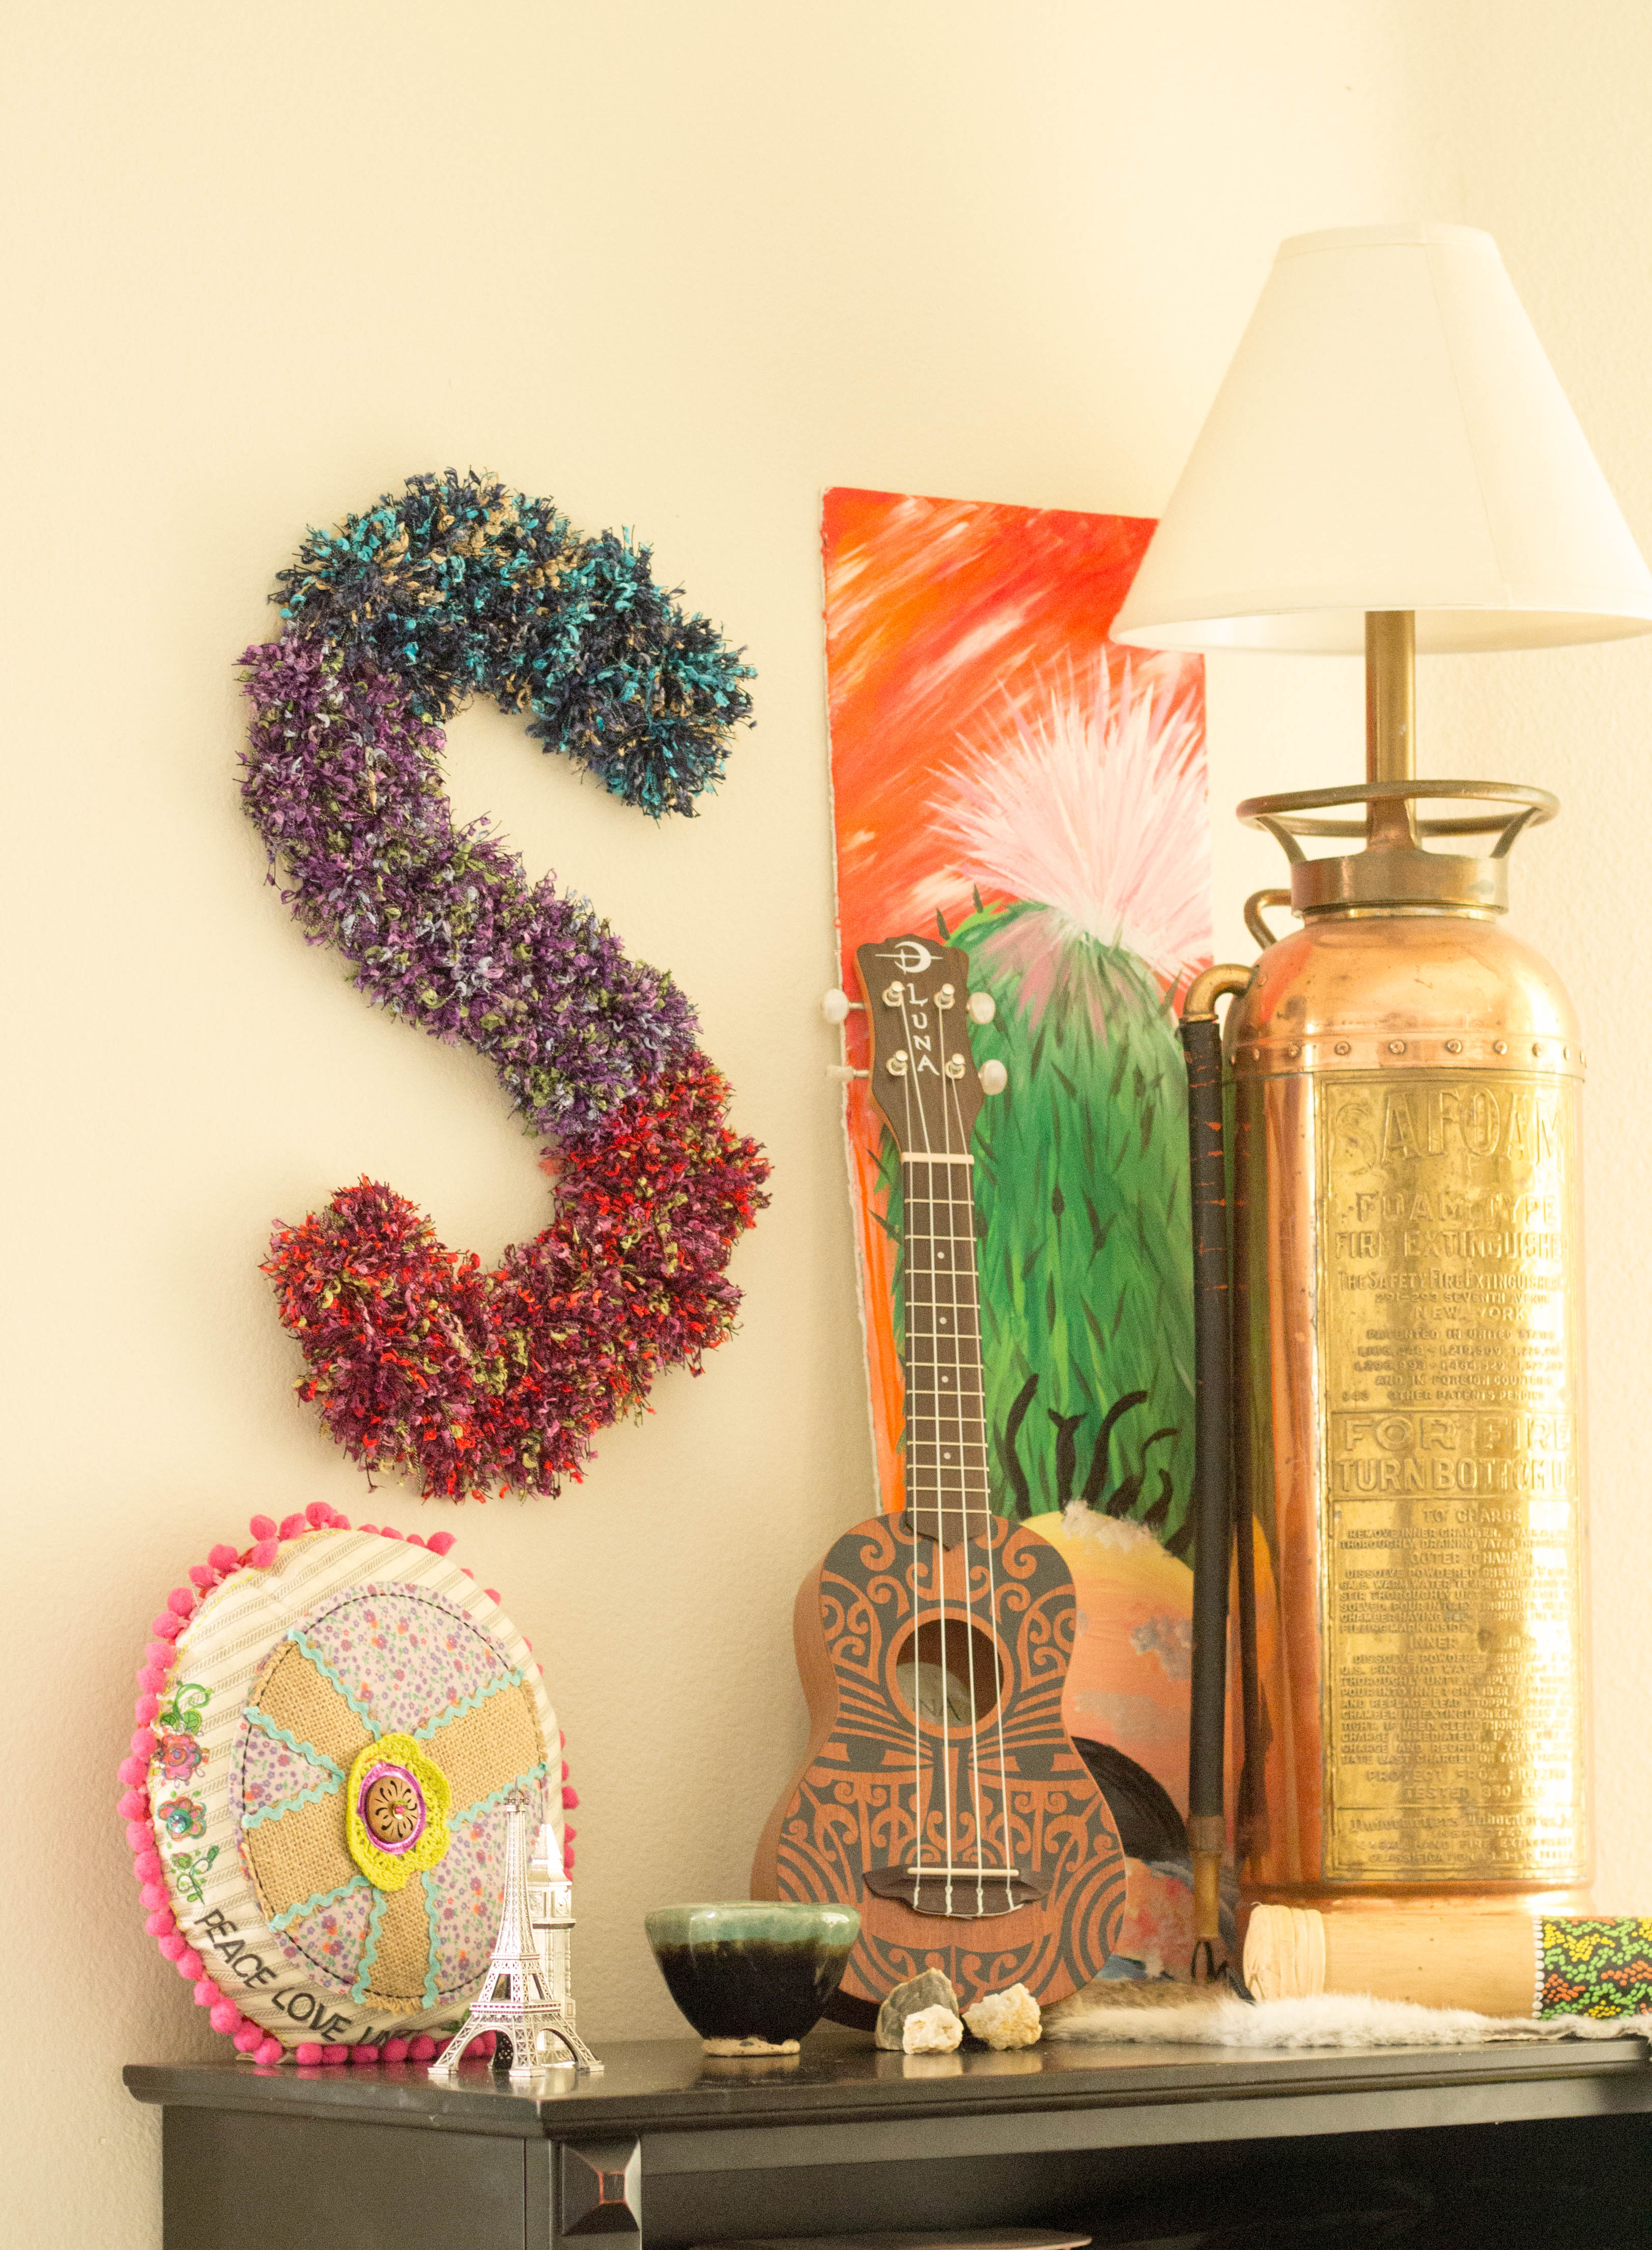 You could make an entire name using this method, or spell out words like “Love” or “Family”, in yarn. This is an affordable craft that young kids can also help with. The color options don’t stop with the three that I chose. Check out the selection of DIY Yarns that Premier has to offer, and don’t forget to use your coupon code to get 10% off through May 1, 2017!
If you liked this project, you’ll love more fantastic maker projects using Premier Yarns!
Check out this one by the talented Jessica Roe at Everyday Party Magazine!
Don’t miss the next Midge and Madge Mingle! On Monday, April 2, the crafty duo will share more ways to use Premier Yarns!