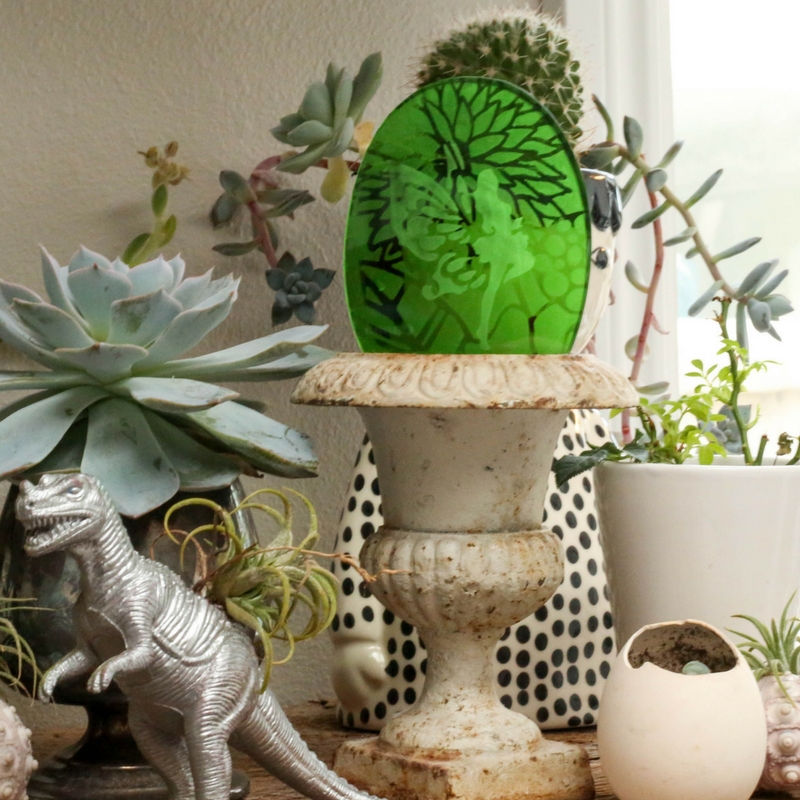
This Fairy Garden etched glass bauble catches the spring light in such a flattering way. This project, created on a glass oval in a shade of vibrant green, was etched with etchall cream on the front, as well as the back of the object. The finished effect is a stunning layered effect that is truly one of a kind.
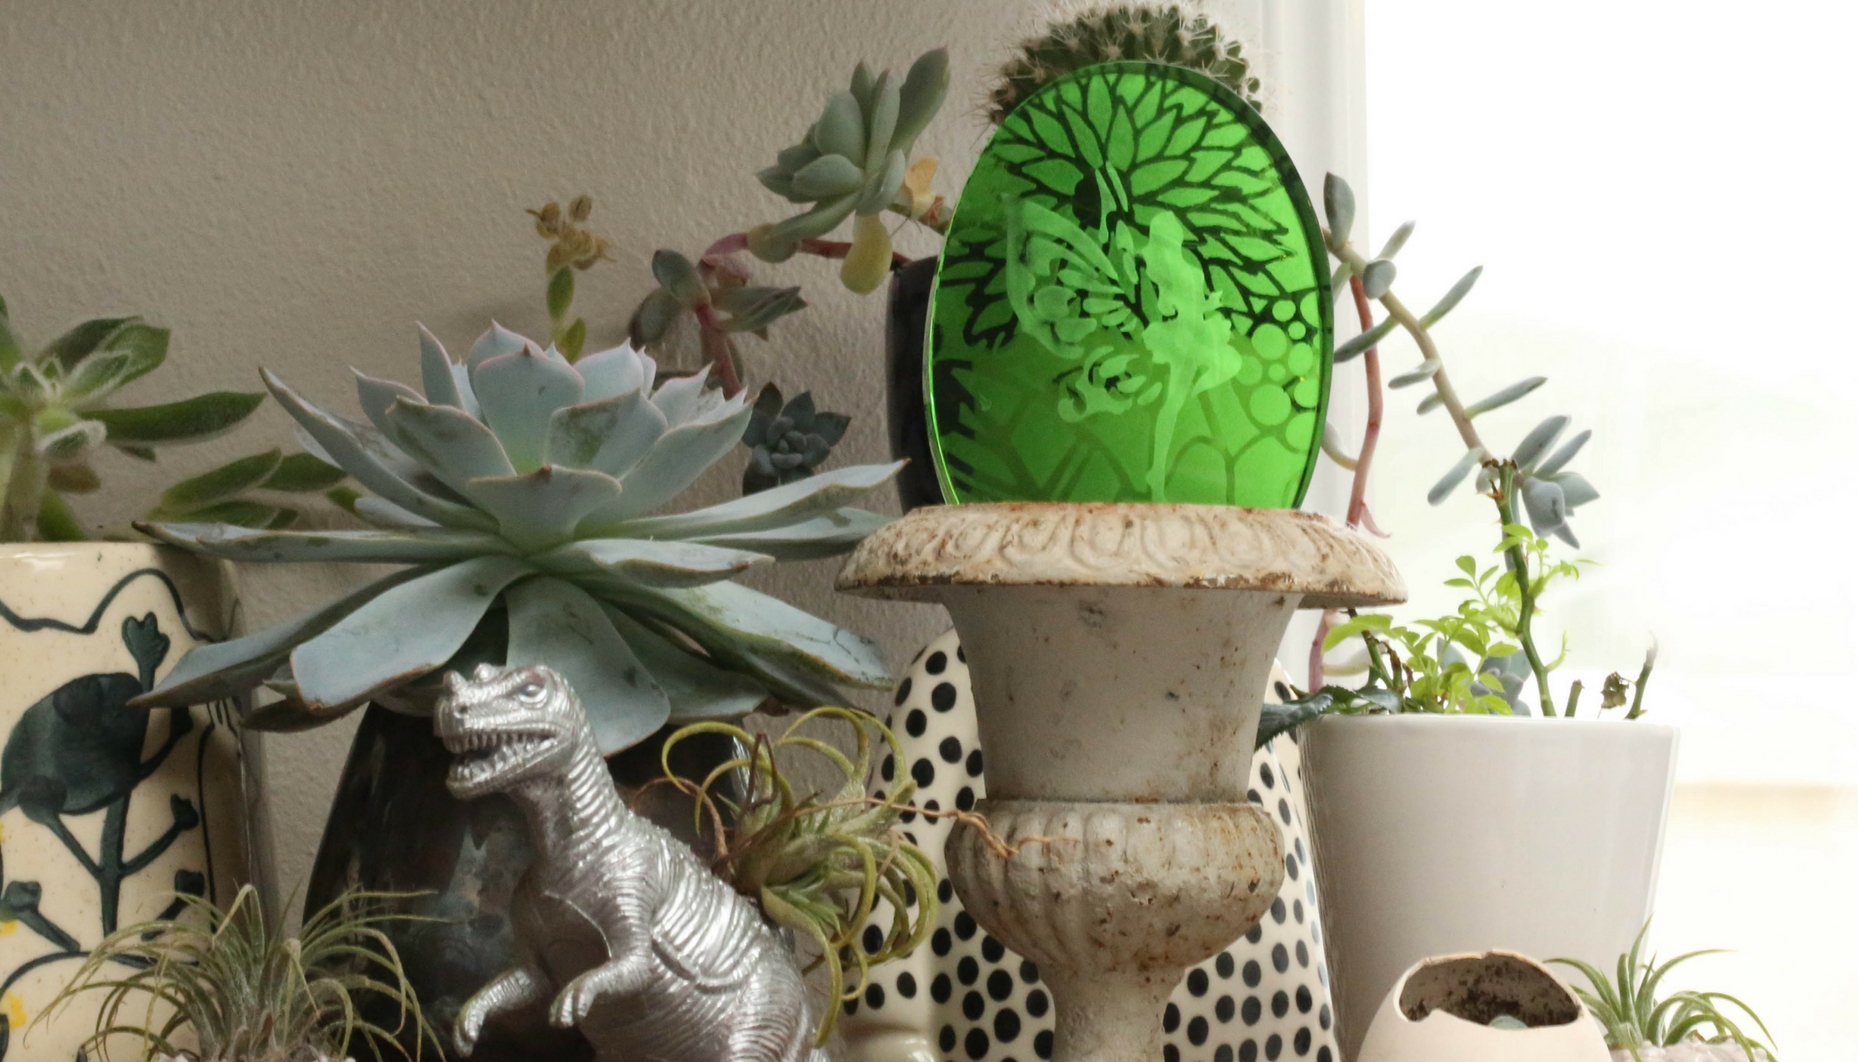
I love the idea of using these as party favors at each place setting for a fairy or woodland themed celebration. Want to see how simple this was to make? This post is sponsored by etchall®, who generously provided product and /or compensation for me to create this fun project!
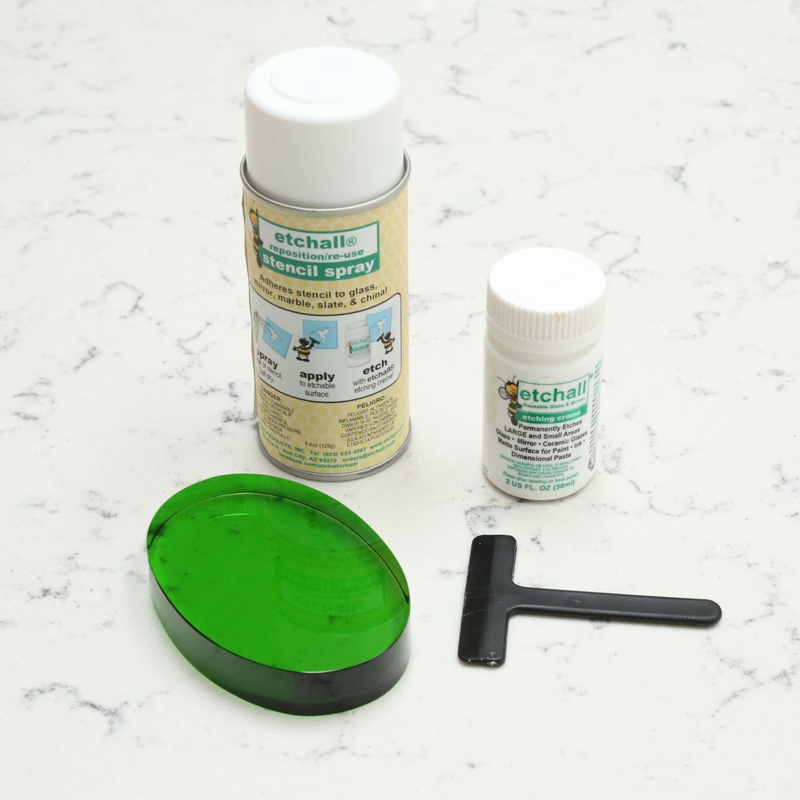
Here’s What You’ll Need:
Fairy Stencil
Thin-lined Floral Stencil
Step One
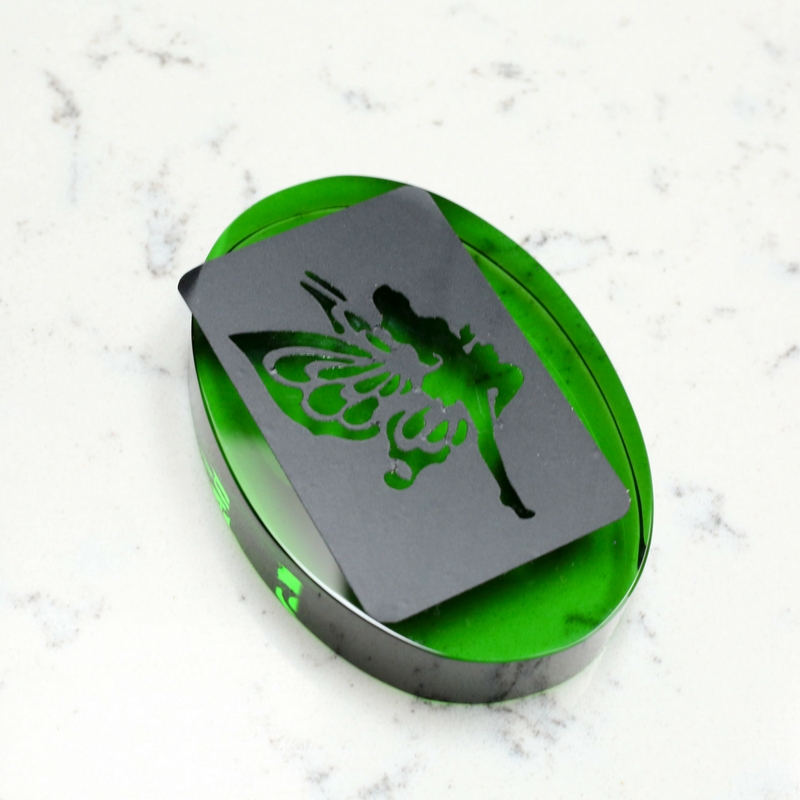
Apply fairy stencil to the front of the glass oval. If your stencil is not adhesive, use etchall®Stencil Spray to treat the surface of the stencil, which will ensure it adheres securely to the glass.
Step Two
Apply etchall®Etching Cream to the surace of the stencil in the areas you wish to etch. Wait fifteen minutes.
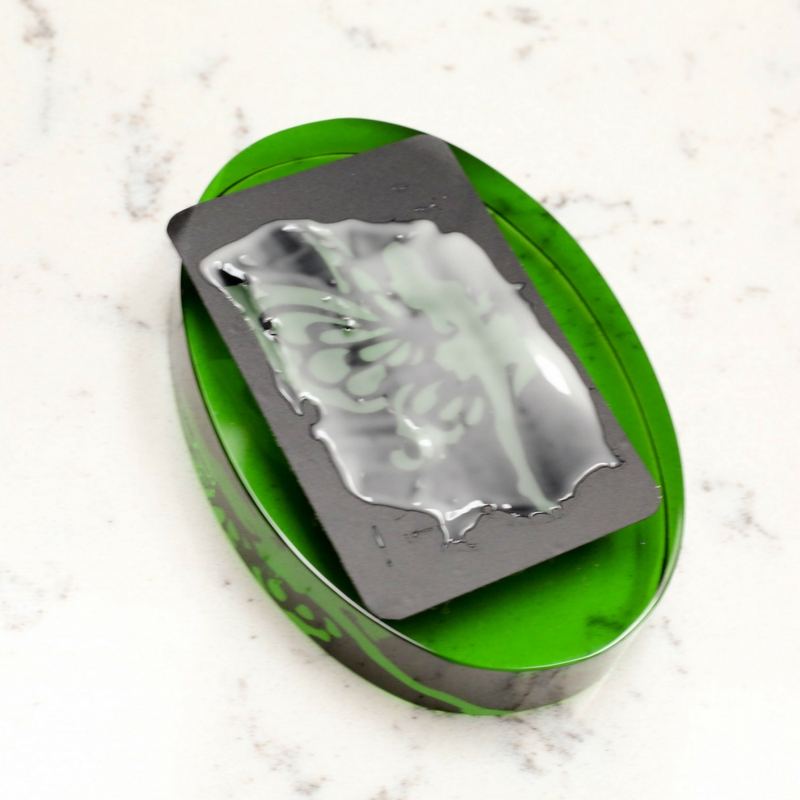
Step Three
Remove etching cream with water and rinse dry thoroughly. The fairy shape will be etched nicely, but we aren’t quite finished! Snip a section from your floral patterned stencil, to fit the glass oval.
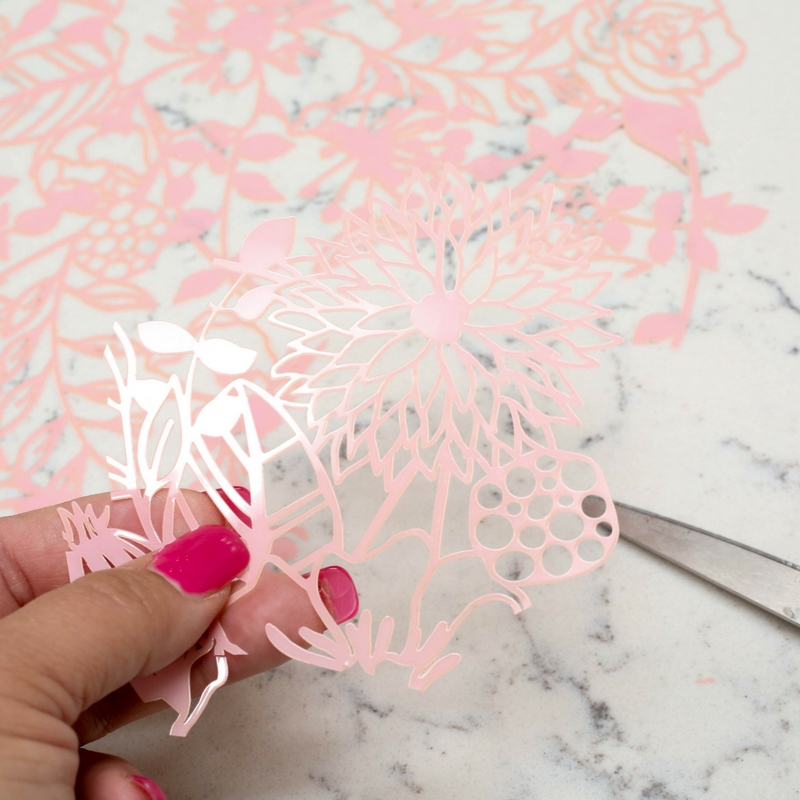
Step Four
Apply adhesive etchall® Stencil Spray to the portion of stencil that you trimmed, and carefully apply it to the back of the glass oval. (the side that does not have the fairy). Be sure when you are positioning the stencil that your work is aligned properly, and is not upside down. Use the etchall® Handheld Squeegee to carefully remove any air bubbles.
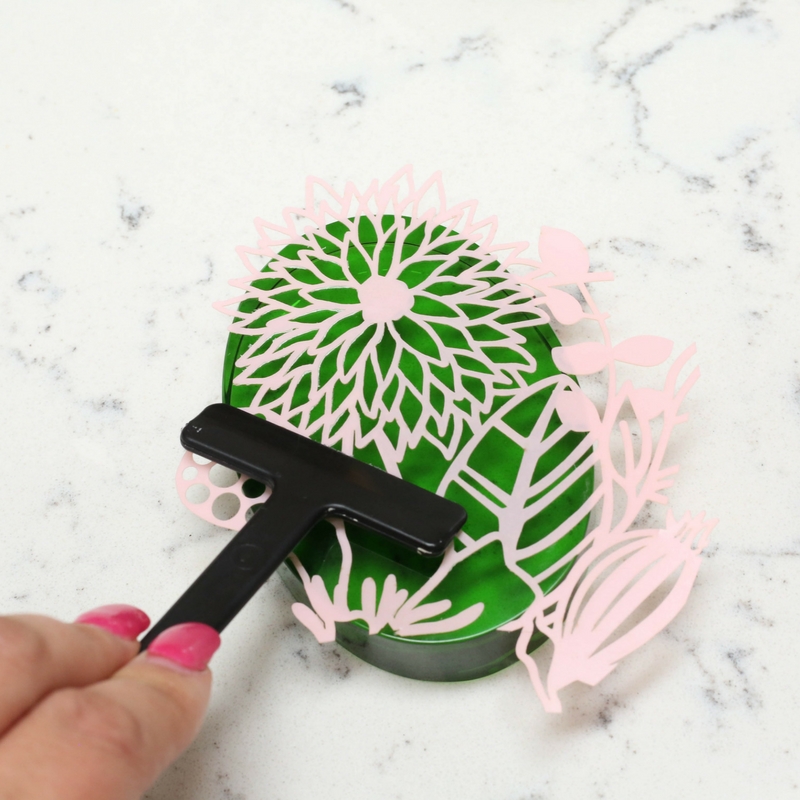
Step Five
Apply etchall®Etching Cream to the entire surface of the glass oval, and wait fifteen minutes.
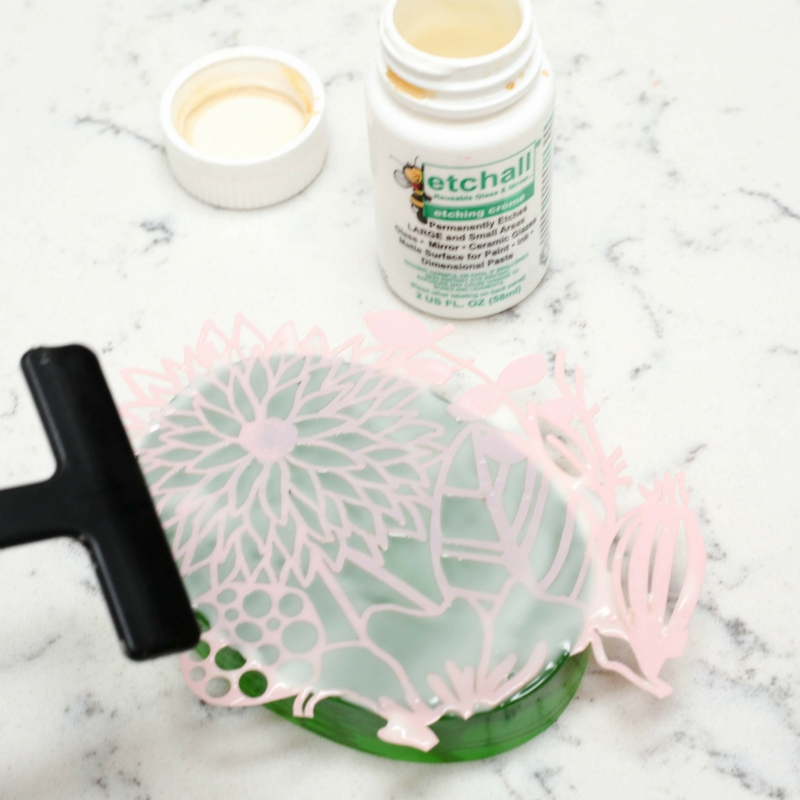
Step Six
Remove the stencil and wipe away the etching cream with a wet cloth, then rinse thoroughly and dry, polishing with a soft cloth.
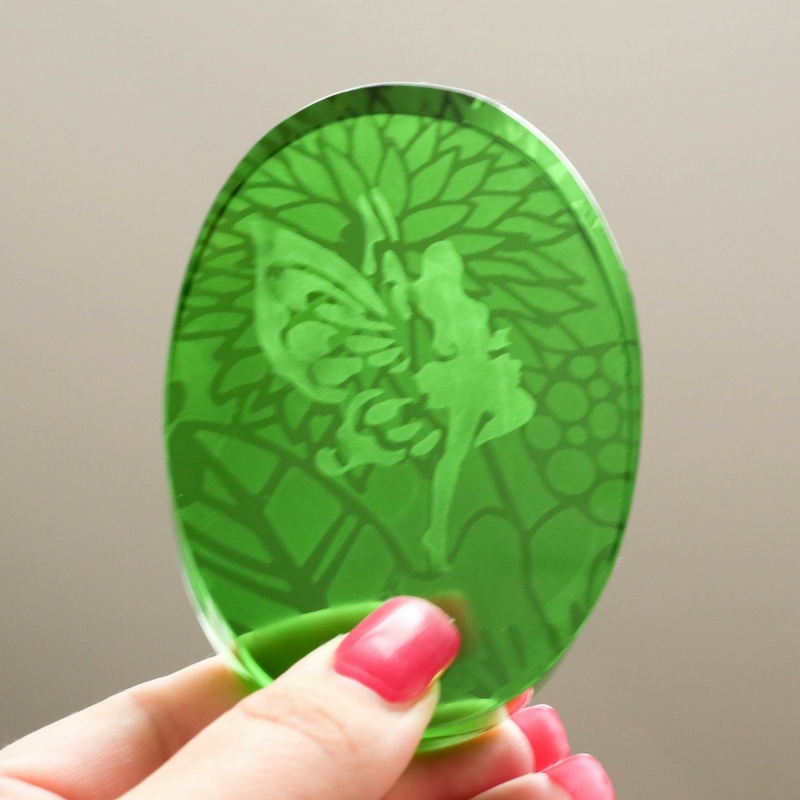
Fairies are a personal favorite of mine, and I love how this pretty glass fairy ornament looks nestled among my plants near the kitchen windowsill.
